Setup Your First Agent
Build your first AIVAH agent in five short steps. This walkthrough mirrors the live product flow: create an agent, give it a face and a voice, test it in the Playground, share it publicly, and wire it up to your tools.Step 1: Create Your Agent
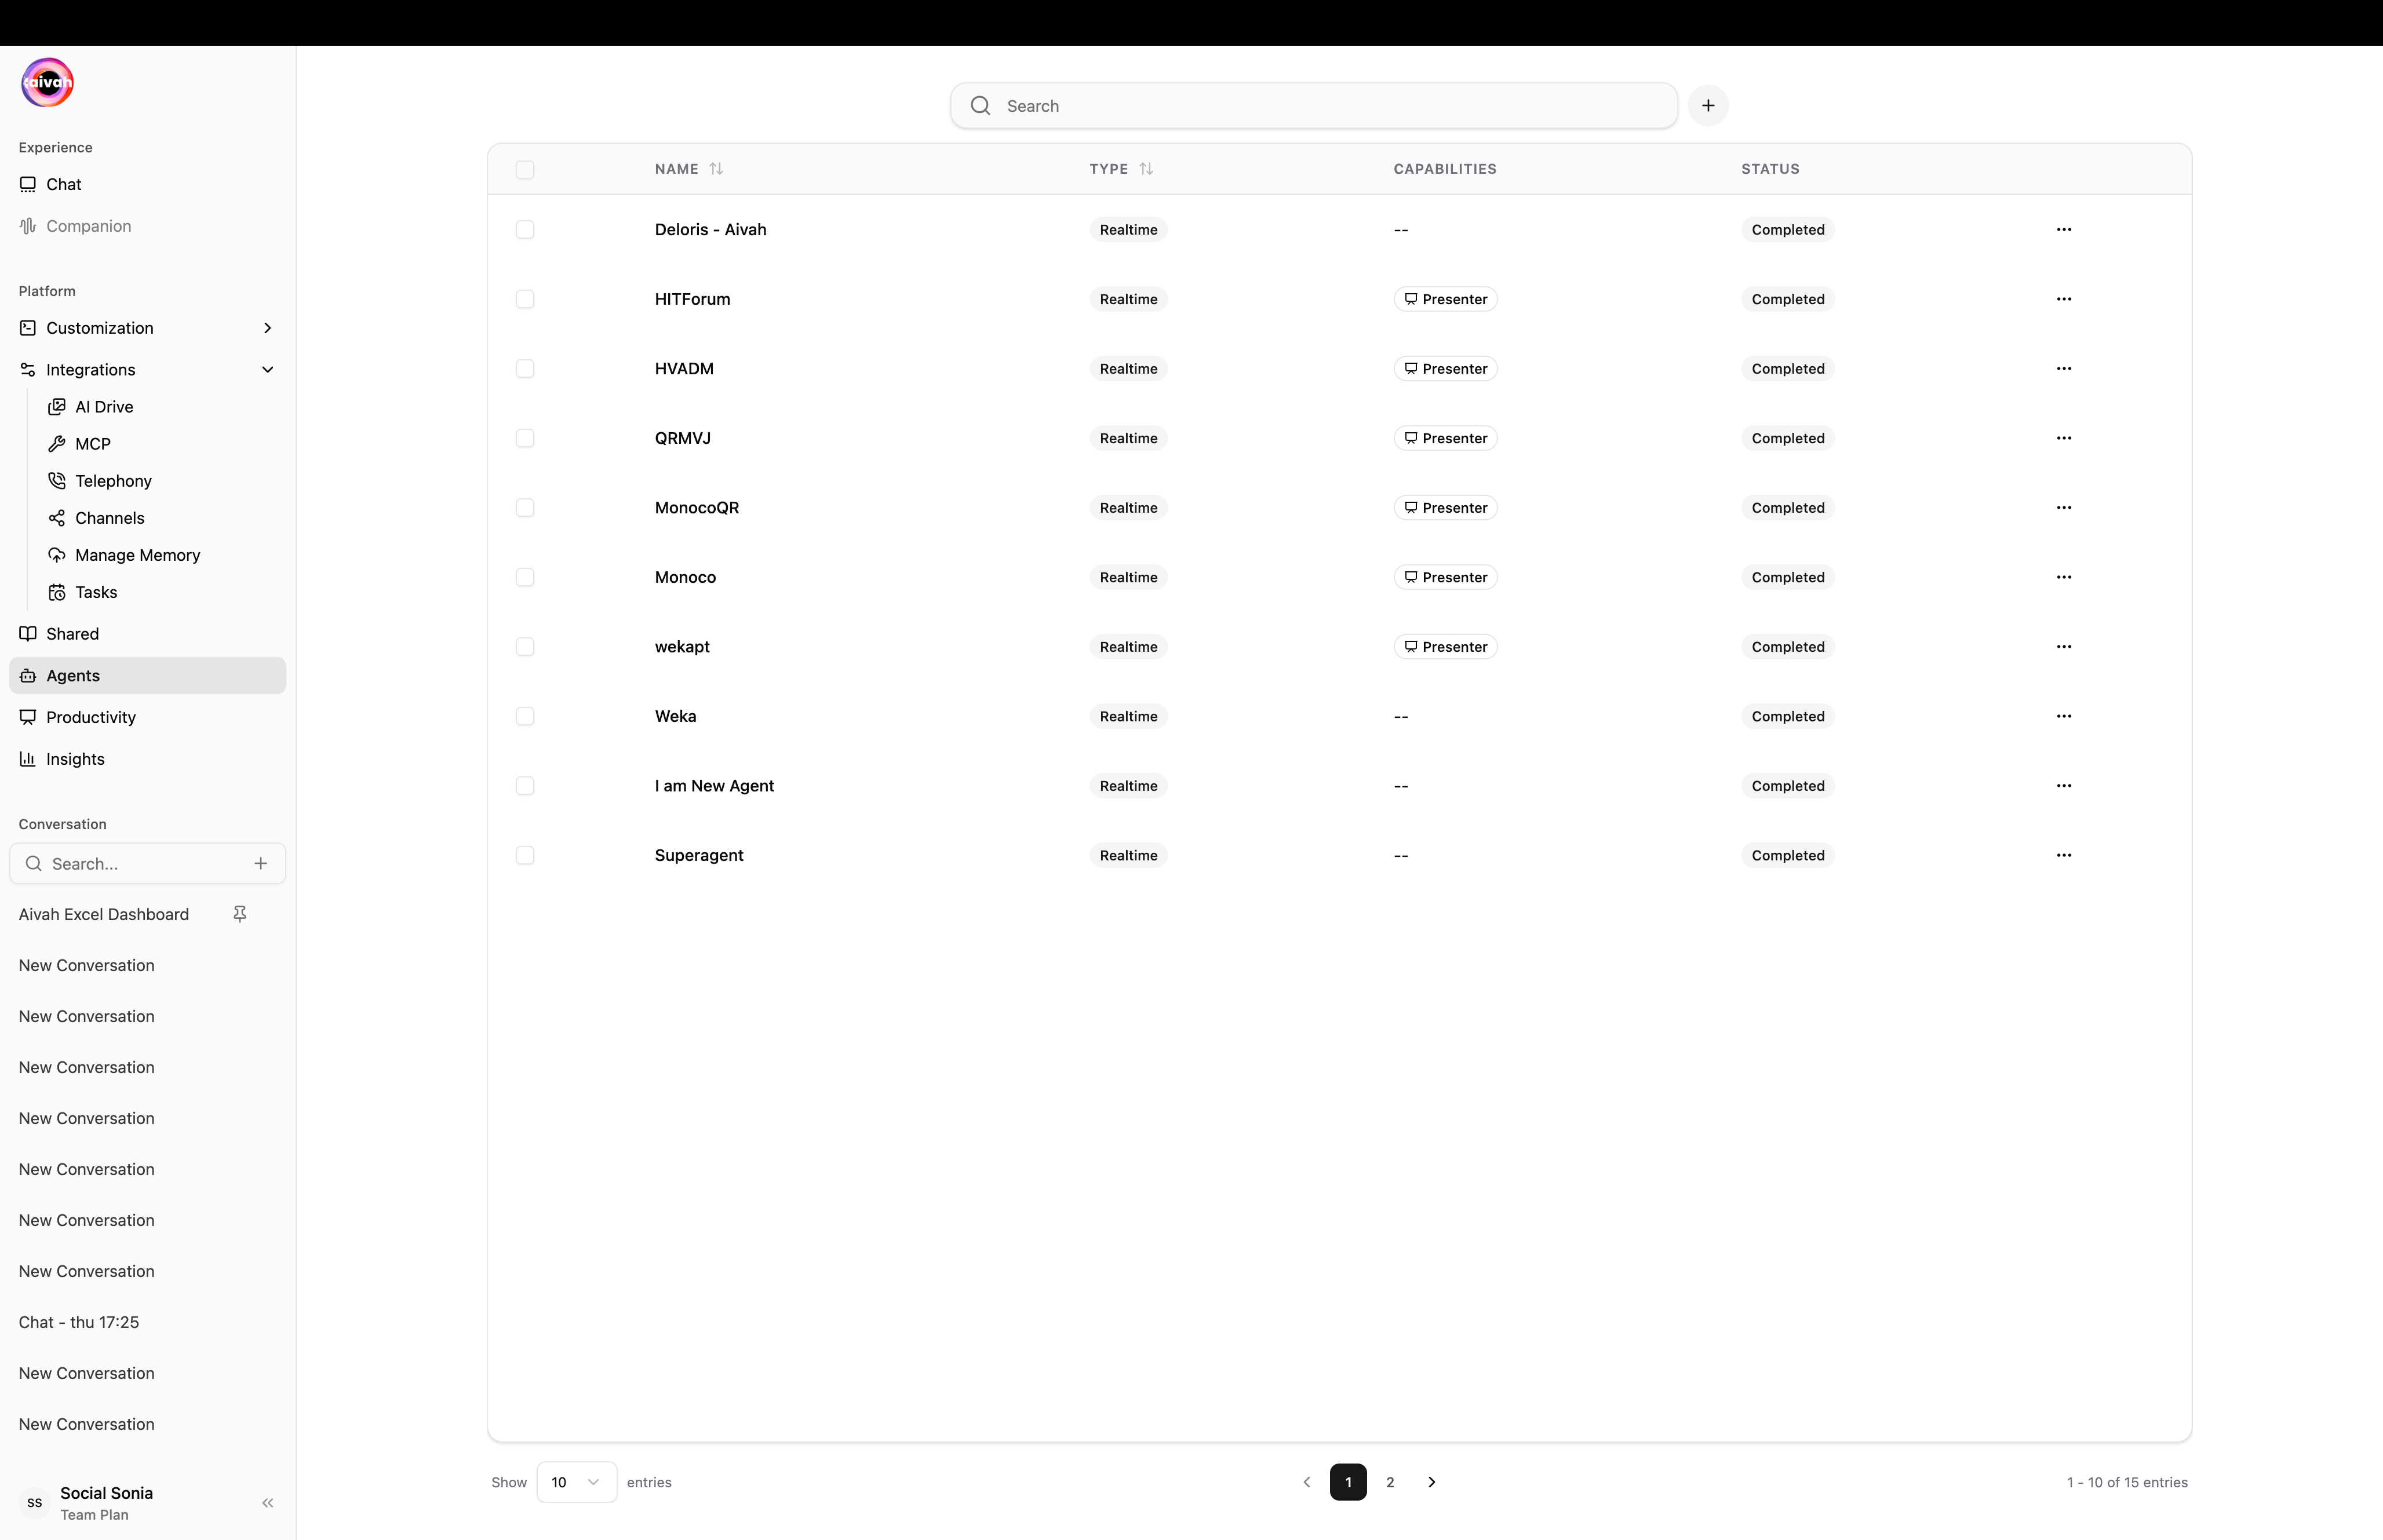
Open Agents in the side navigation (/agents) and click the + button to start a fresh agent at /agents/create.

Configure the basics
- Name – becomes the slug shown next to the heading (
@my-agent). - Agent Capabilities → Presenter – leave off for a knowledge-base agent that accepts URLs, files, and text. Turn on for a presenter that takes a single PDF or video and produces slide-aligned answers with a built-in Quiz overlay.
- Agent Prompt – freeform instructions that shape behaviour.
- Persona – a short label of your agent’s tone (for example witty and casual).
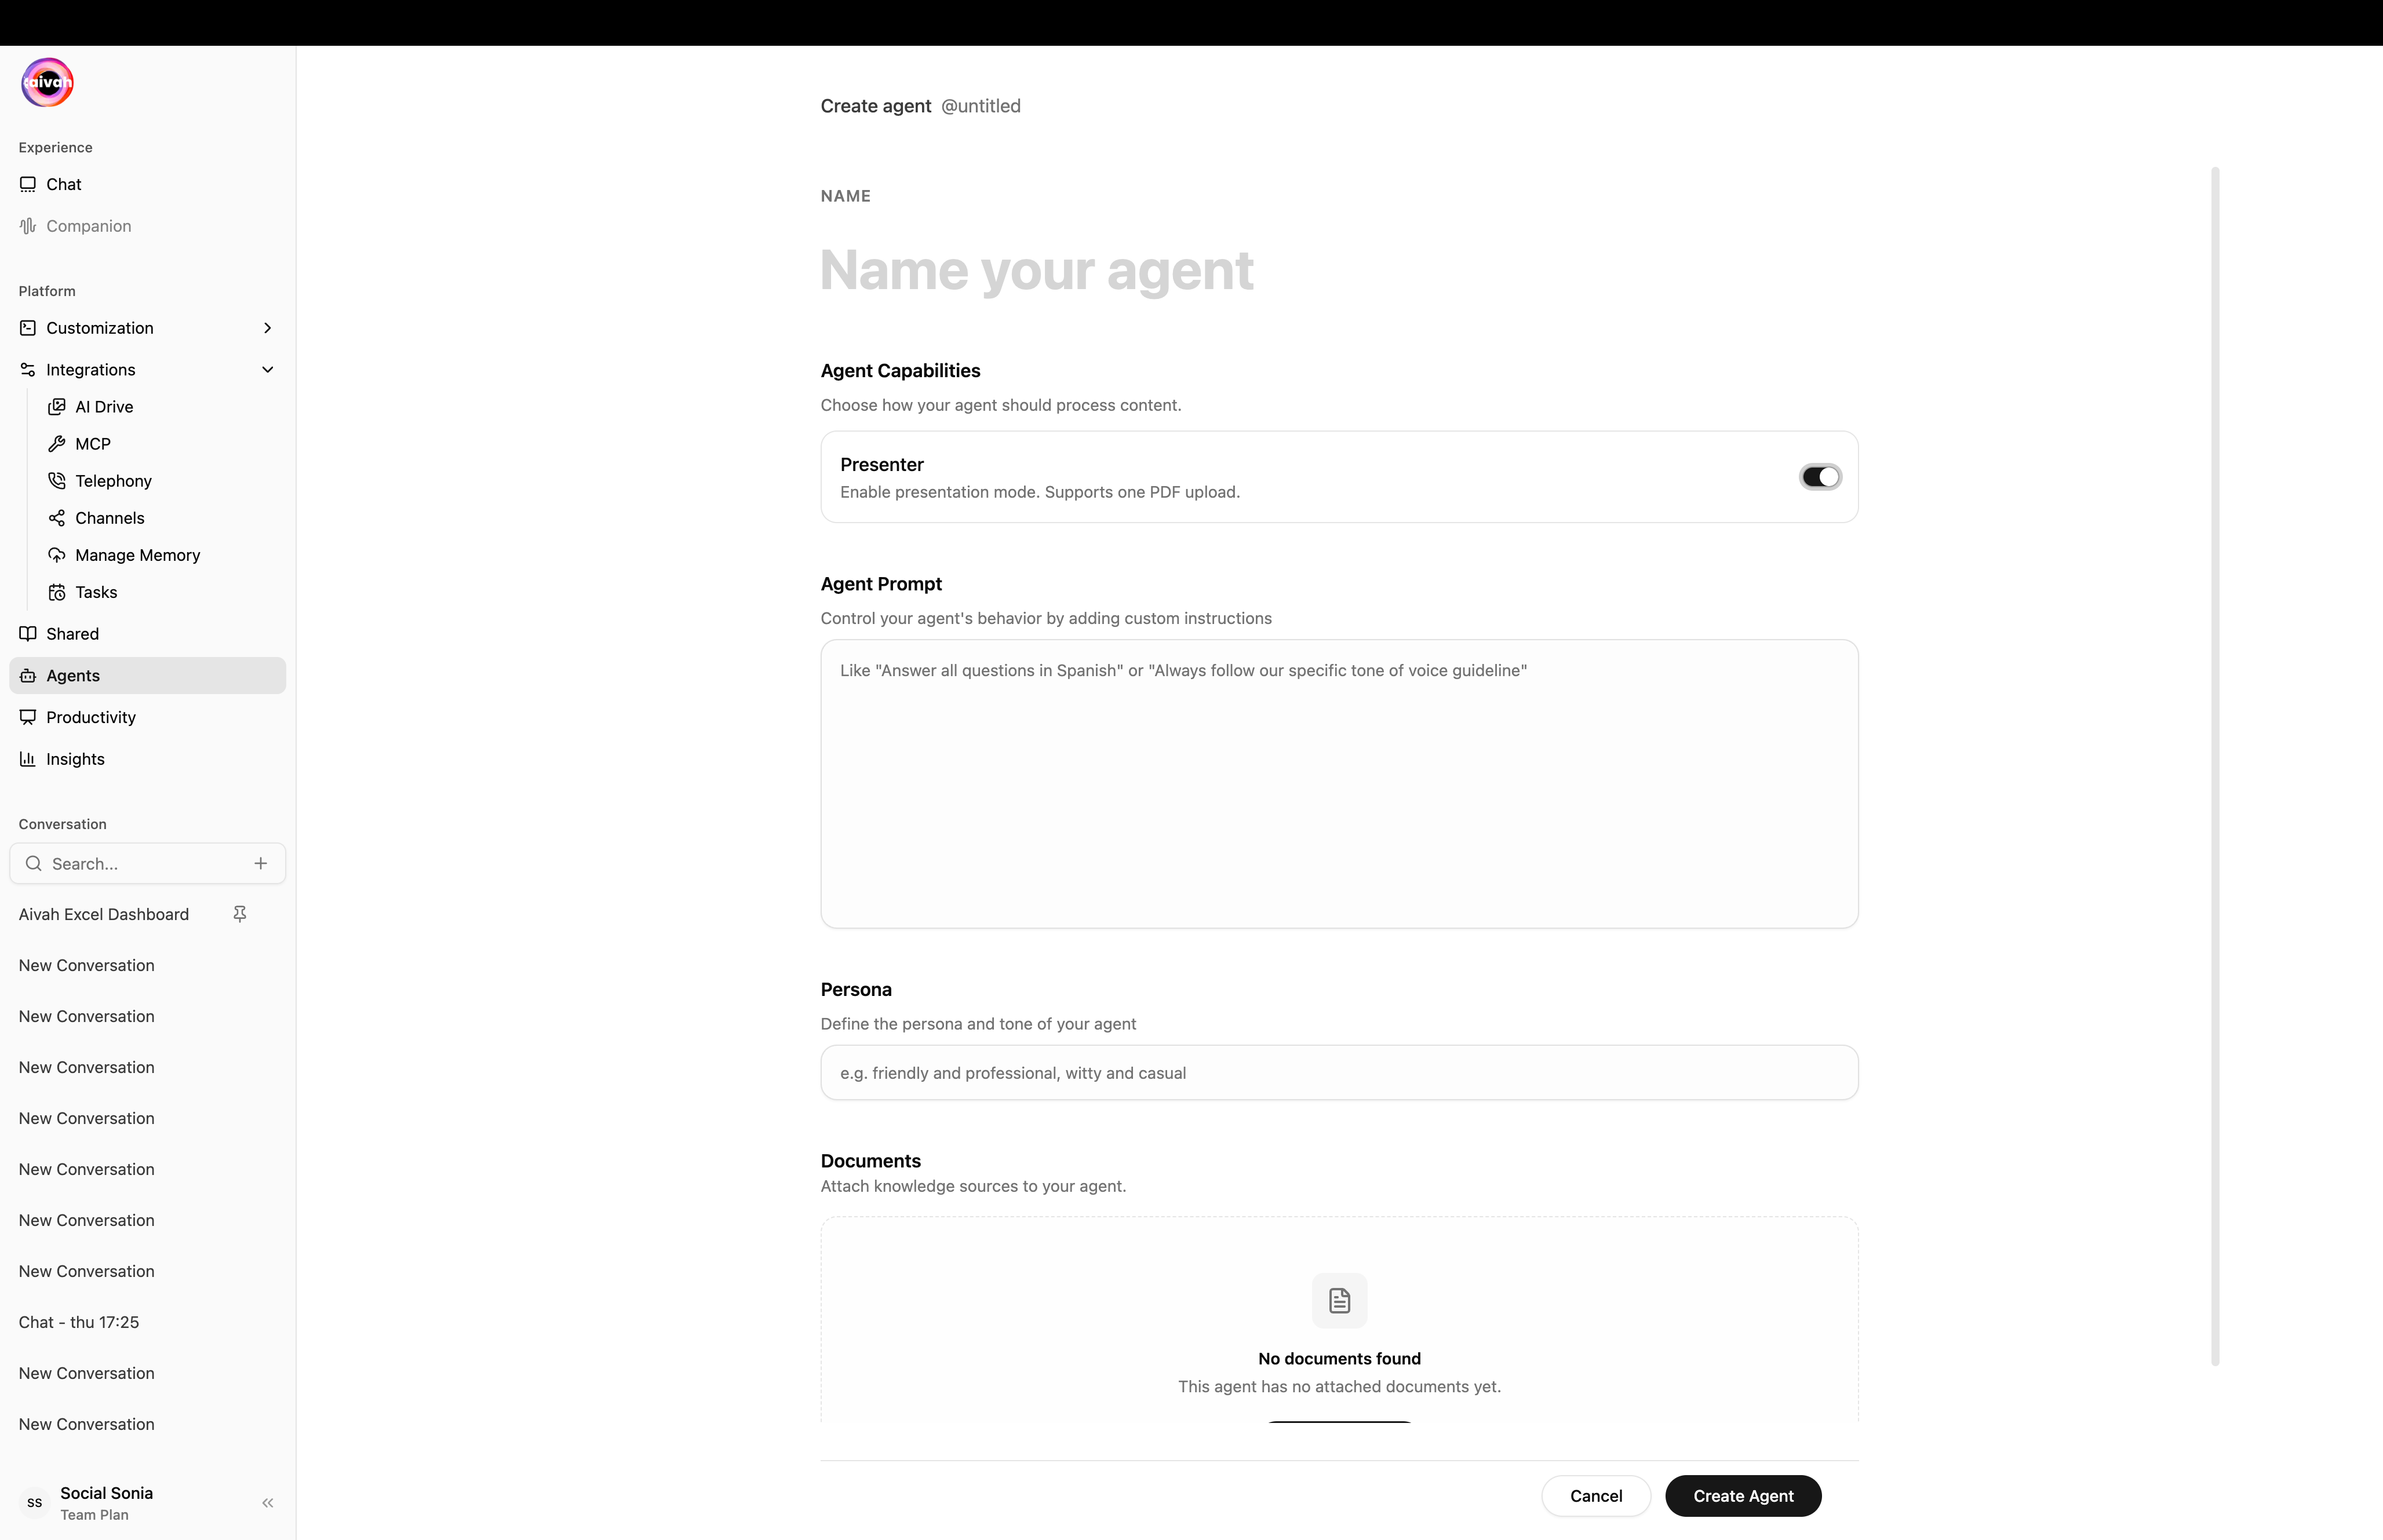
Add knowledge content
Click Add document to attach knowledge sources. Knowledge-base agents accept any mix of URL / Files / Text; presenter agents accept a single PDF or video.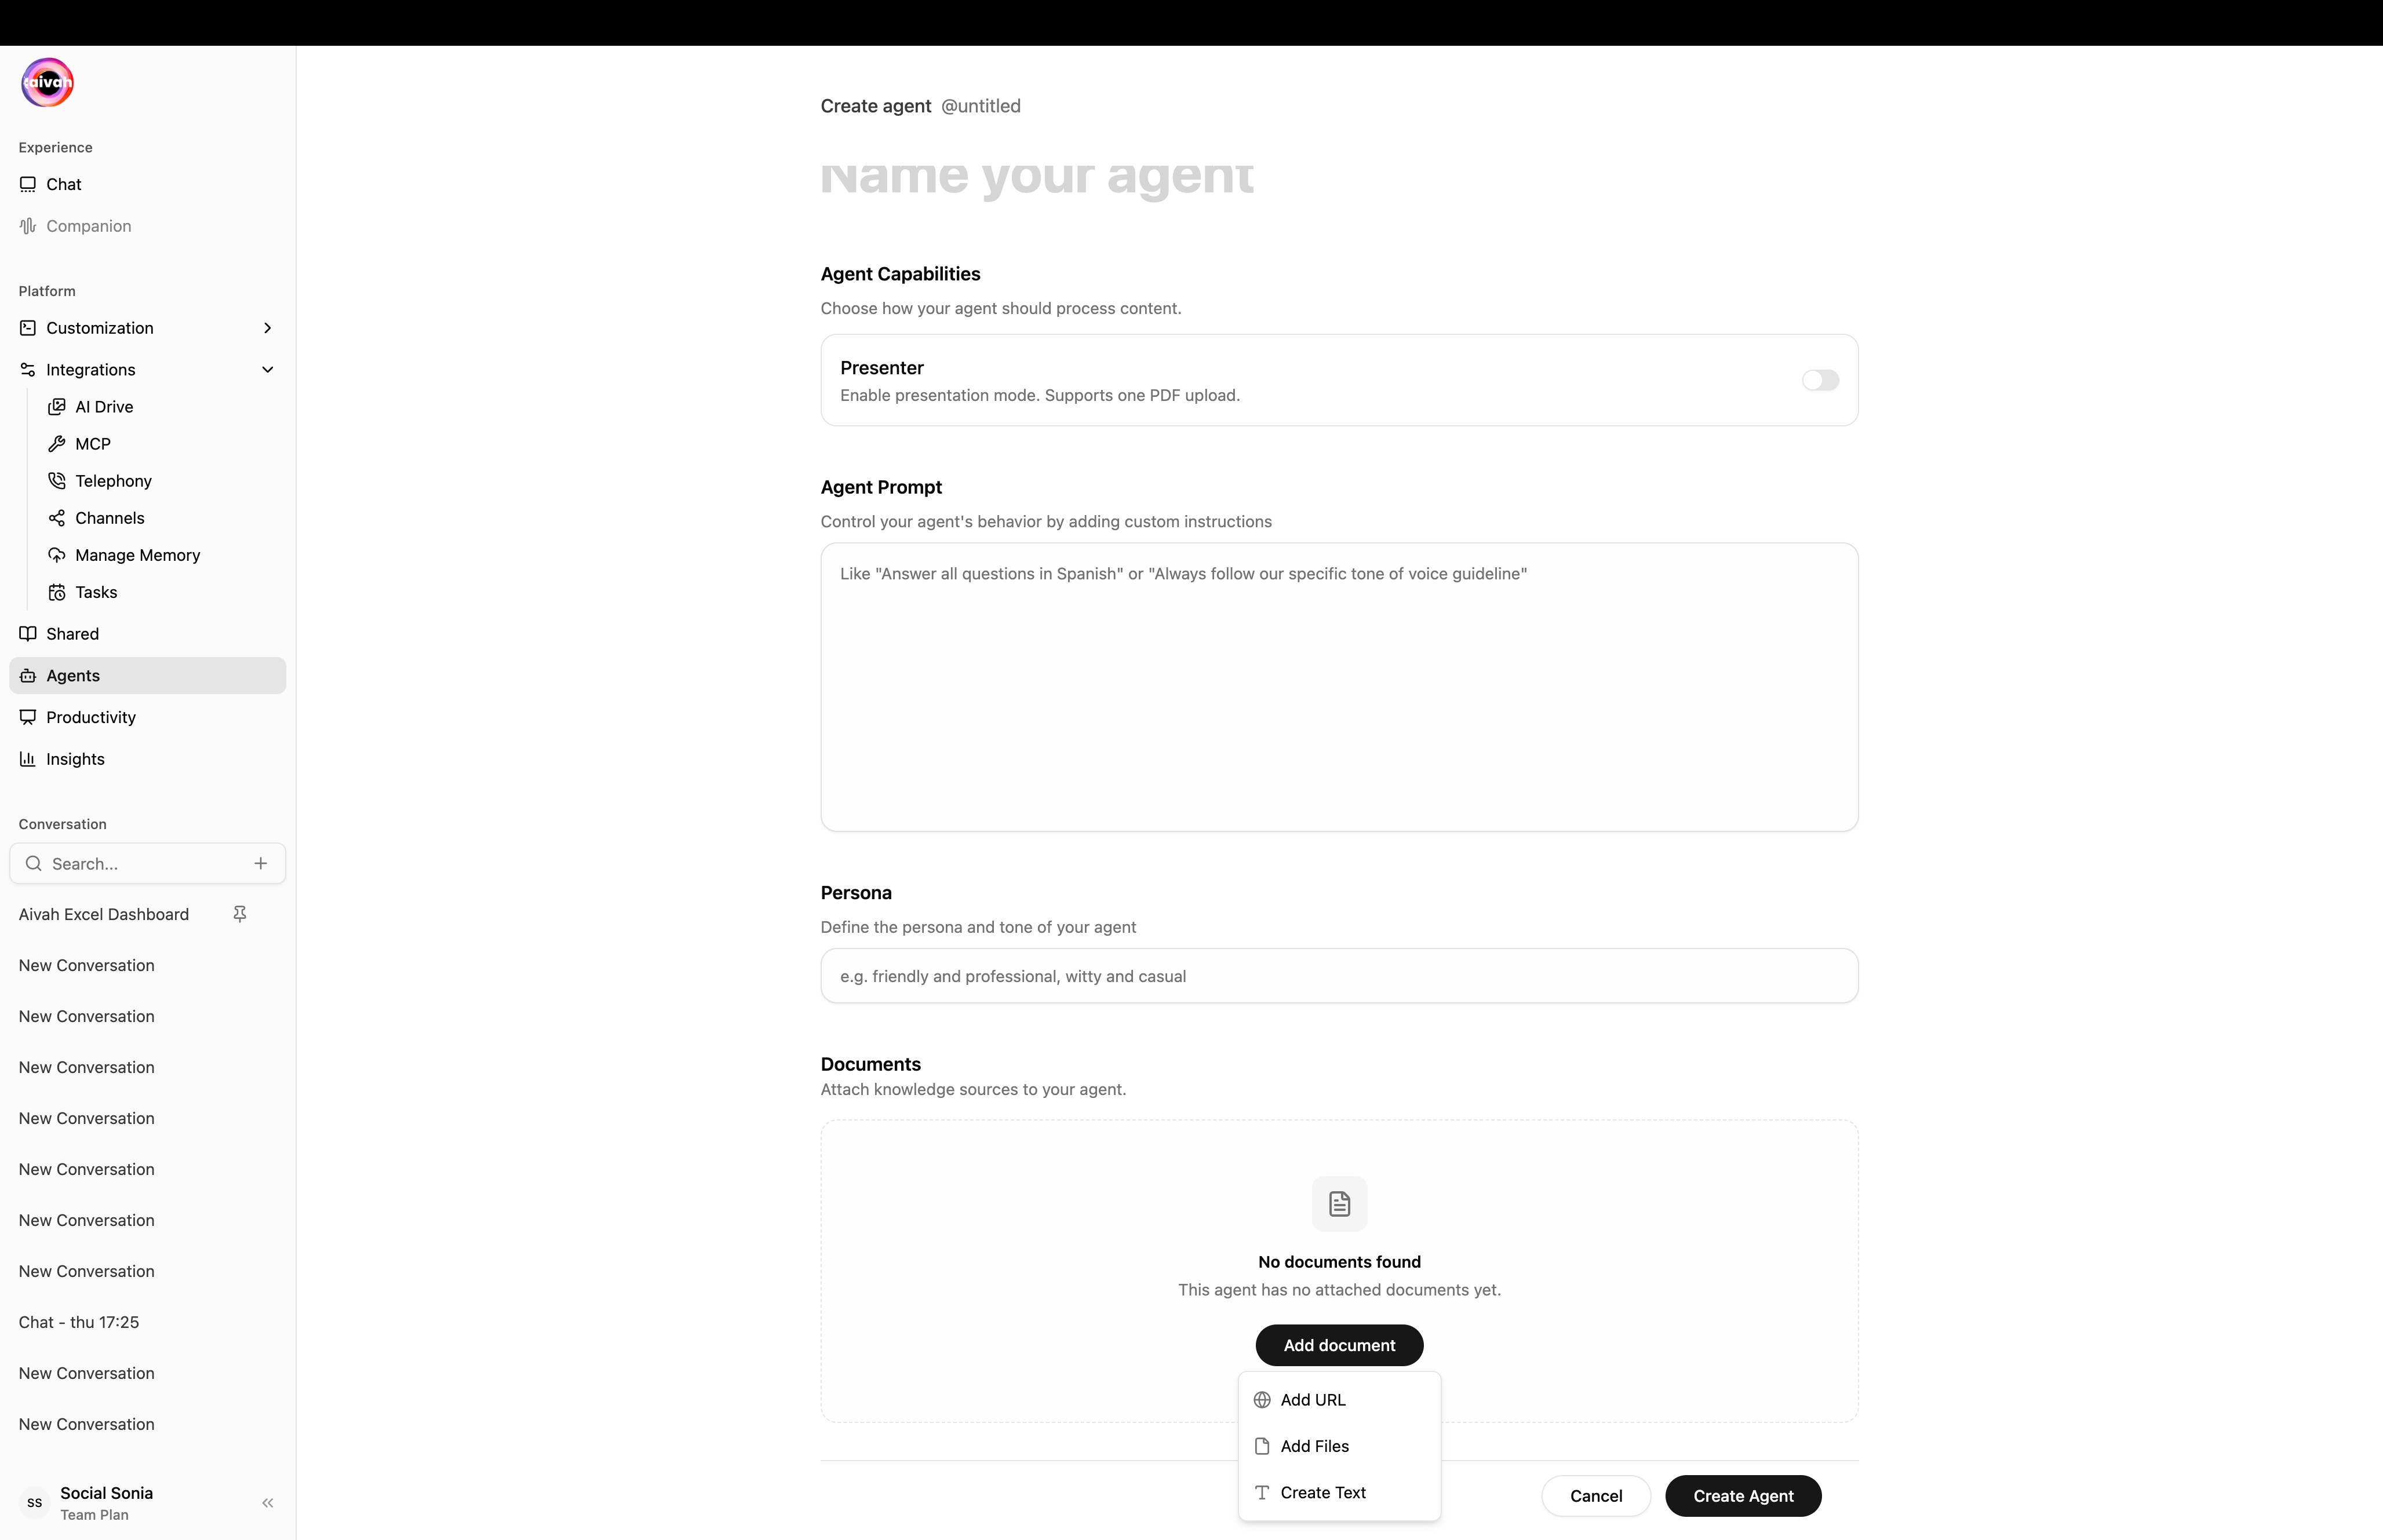
- Add URL
- Add Files
- Create Text
Paste any publicly accessible link – website pages, blog posts, YouTube/Vimeo videos, or documentation. Aivah fetches and indexes the page automatically.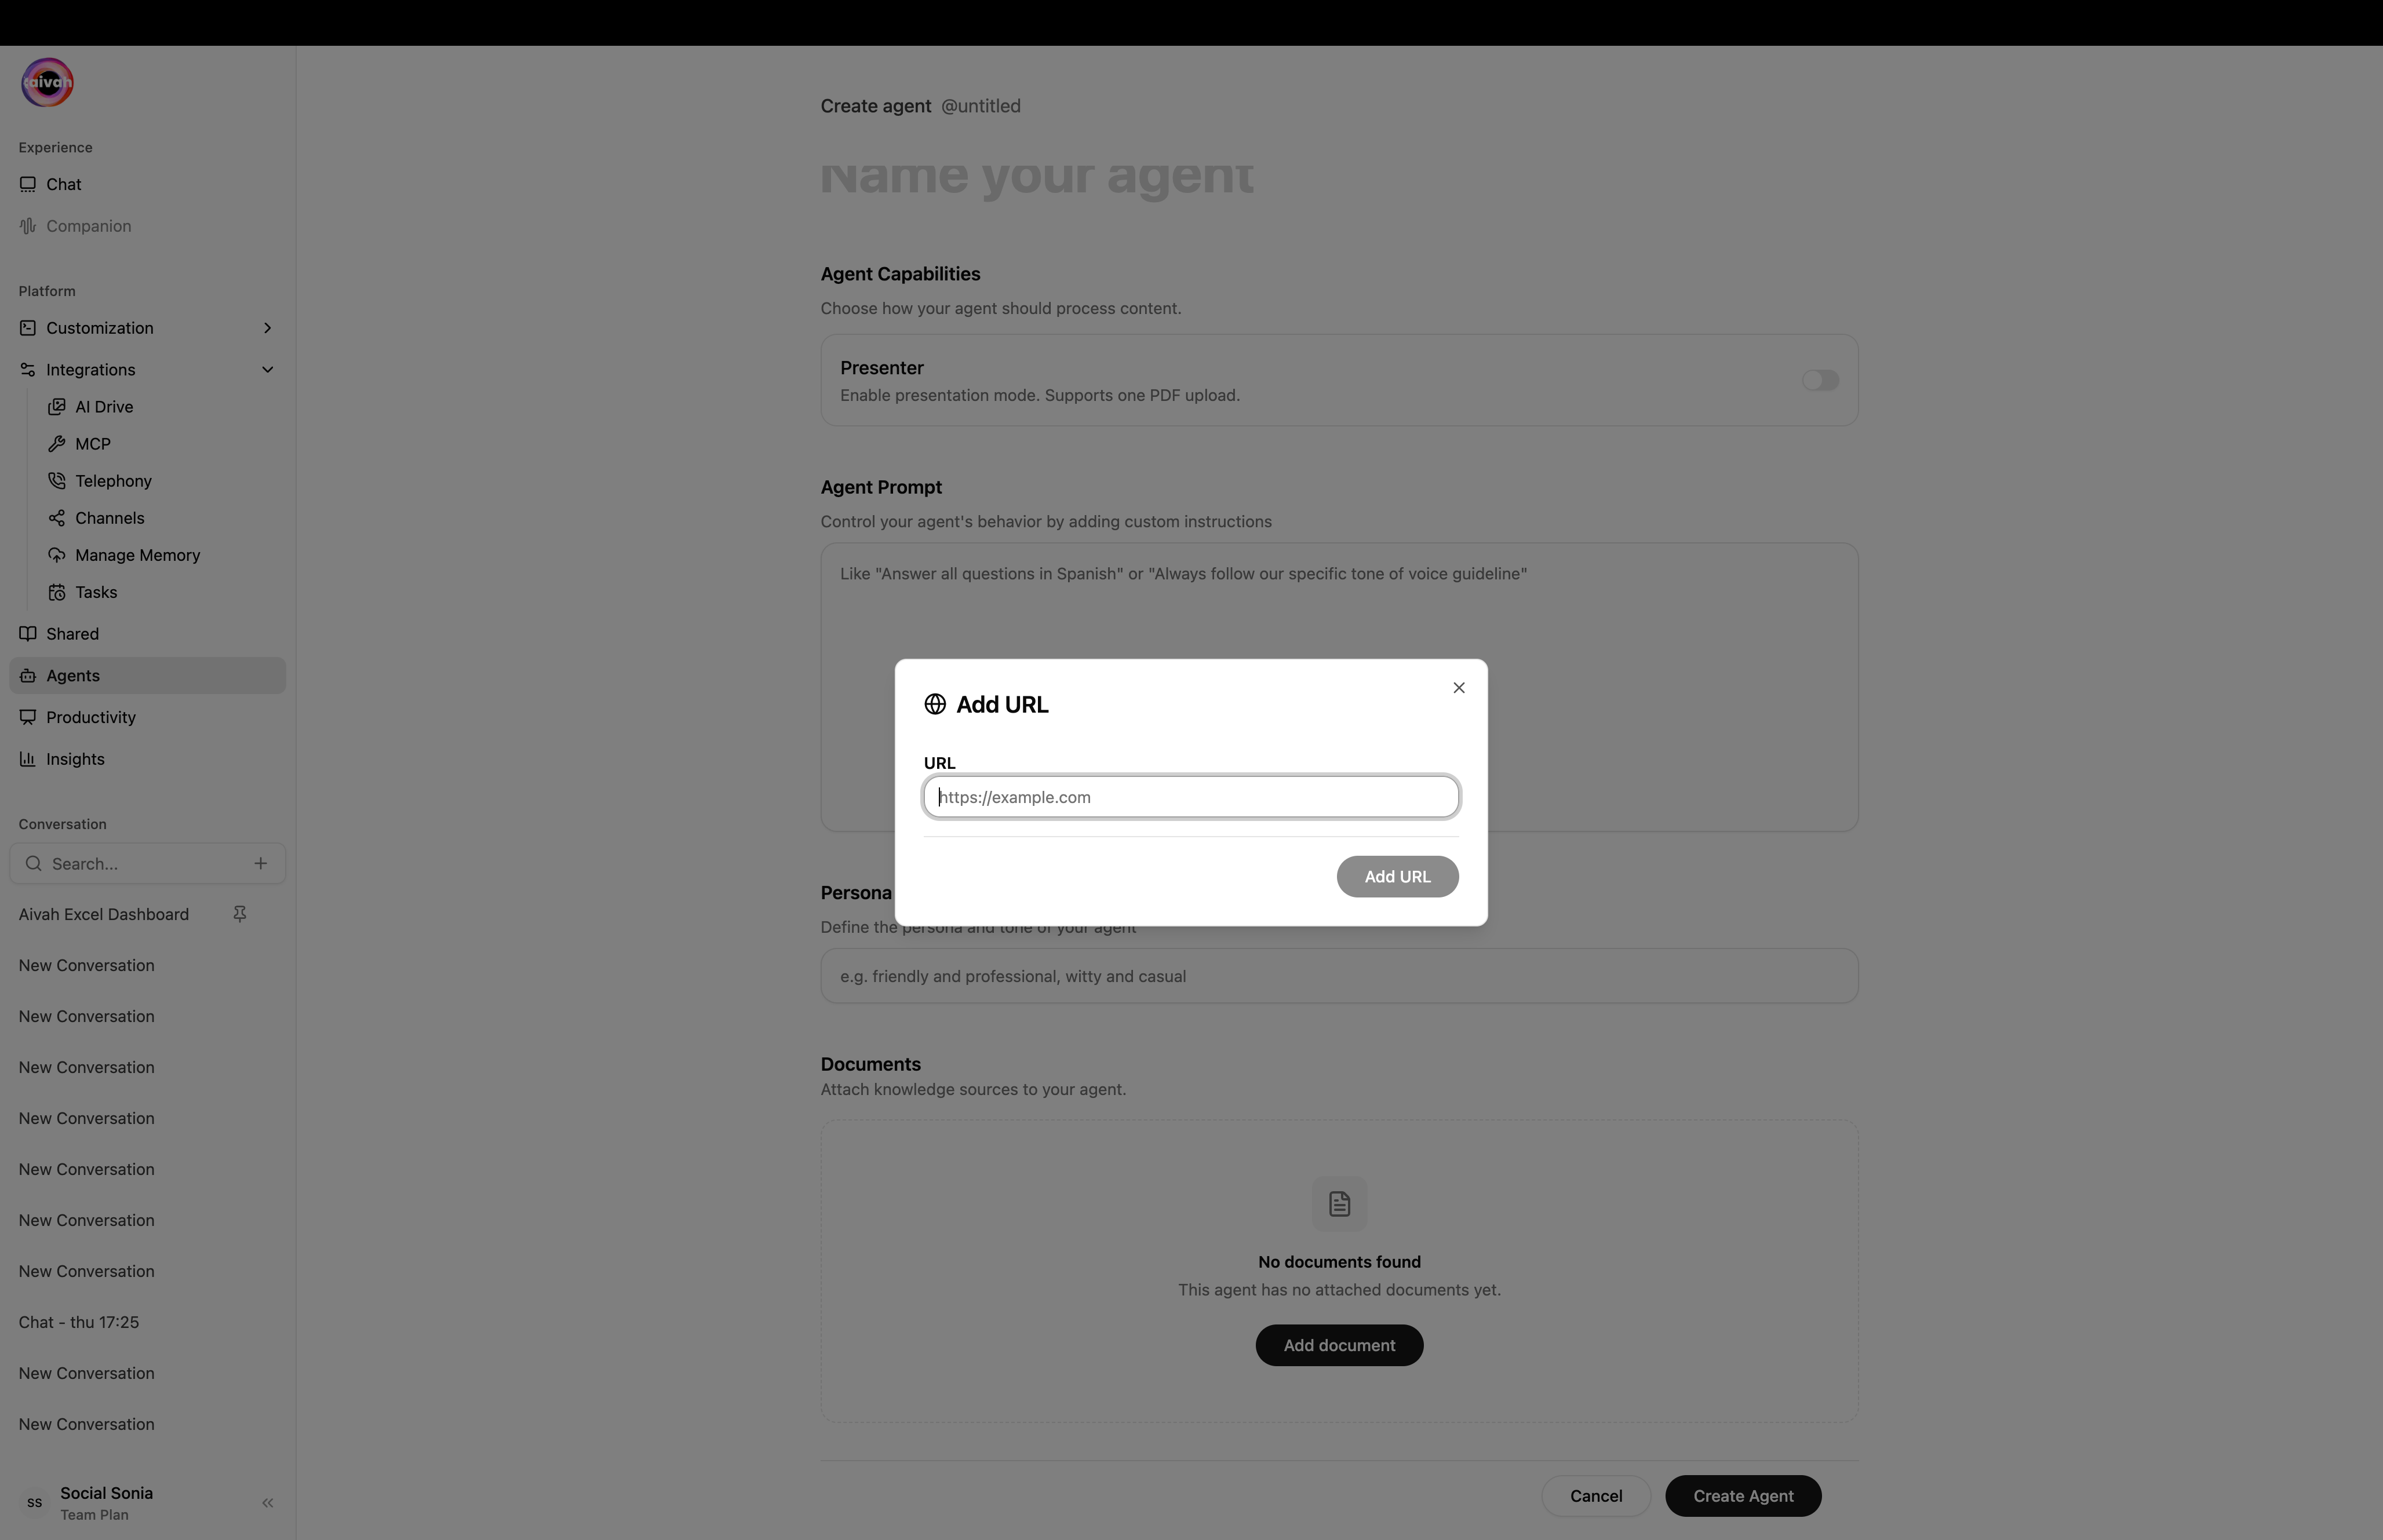
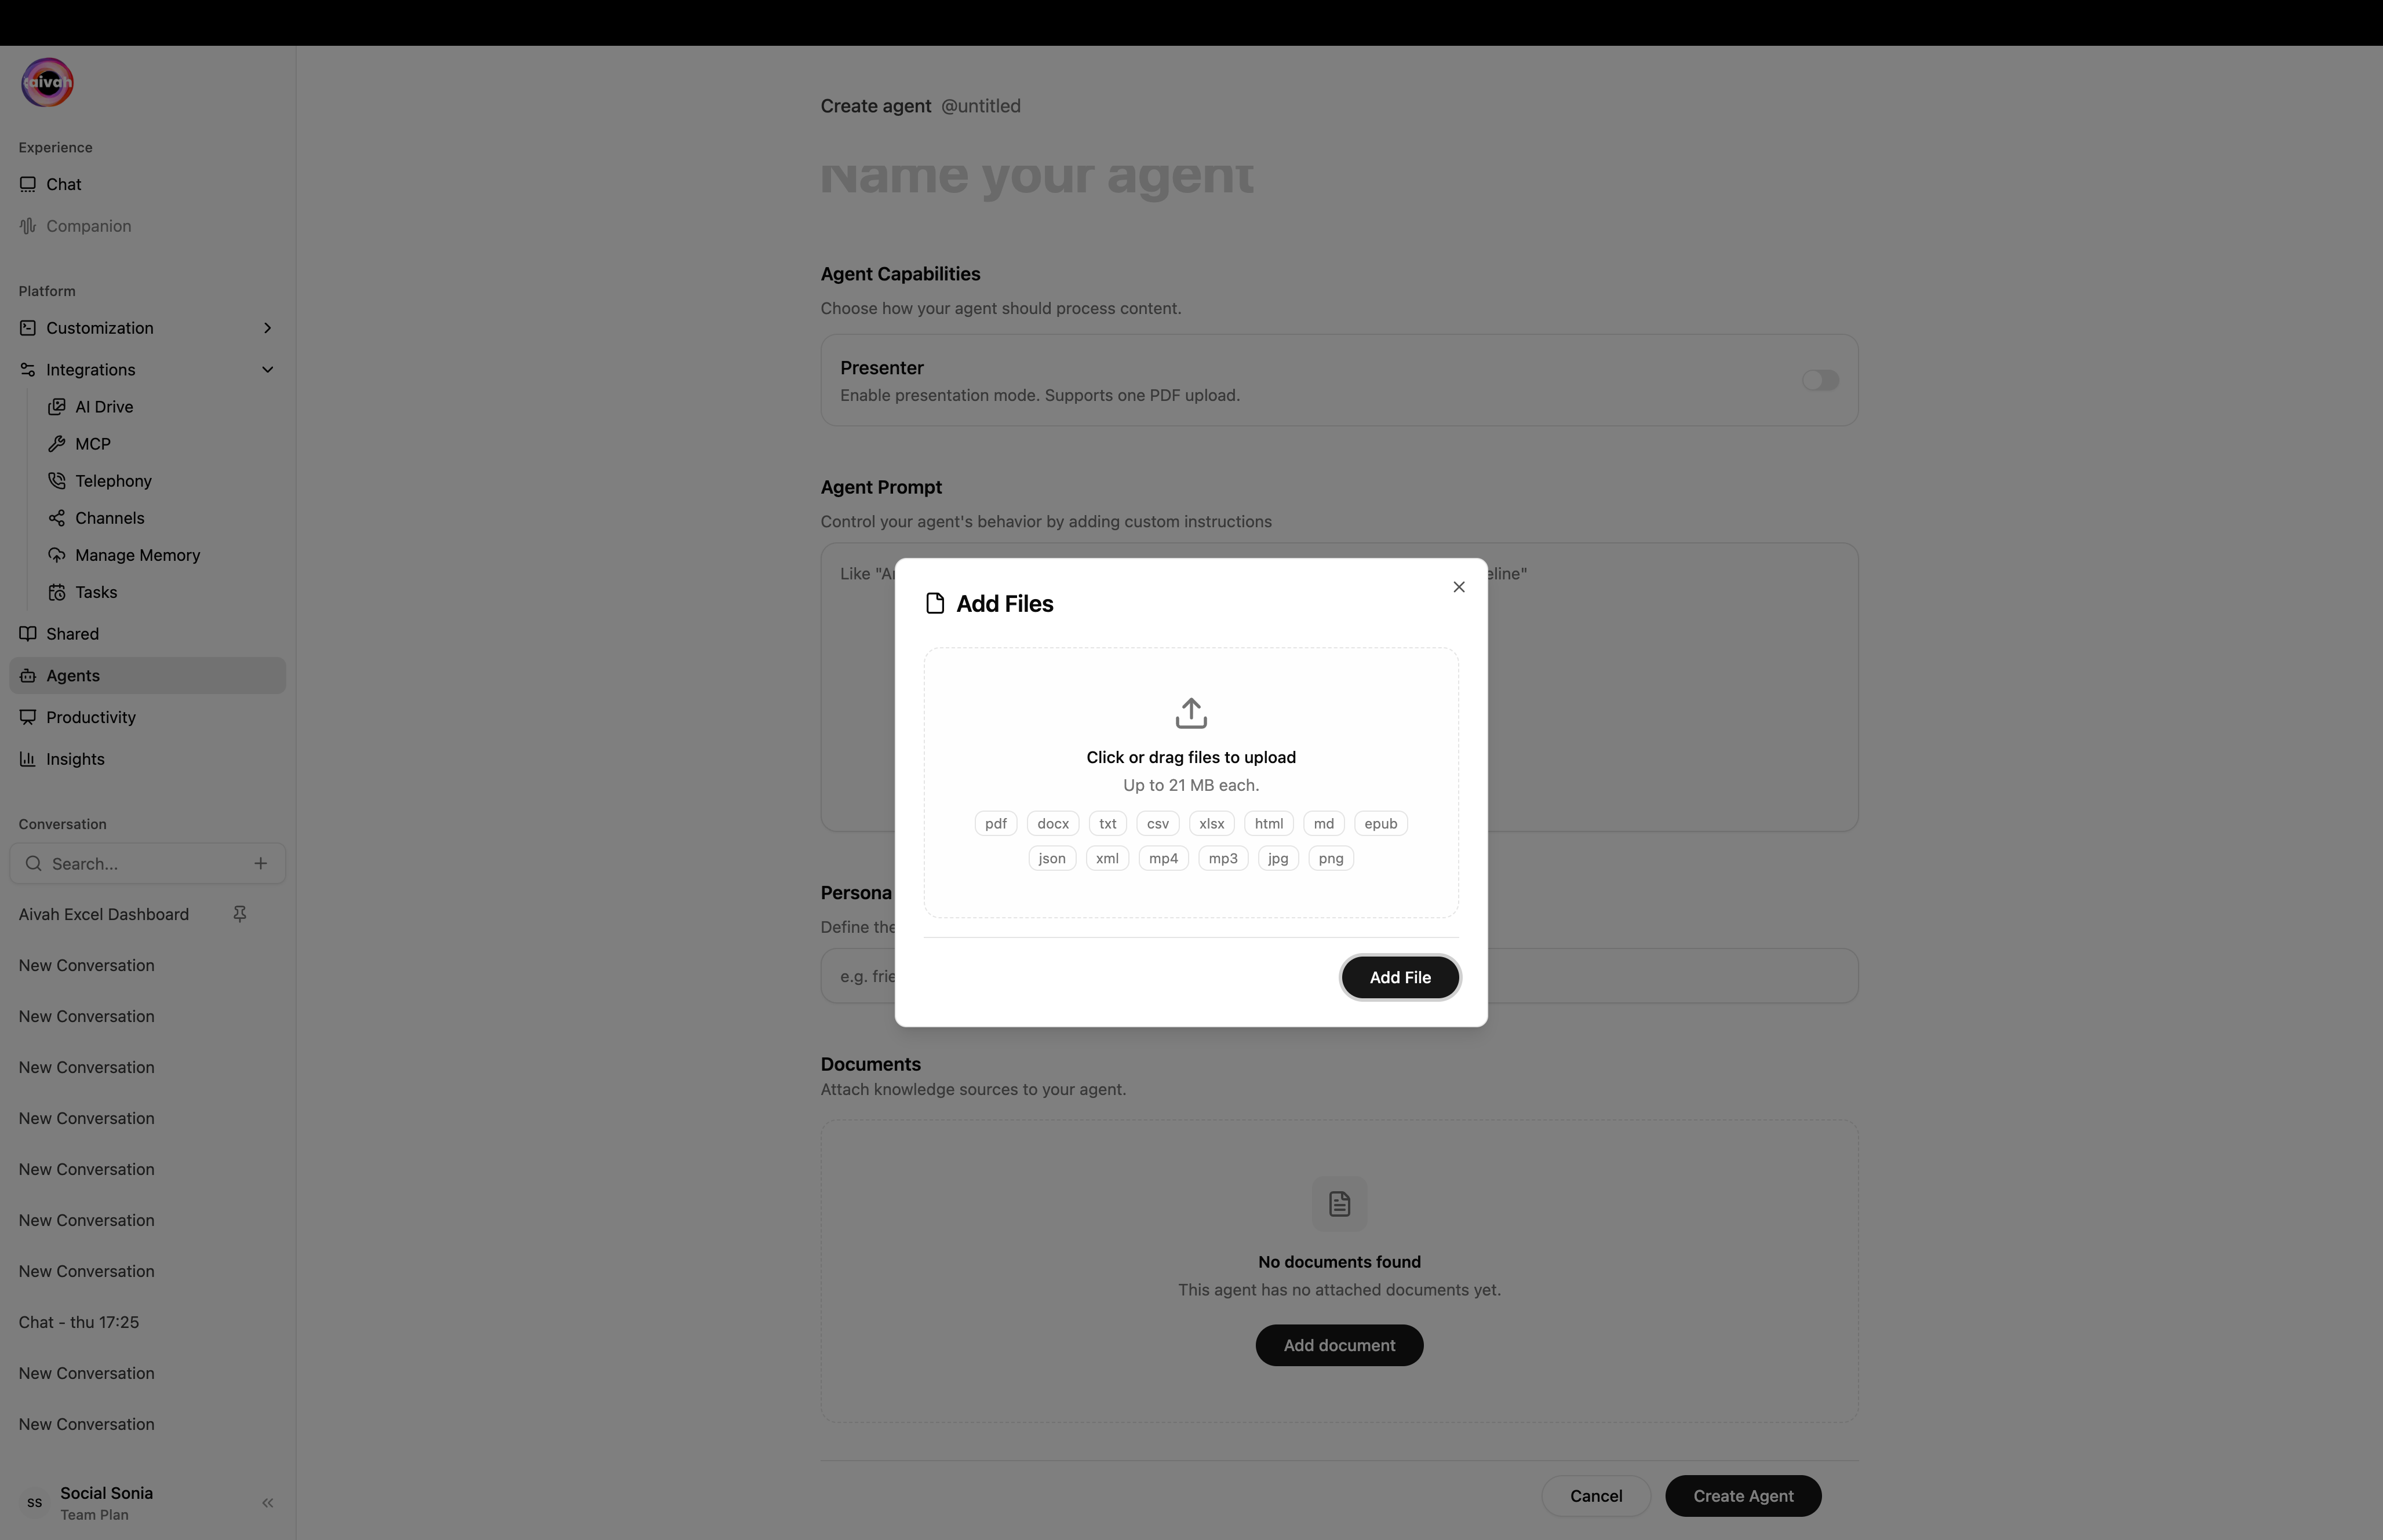

Presenter agents accept only a single PDF or a single video at a time. Delete the existing file to replace the deck.
Finalise
Click Create Agent. The agent entersprocessing, you’re redirected to the agents list, and Aivah polls every few seconds until the status flips to completed. If a single source fails, open the agent detail view and hit the inline refresh on just that item.
Step 2: Pick a Persona – Avatar, Character, and Voice
Aivah keeps everything visual in one workspace:Side nav → Customization.
Avatars (3D)
Browse the full Ready Player Me-based avatar library and set defaults fromCustomization → Avatars.
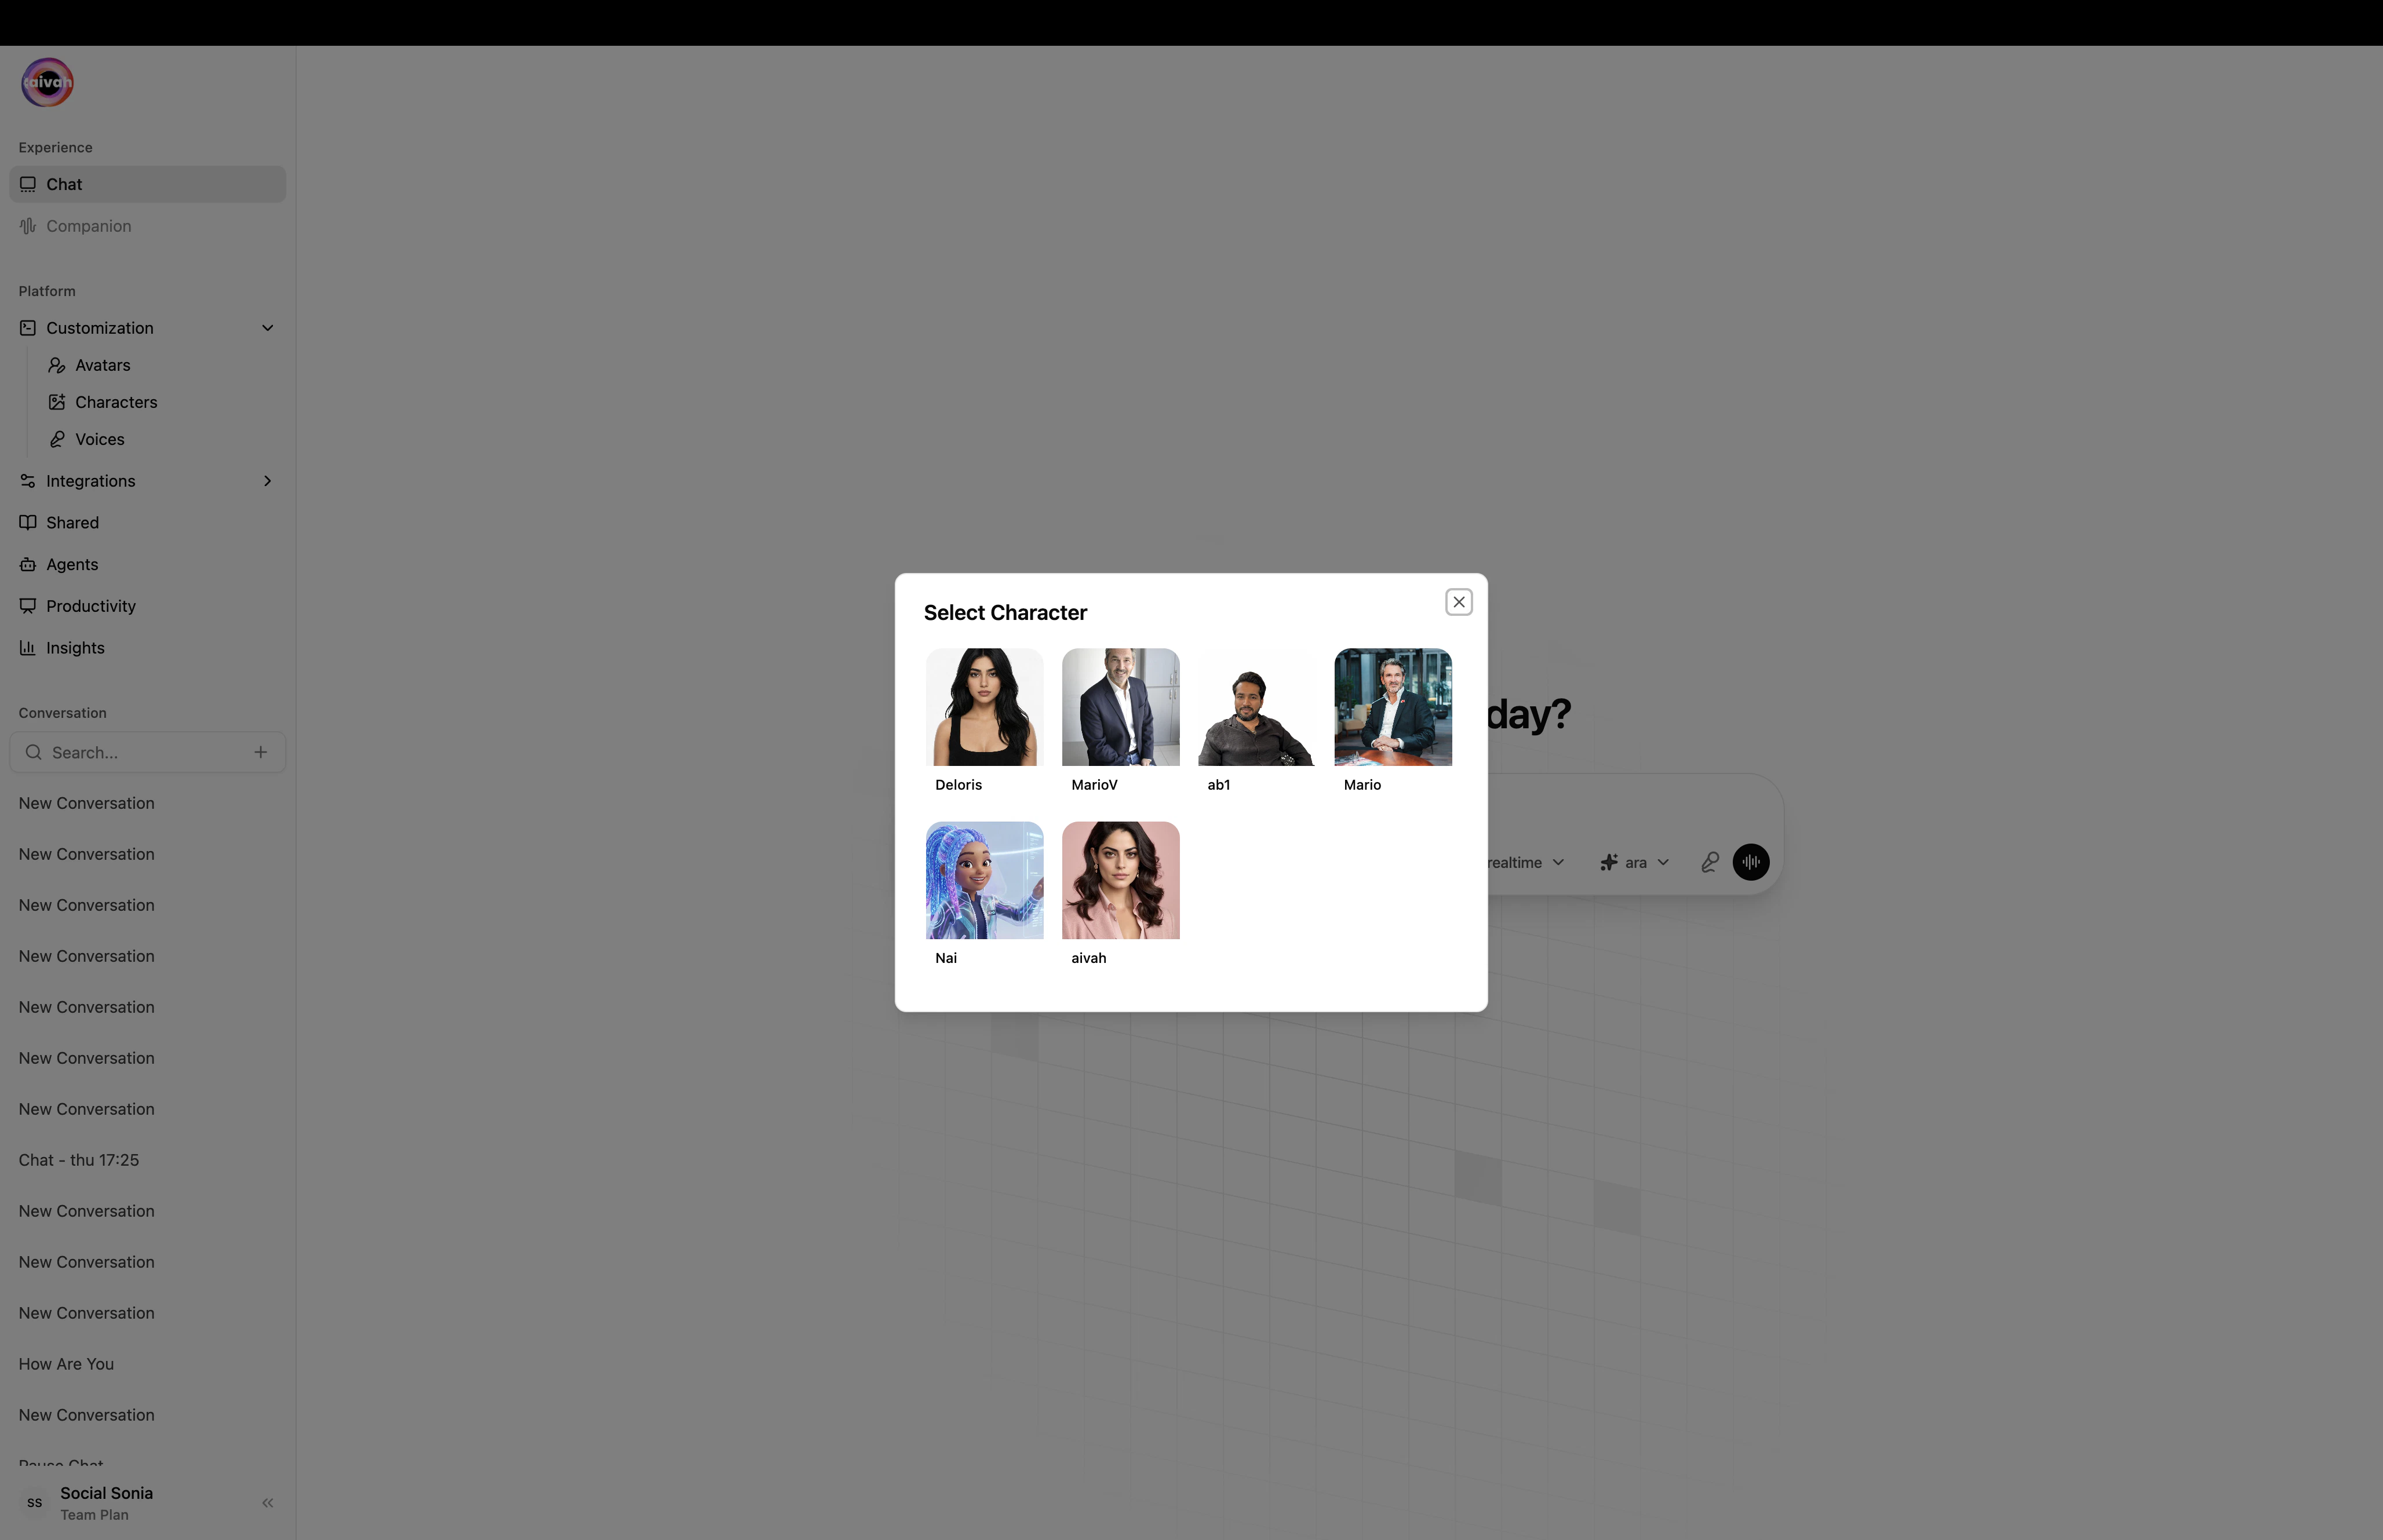
Characters (2D)
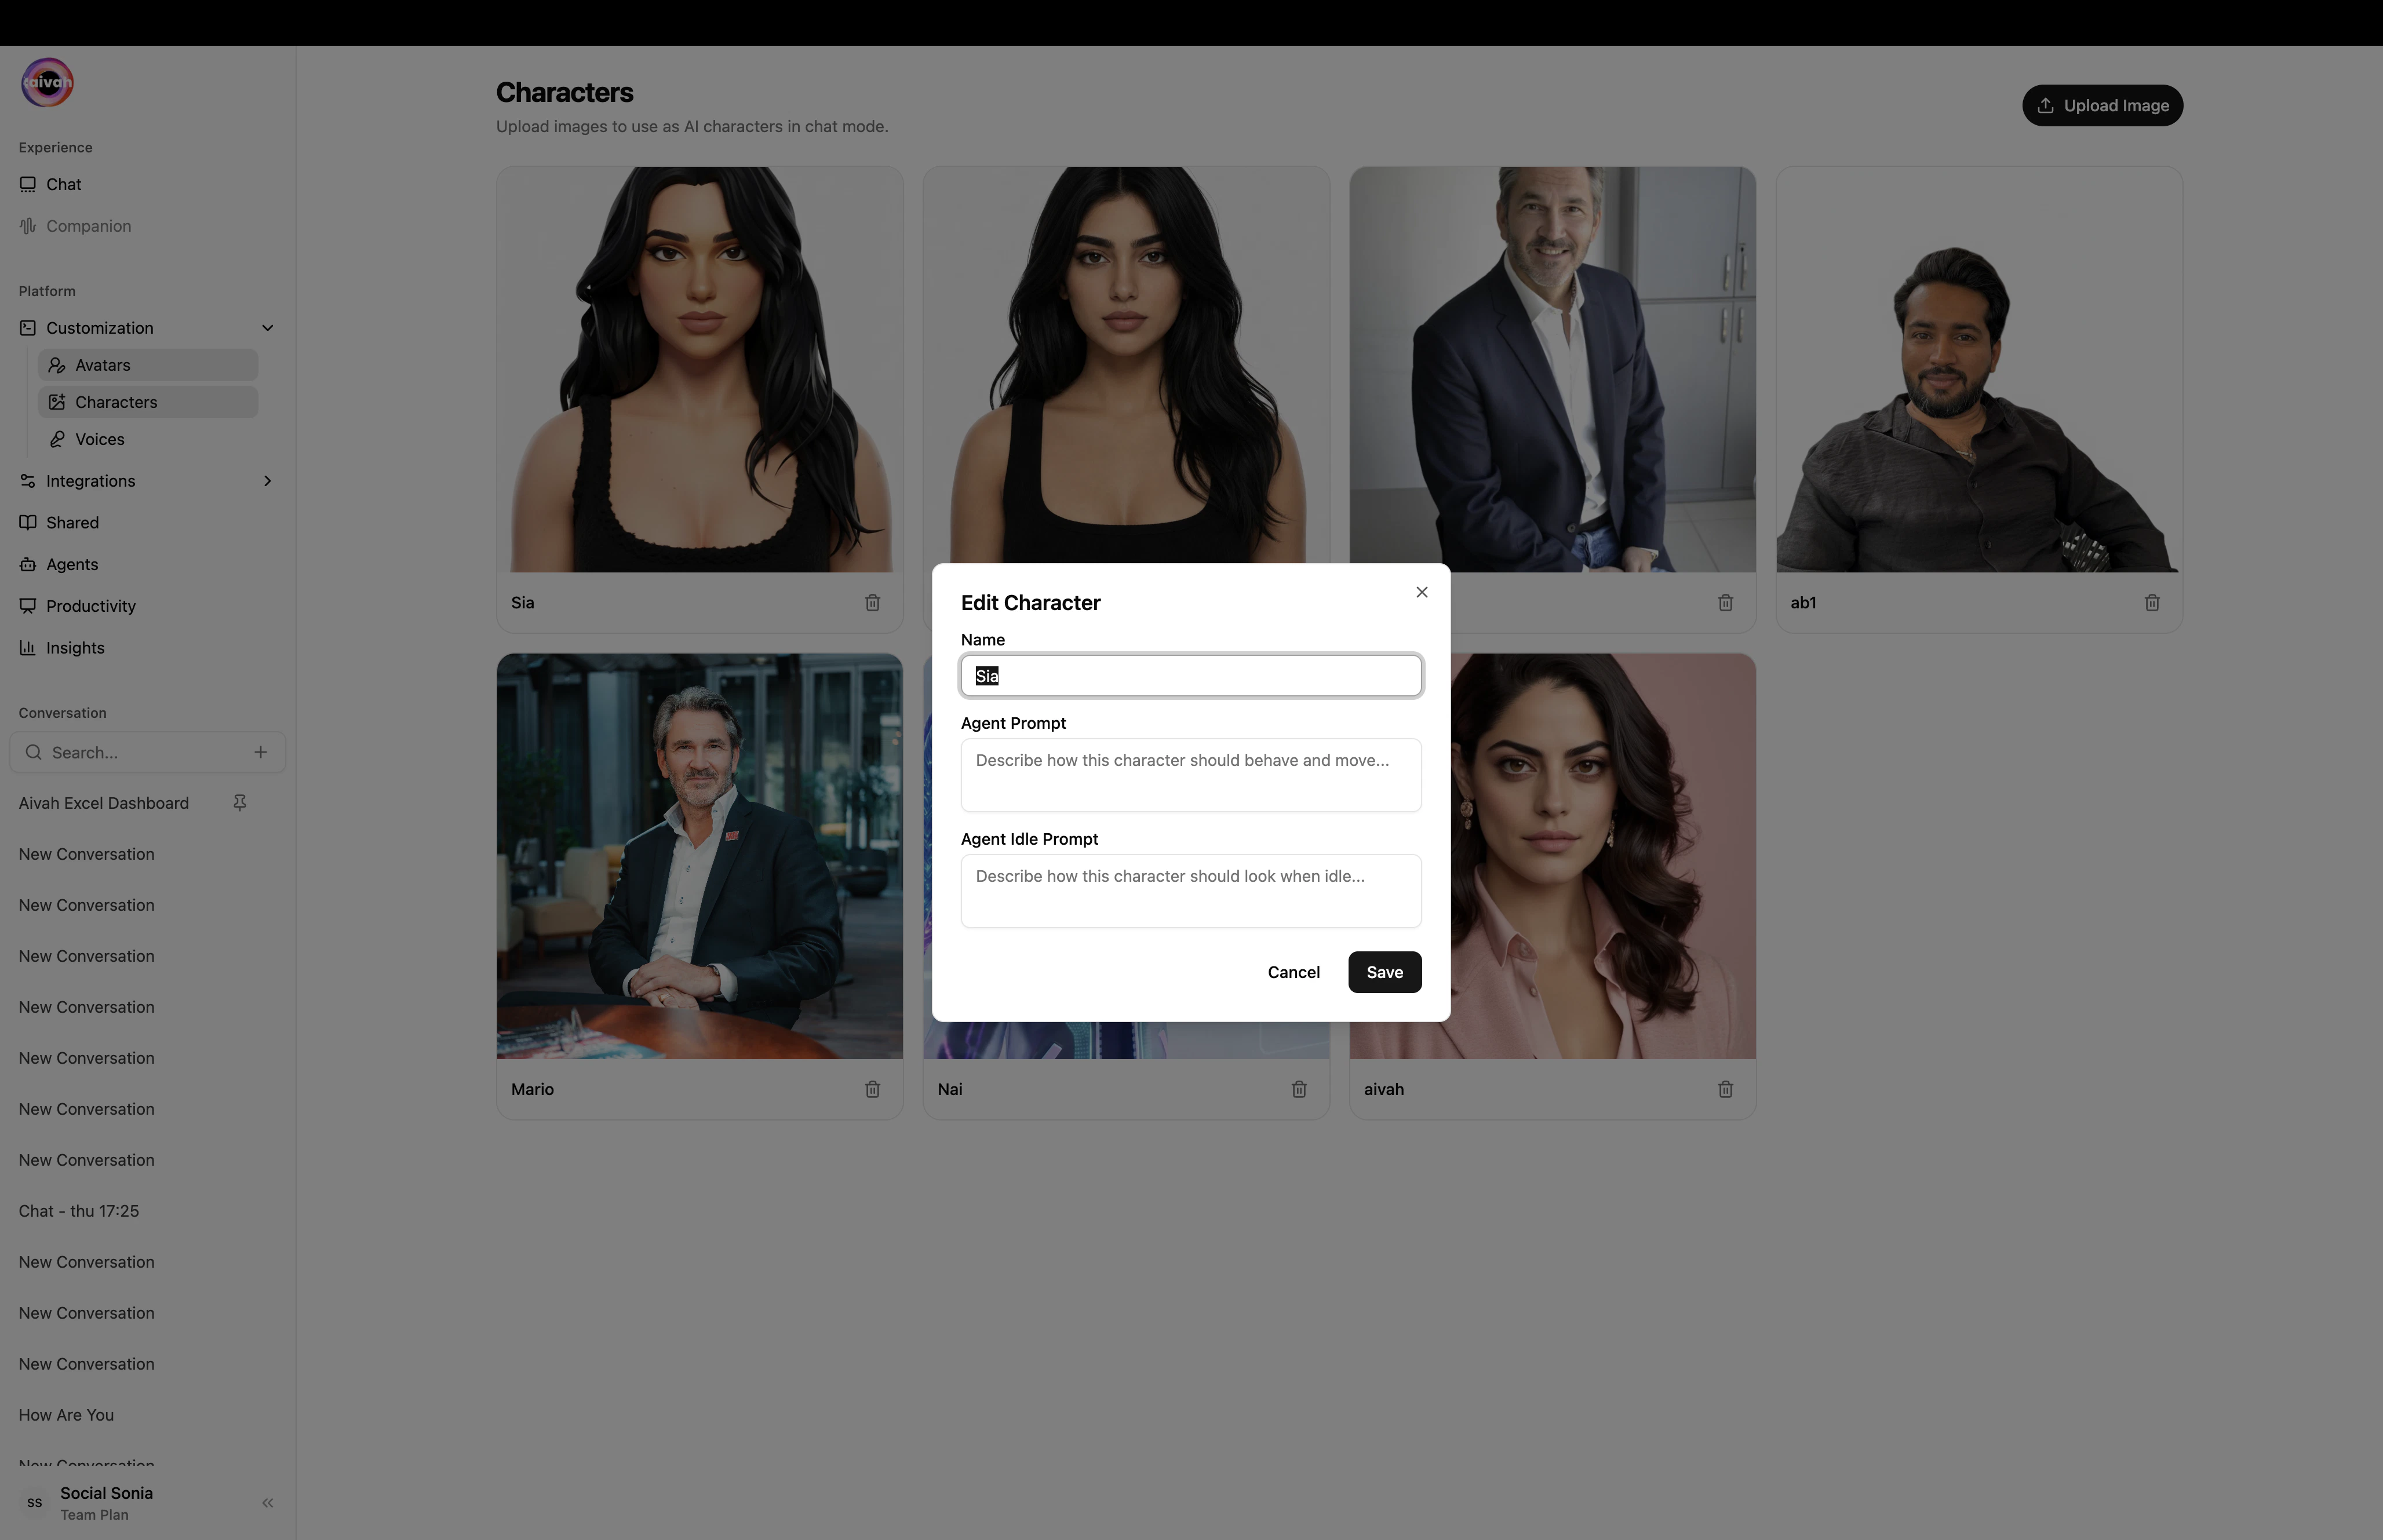
Characters are lightweight image-based personas – upload a photo, crop it, name it, and it’s instantly selectable everywhere a character can be picked.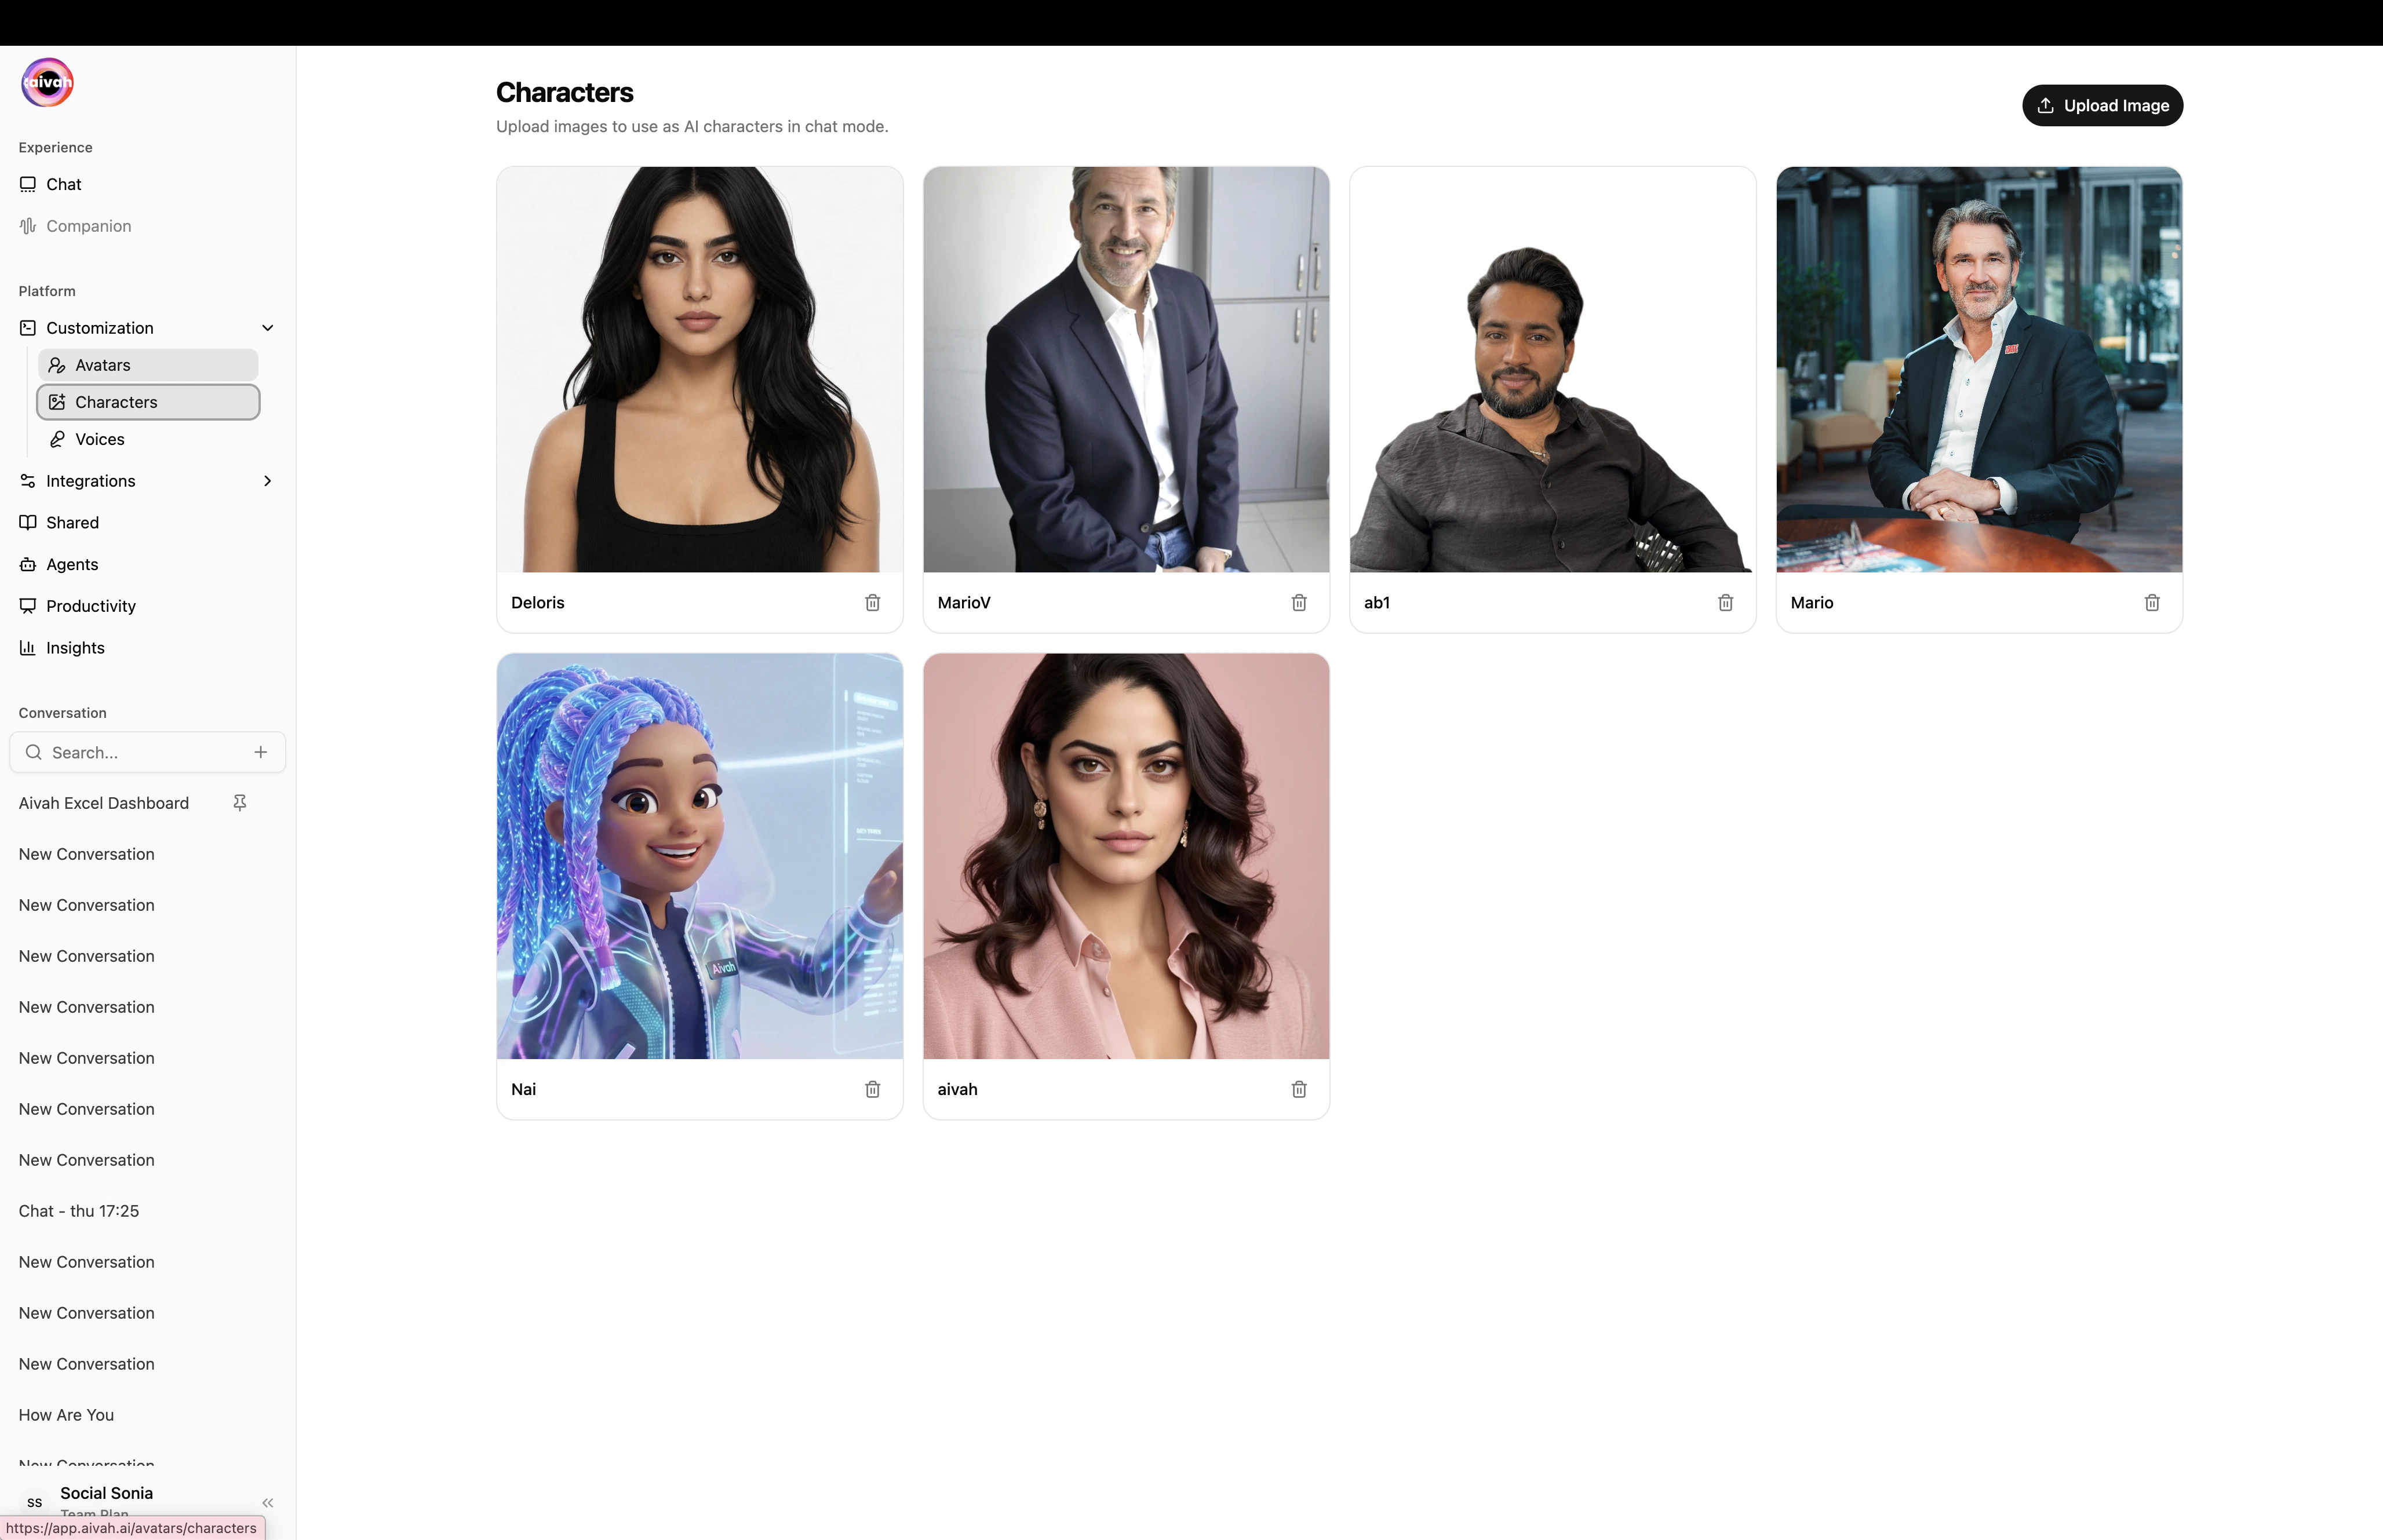
Click Upload Image
Open
Customization → Characters and pick a photo. JPG, PNG, and WEBP are supported.Crop the face
The Crop Character Image modal opens. Pick an aspect ratio (1:1, 3:4, 4:5, or Custom), name the character, then save.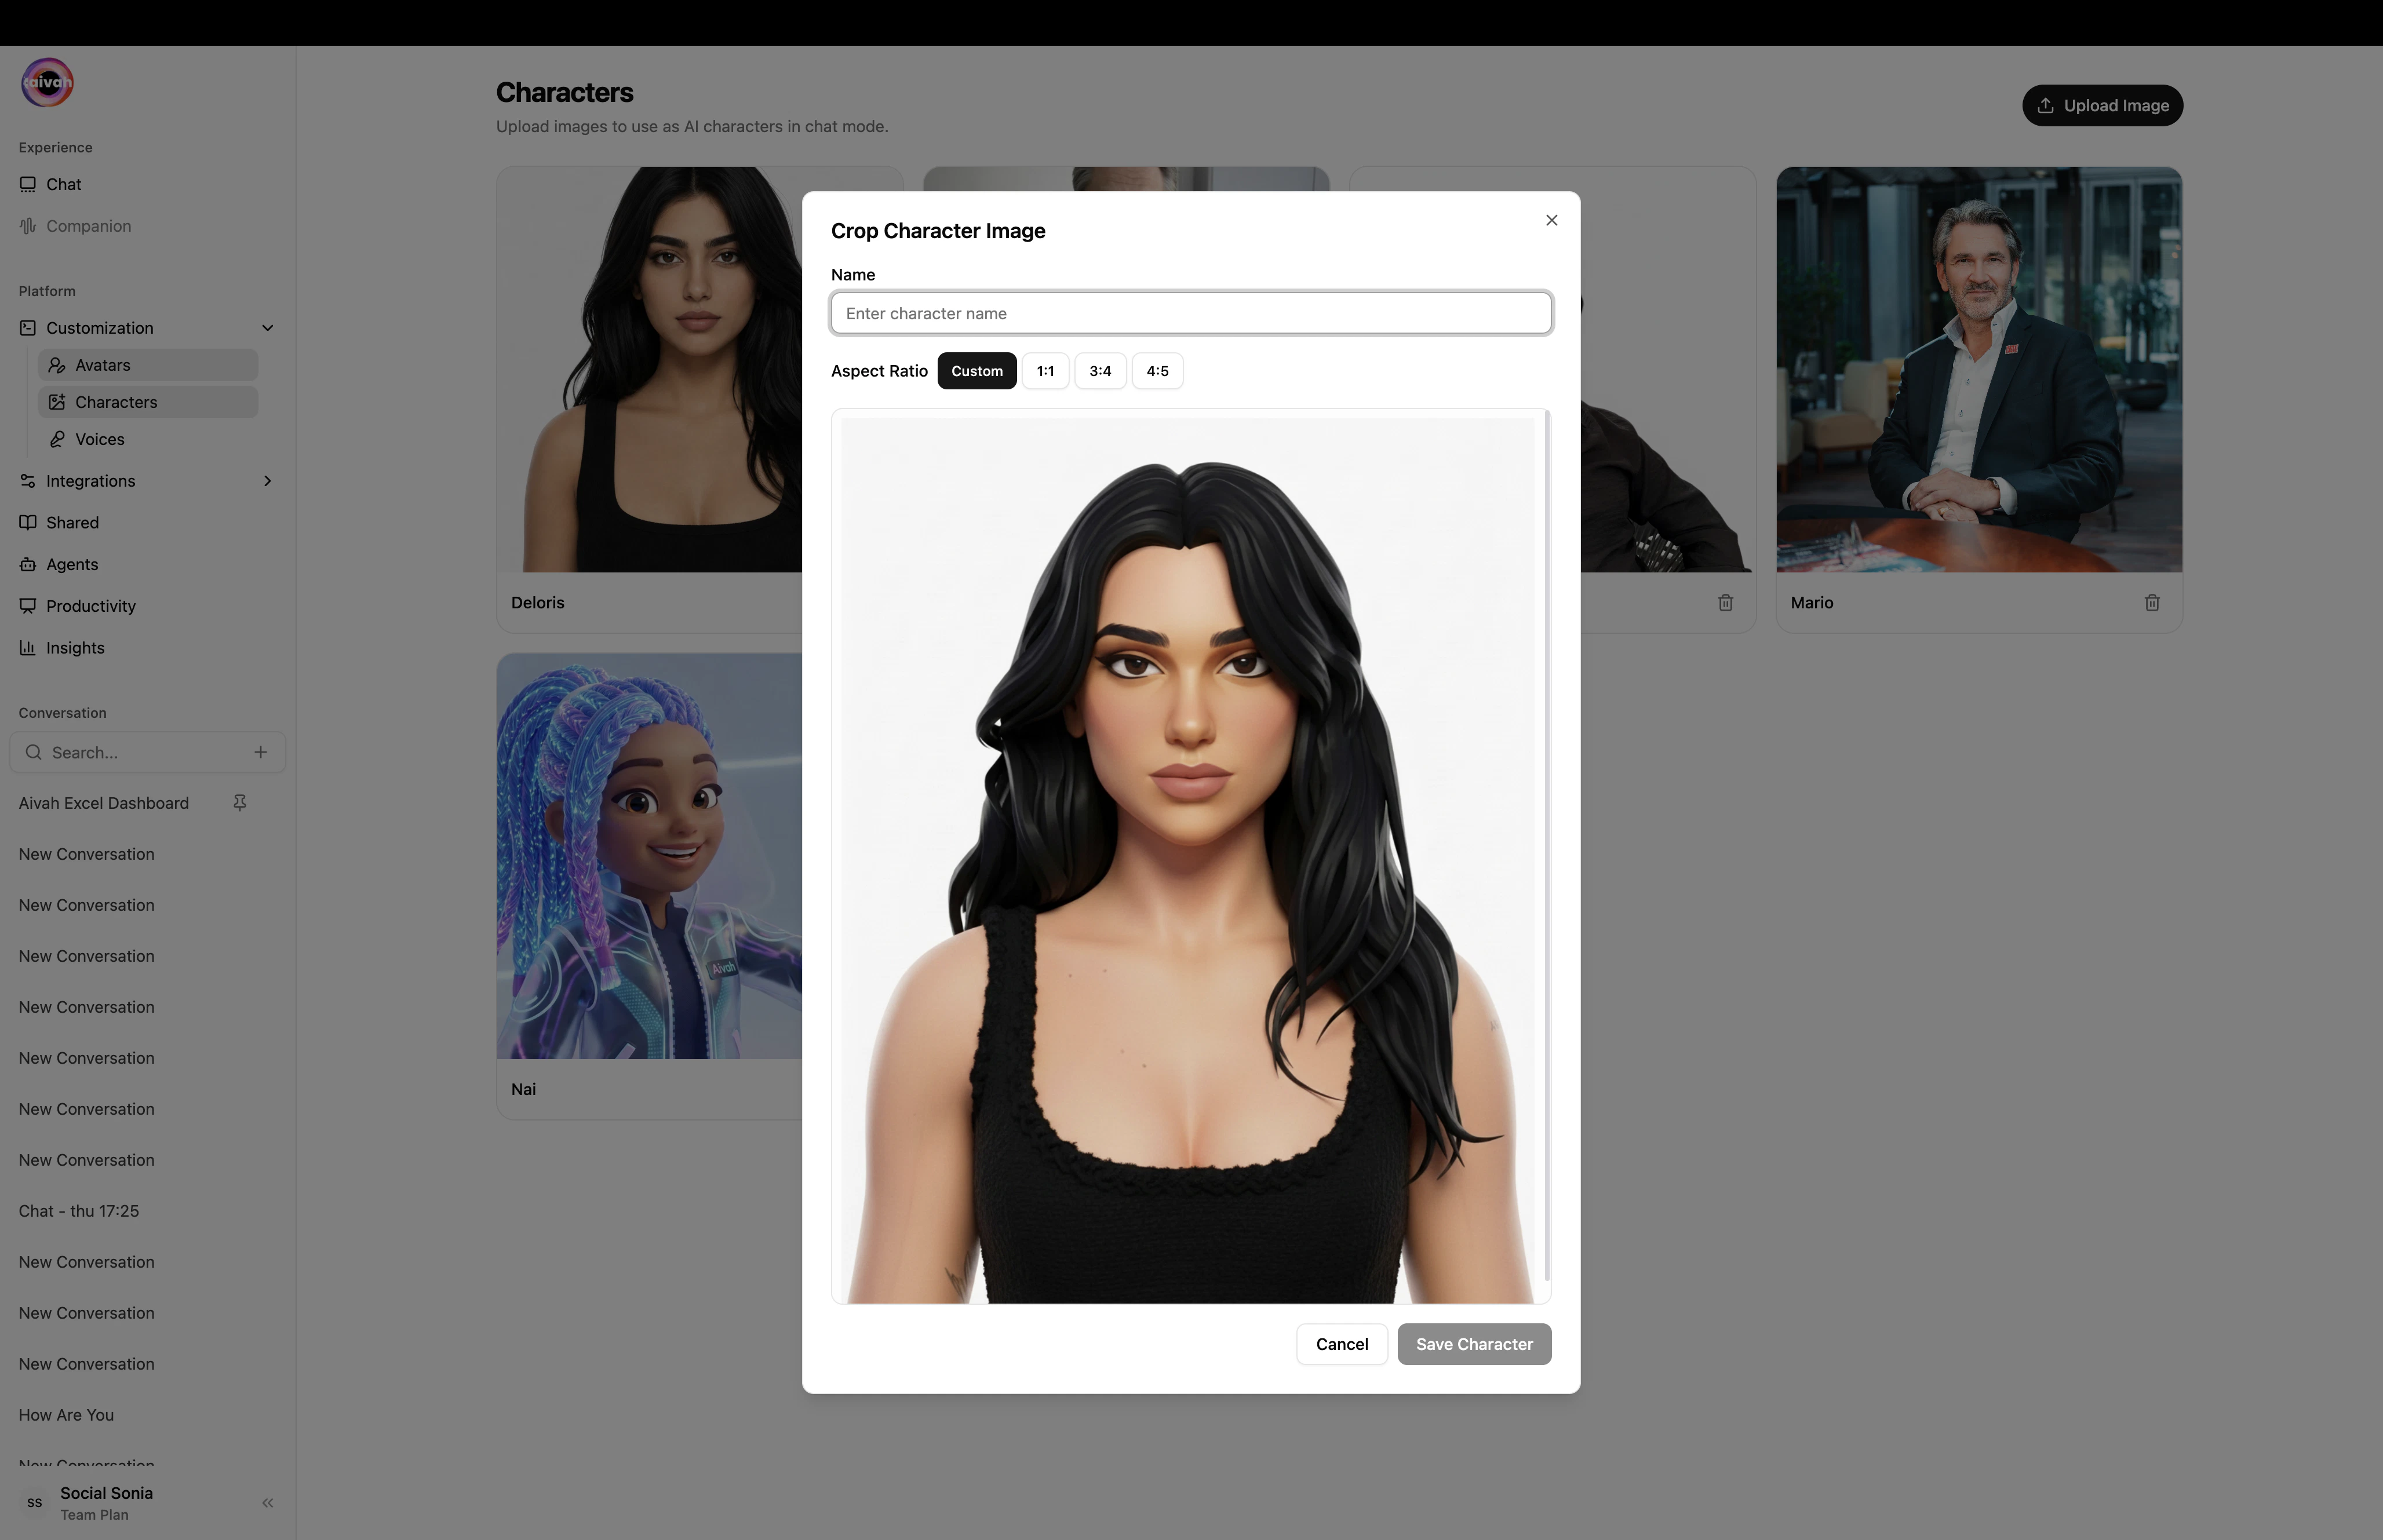
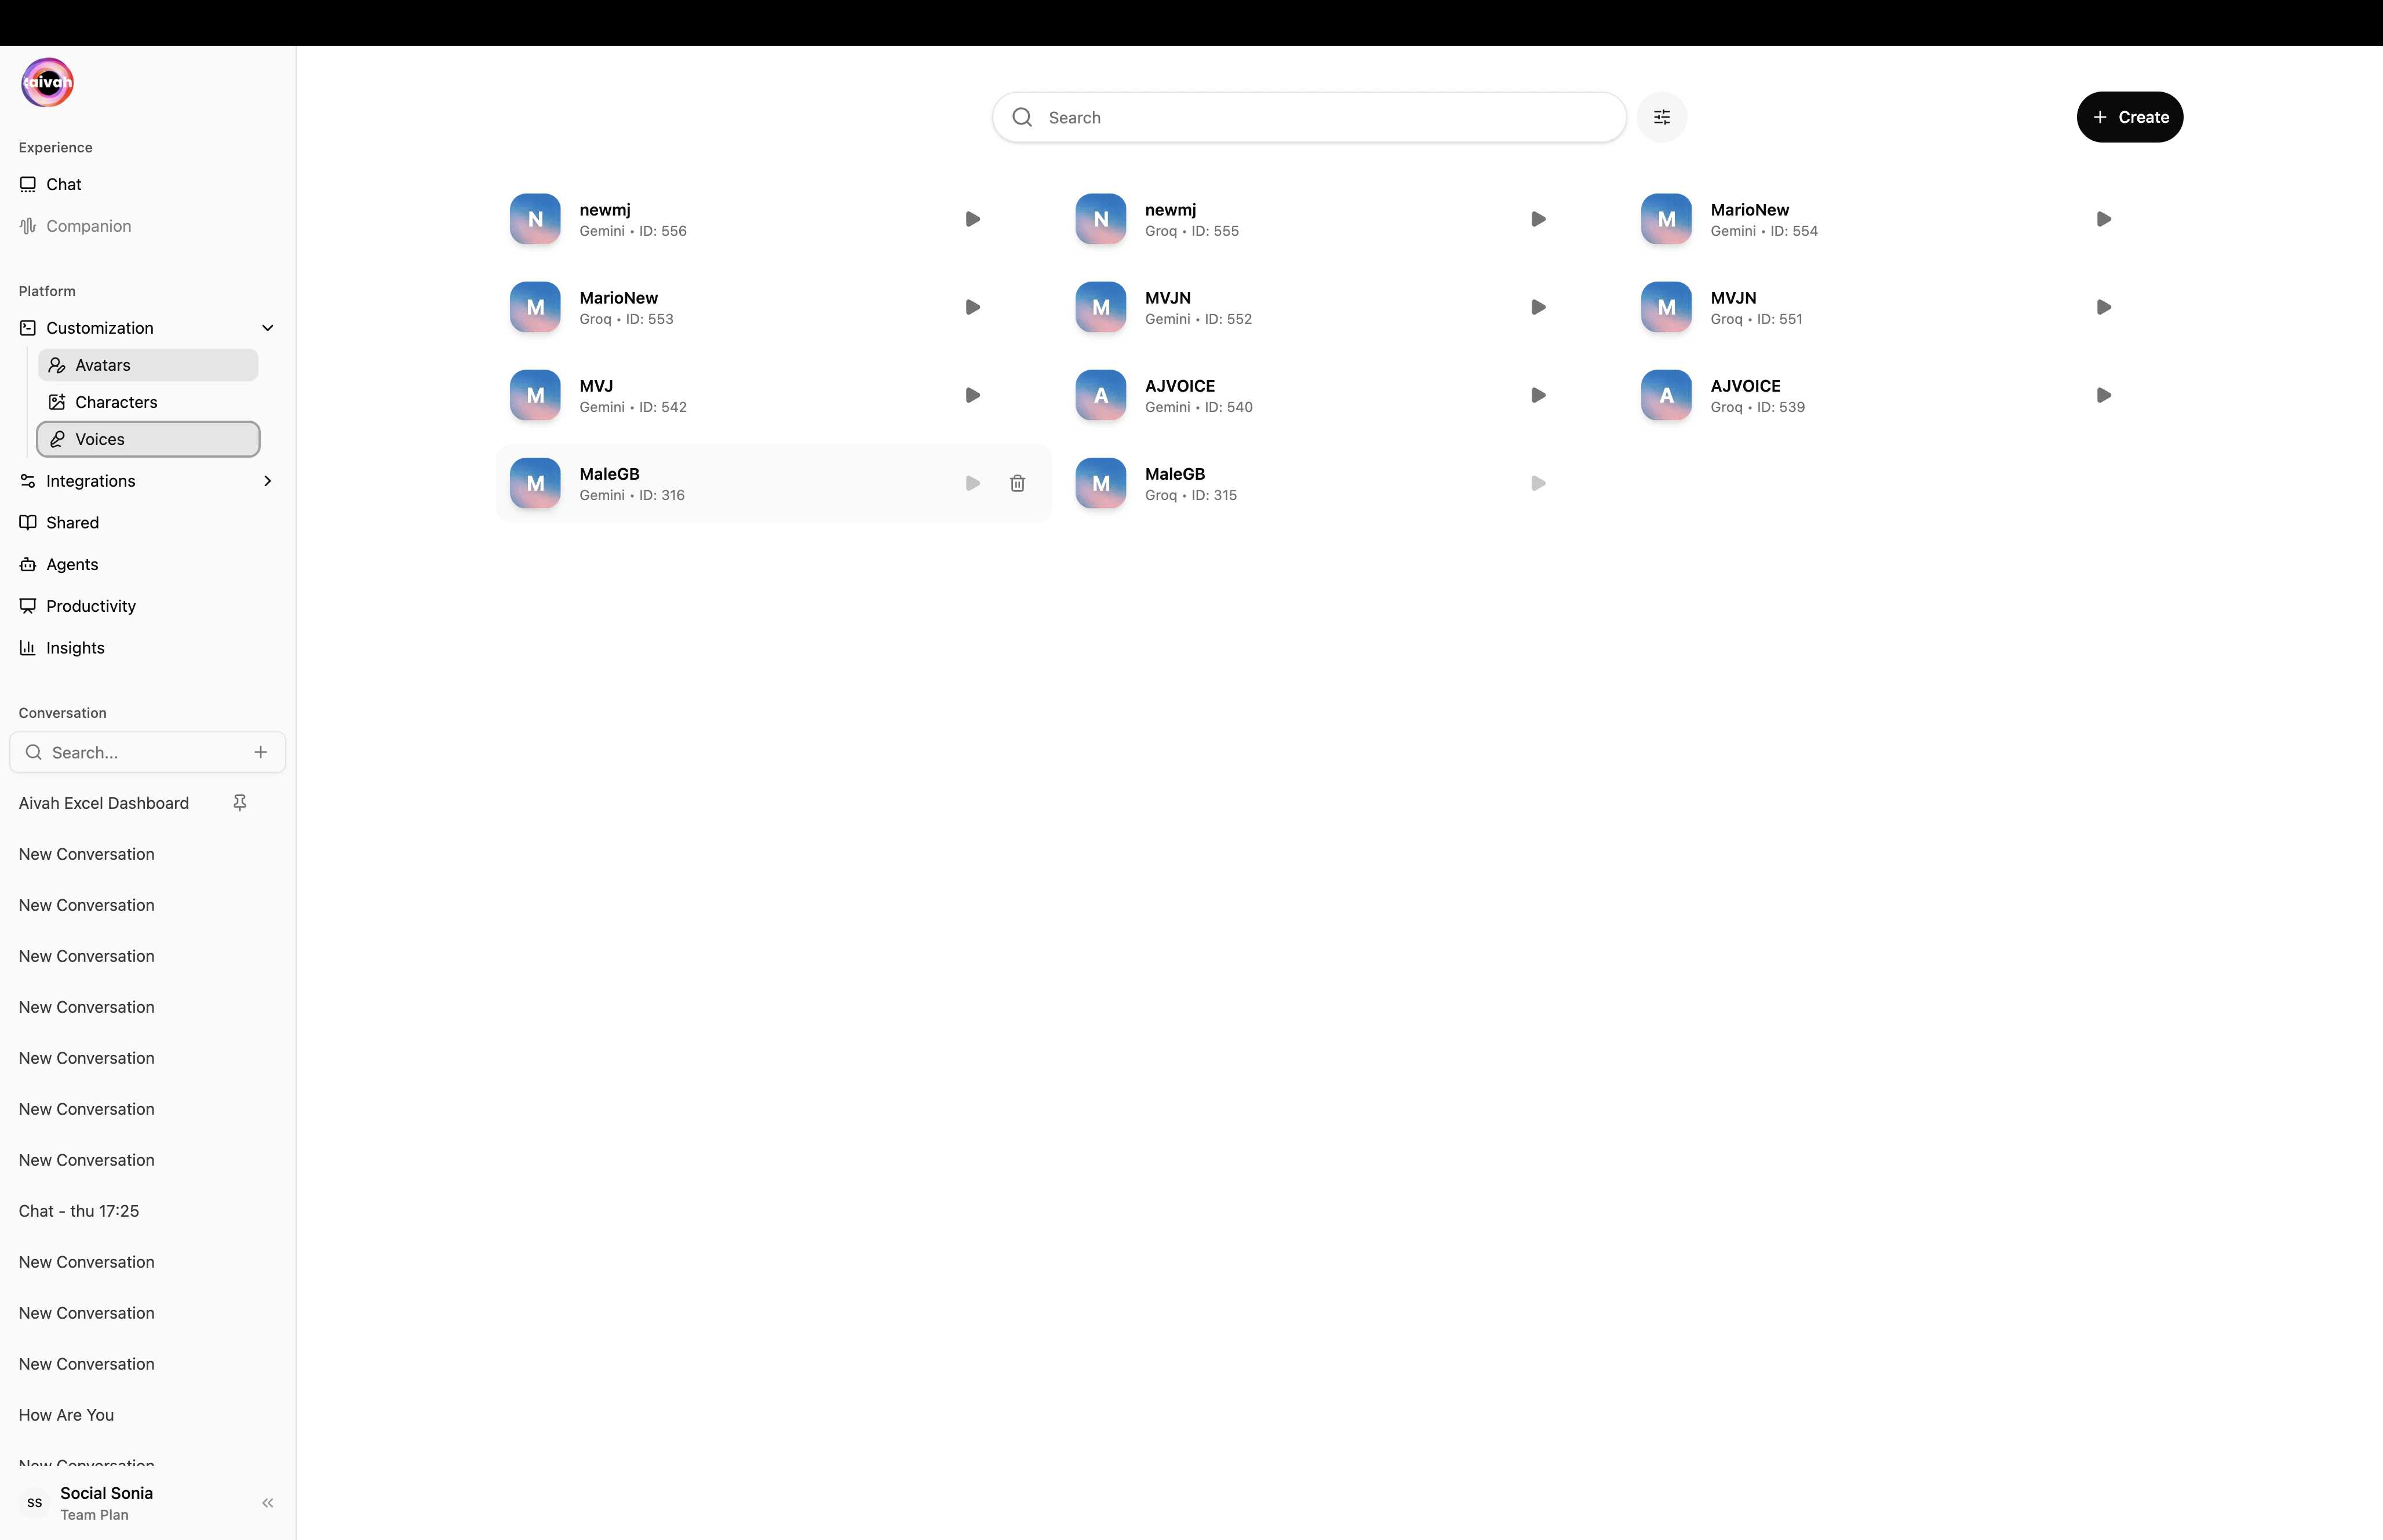
Voices
Customization → Voices lists every built-in voice plus any clones you’ve made. Click + Create to add your own.
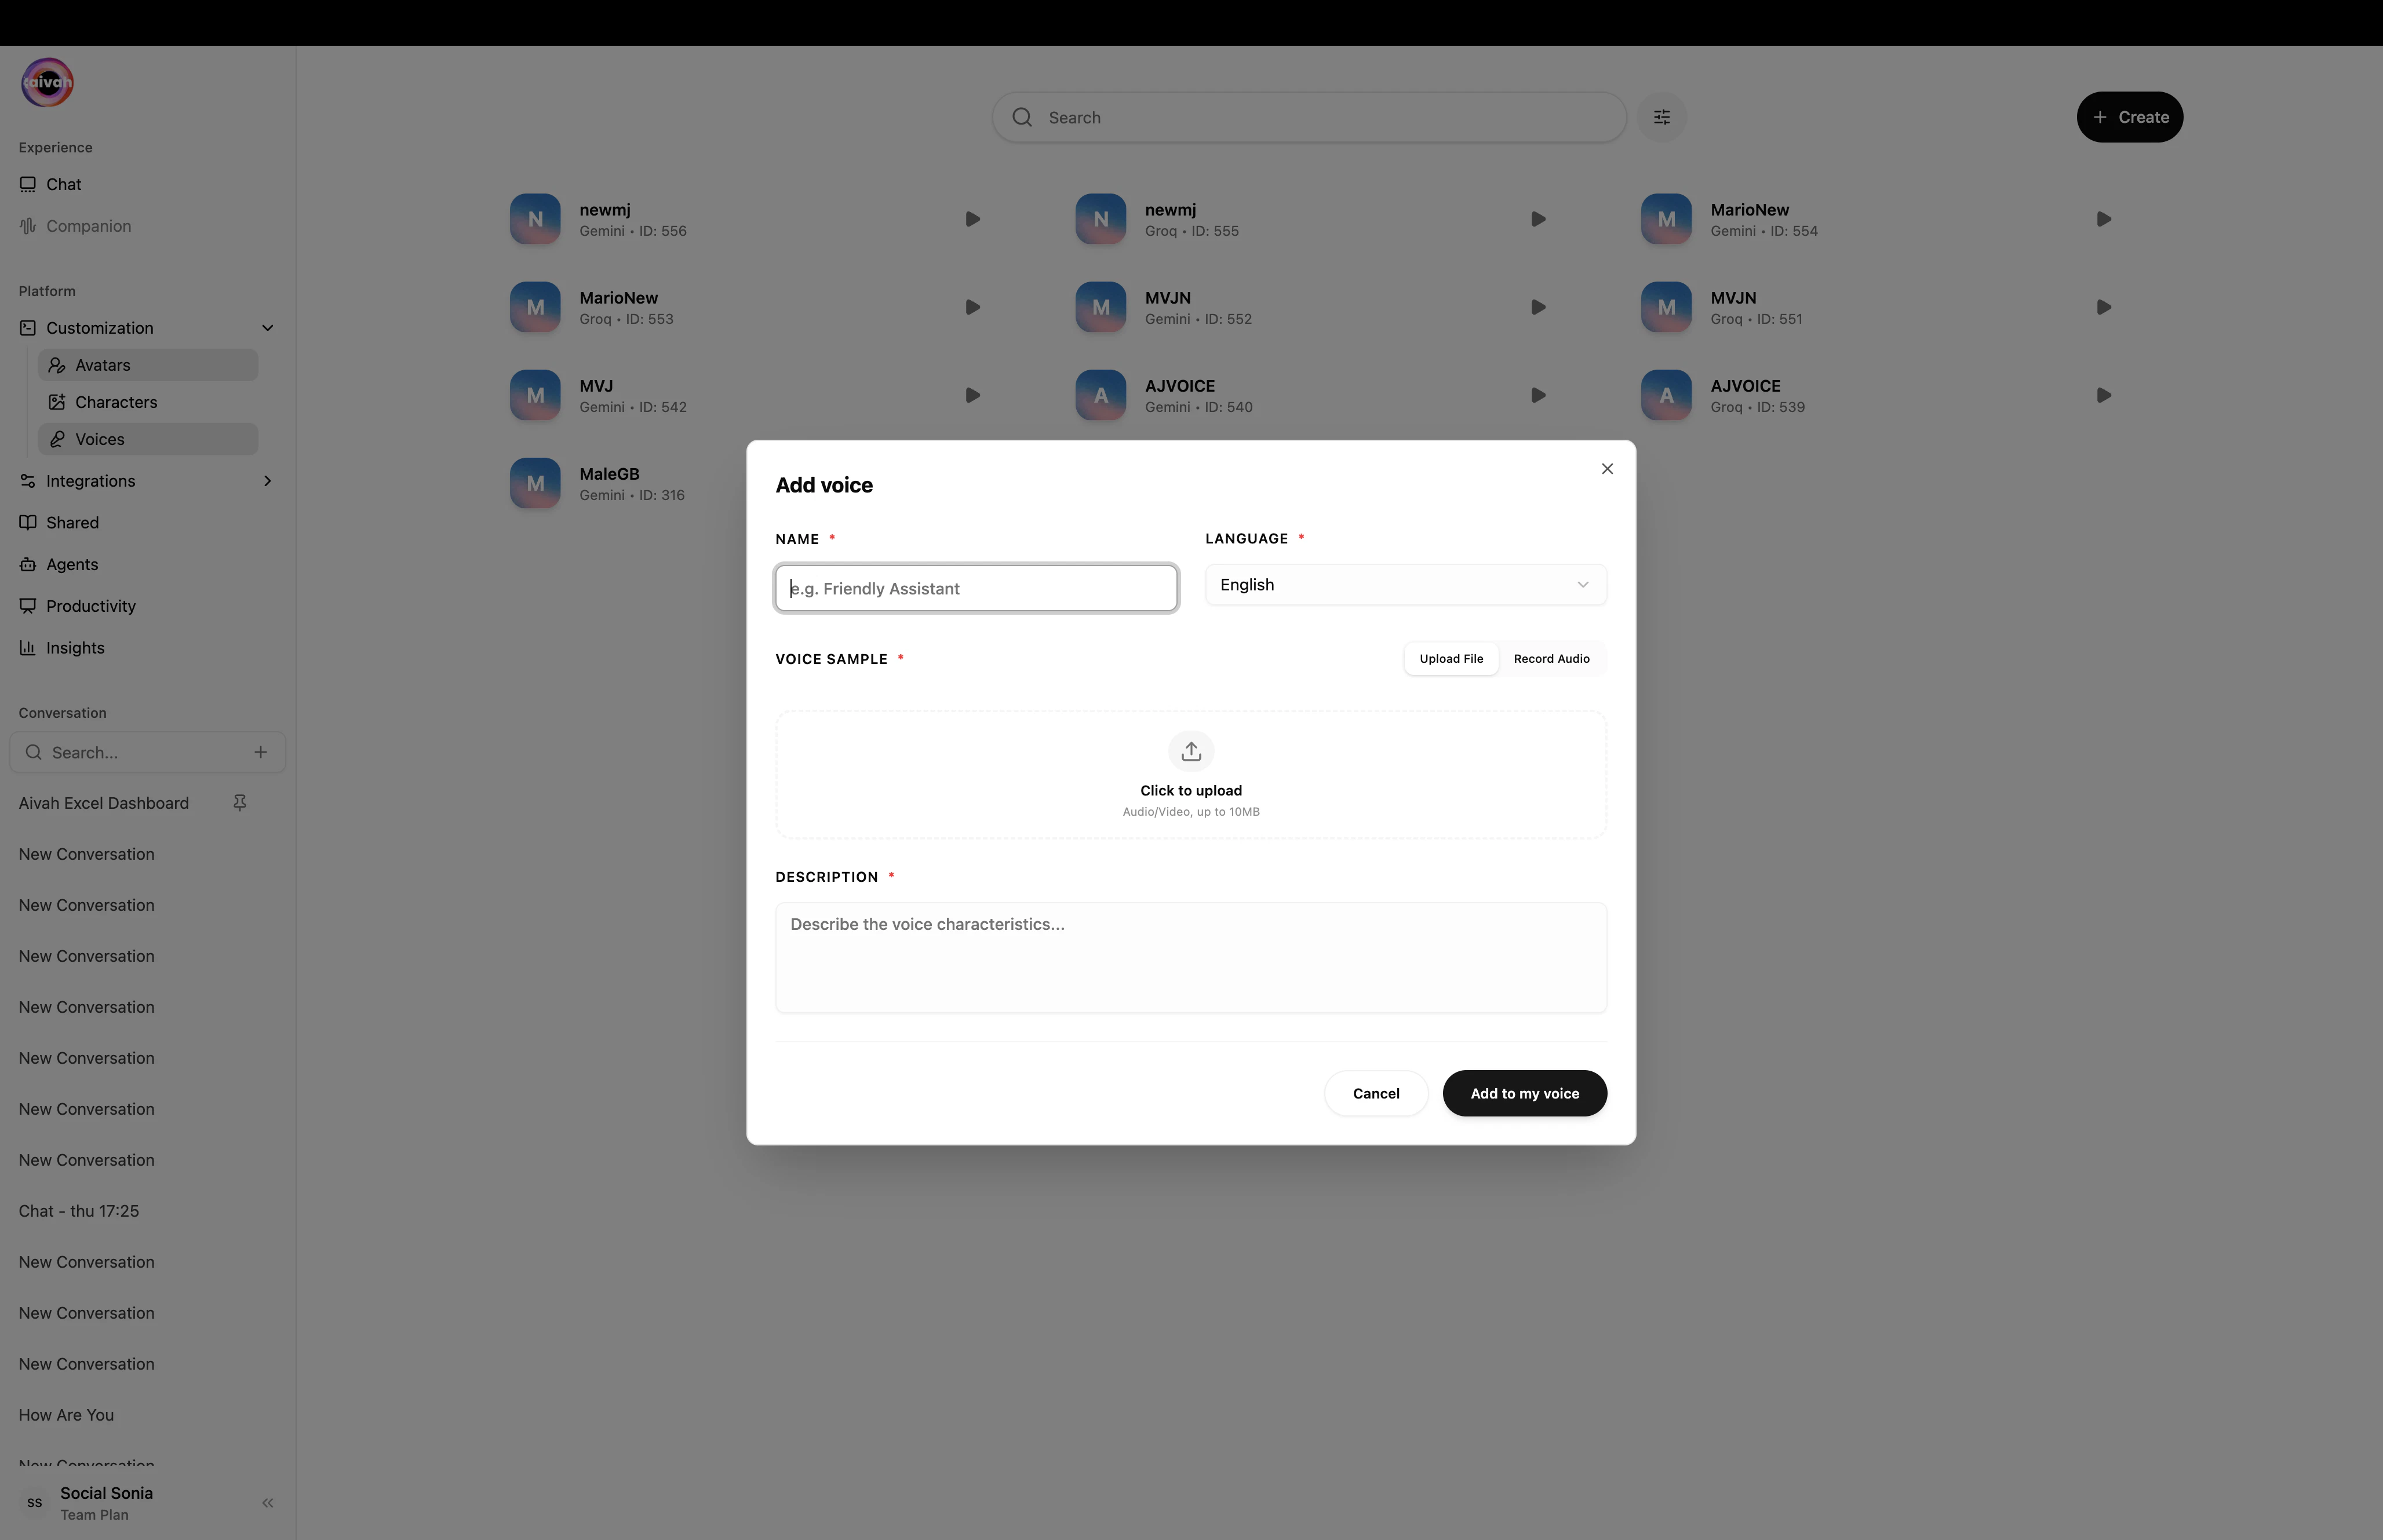
Upload or record a sample
Use Upload File for a clean mono recording (up to 10 MB) or Record Audio in the browser (up to 1 minute).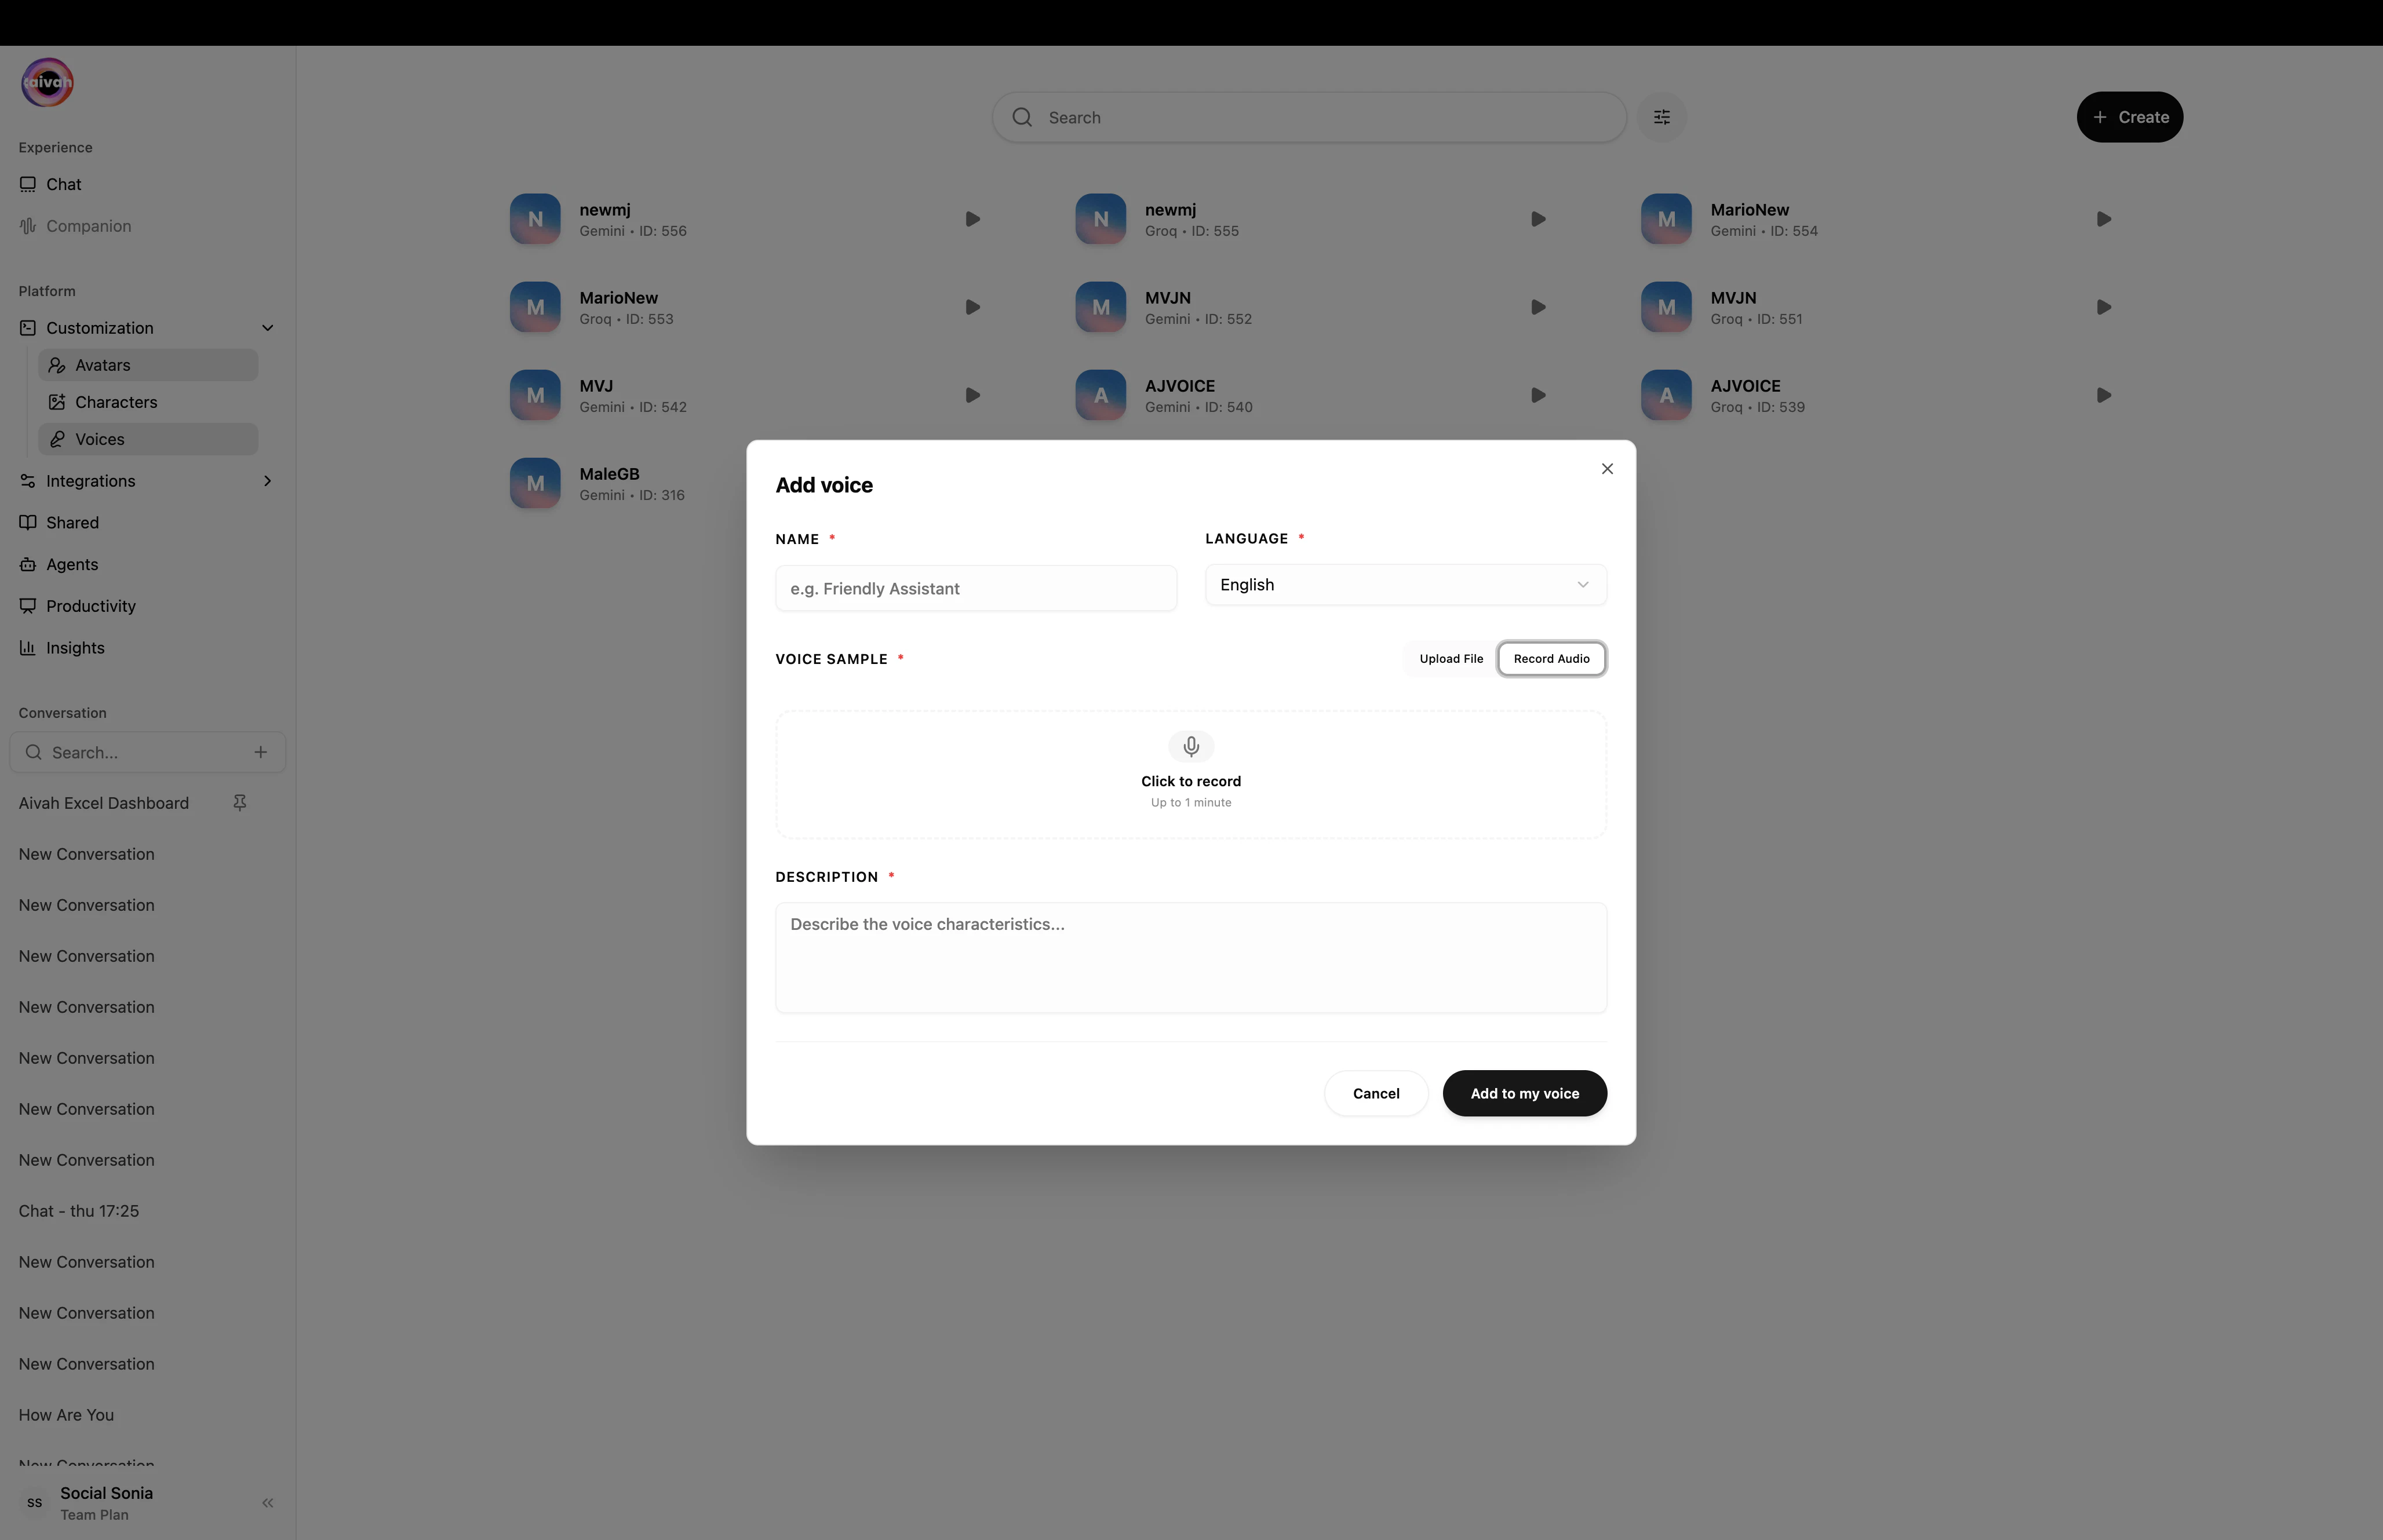
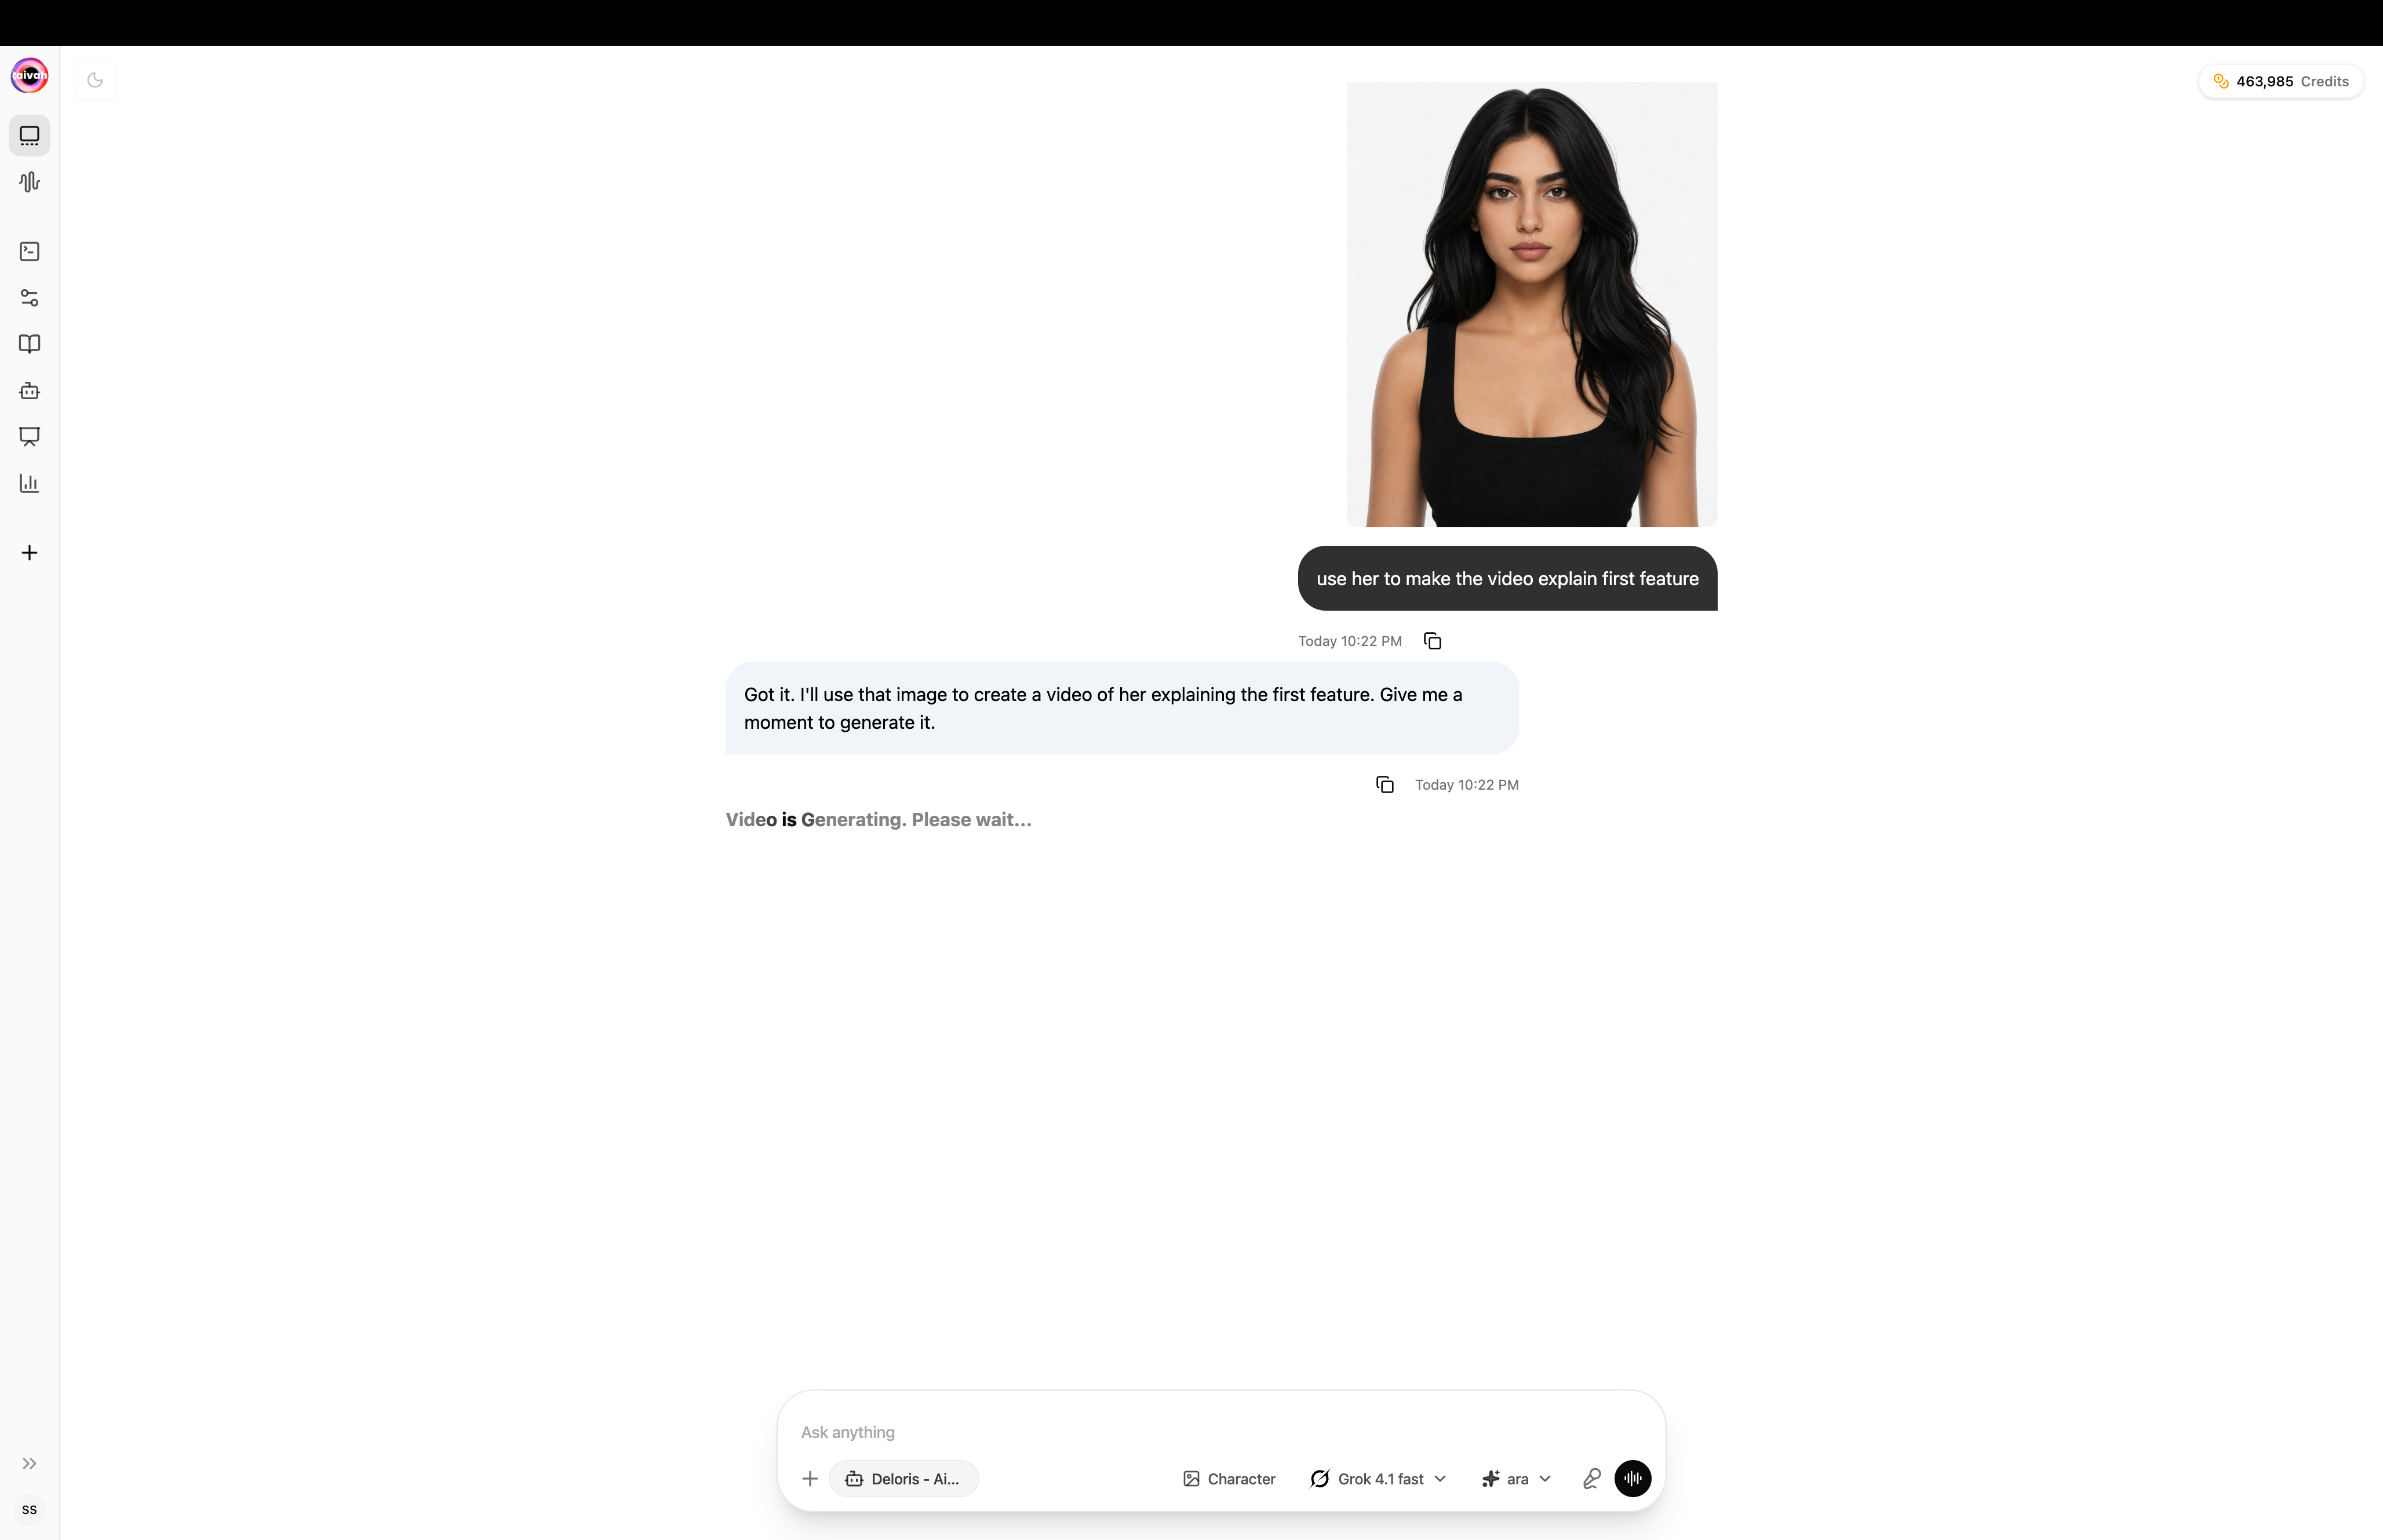
Step 3: Test in the Playground
Open the Chat workspace from the side navigation. New chats start at/new-playground/new-chat; existing conversations live at /{conversationId}/chat and /{conversationId}/avatar-chat.
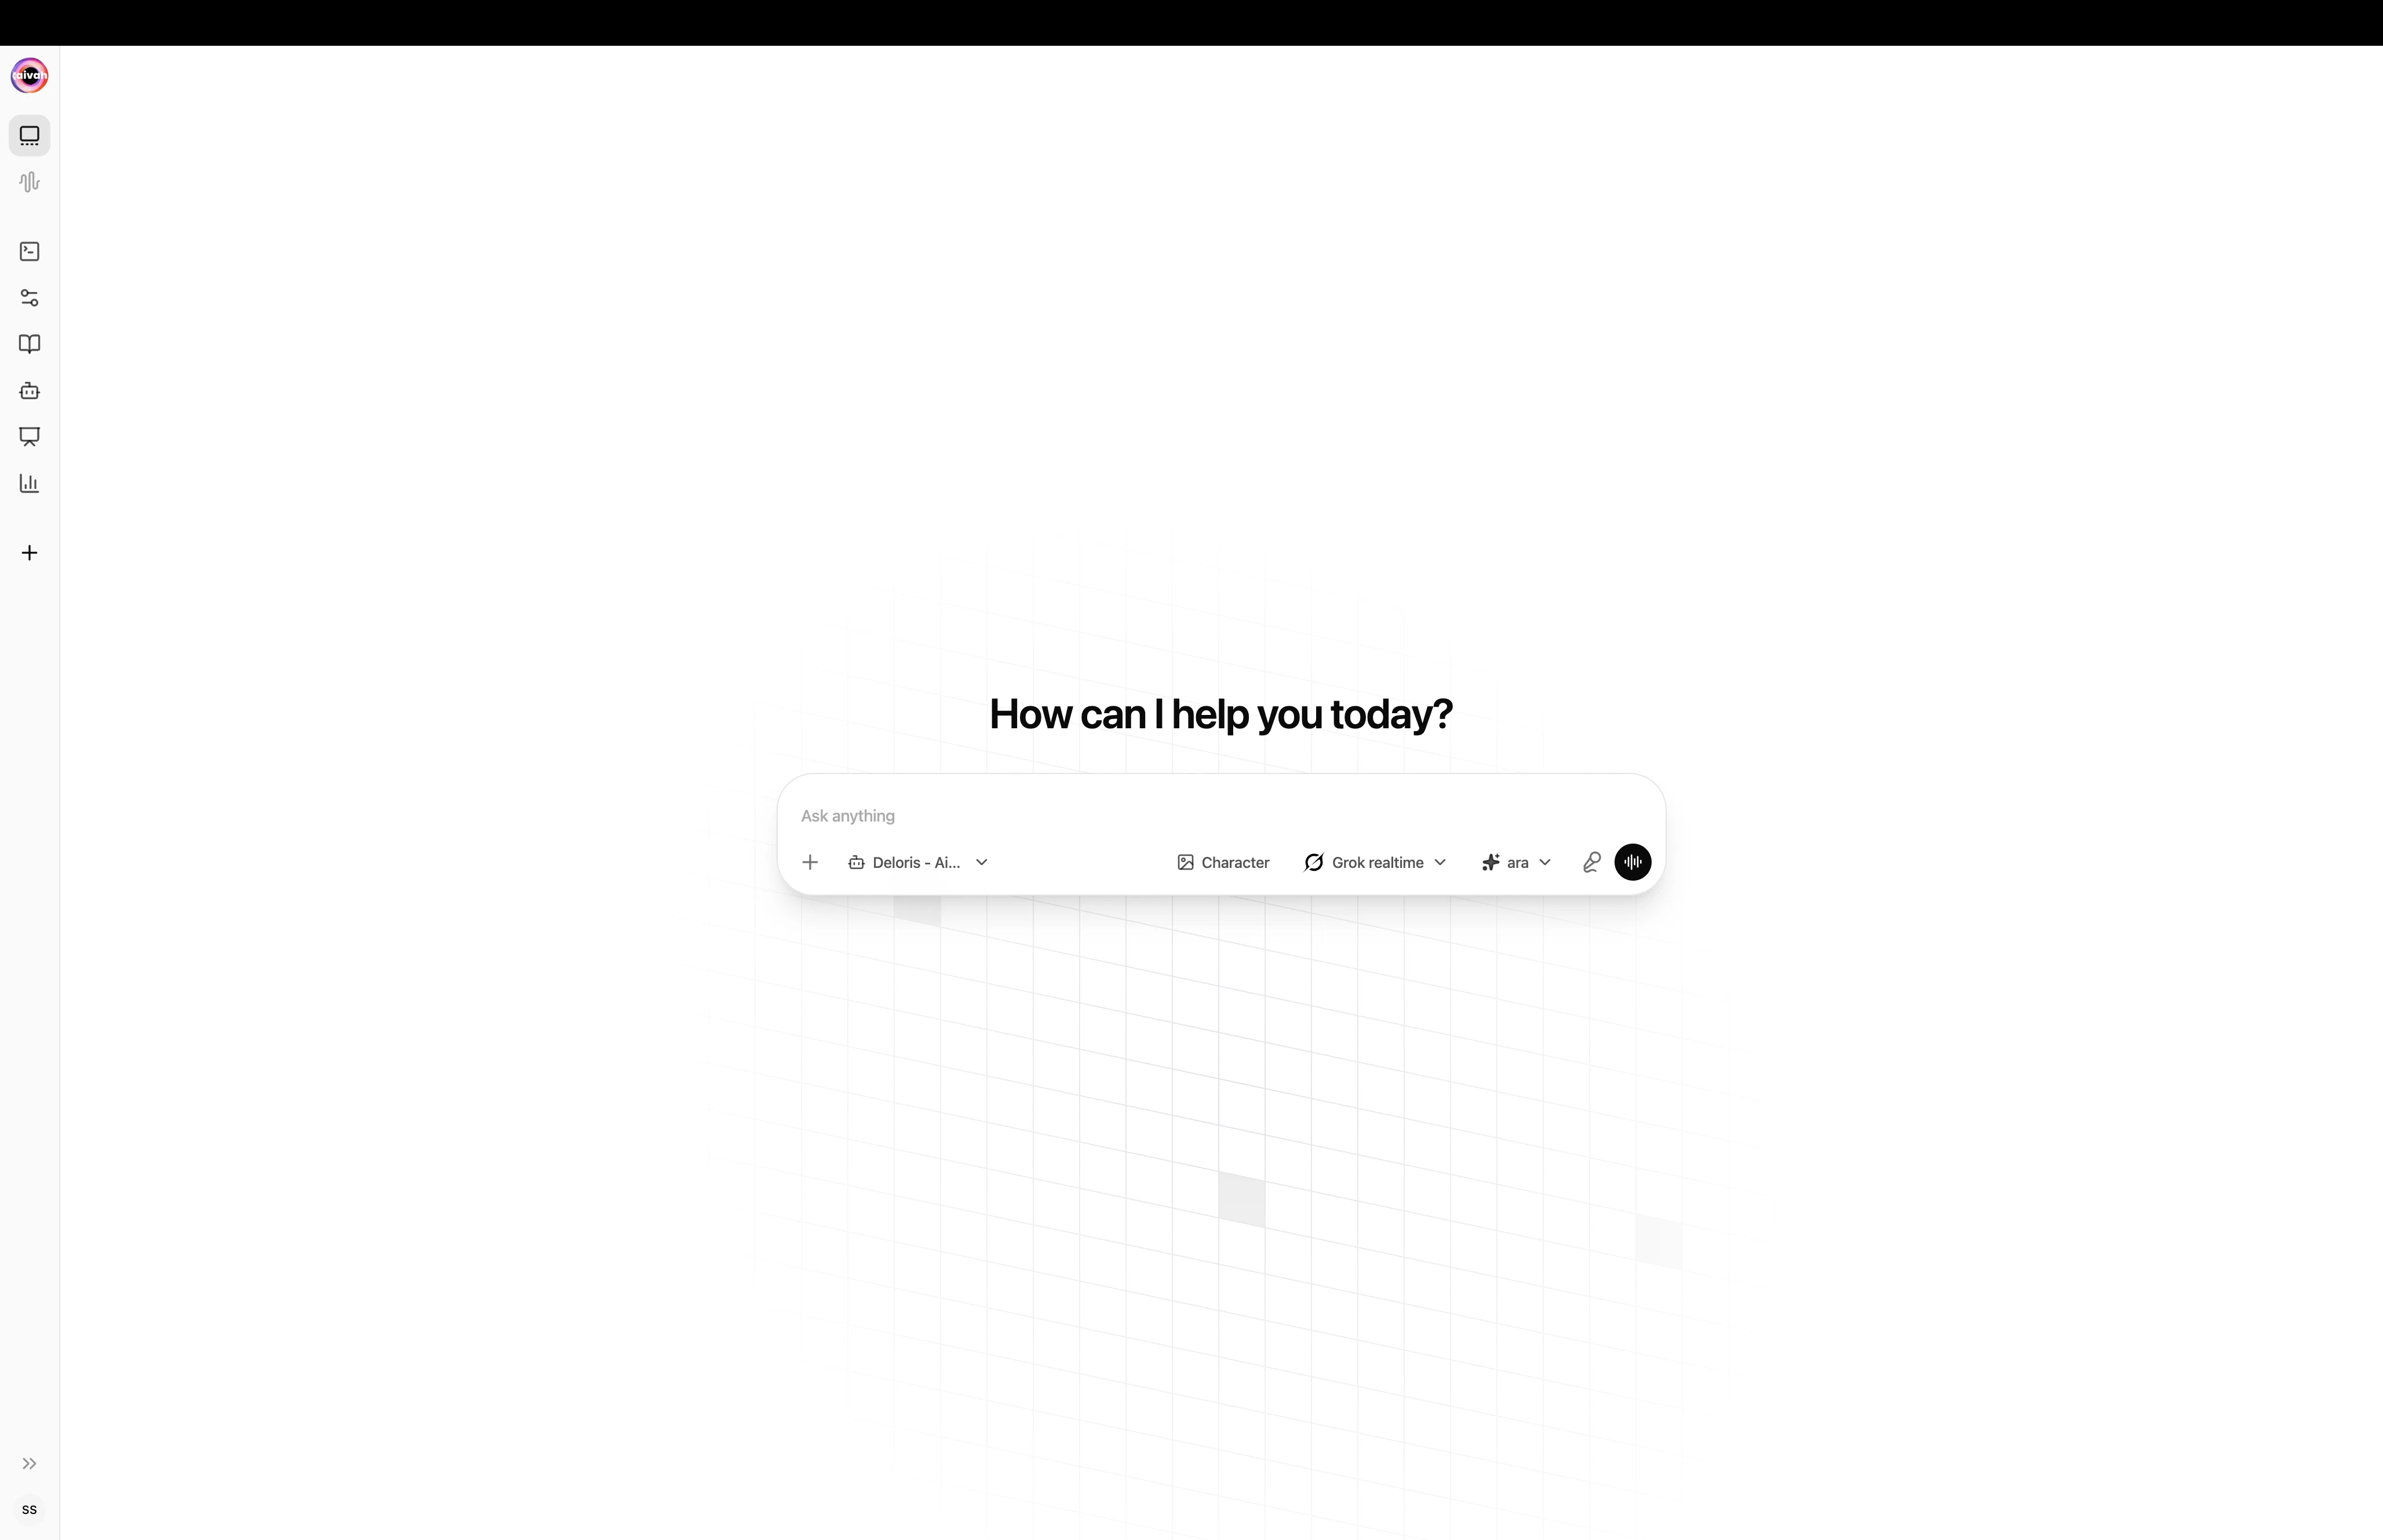
Configure the conversation from the composer pills
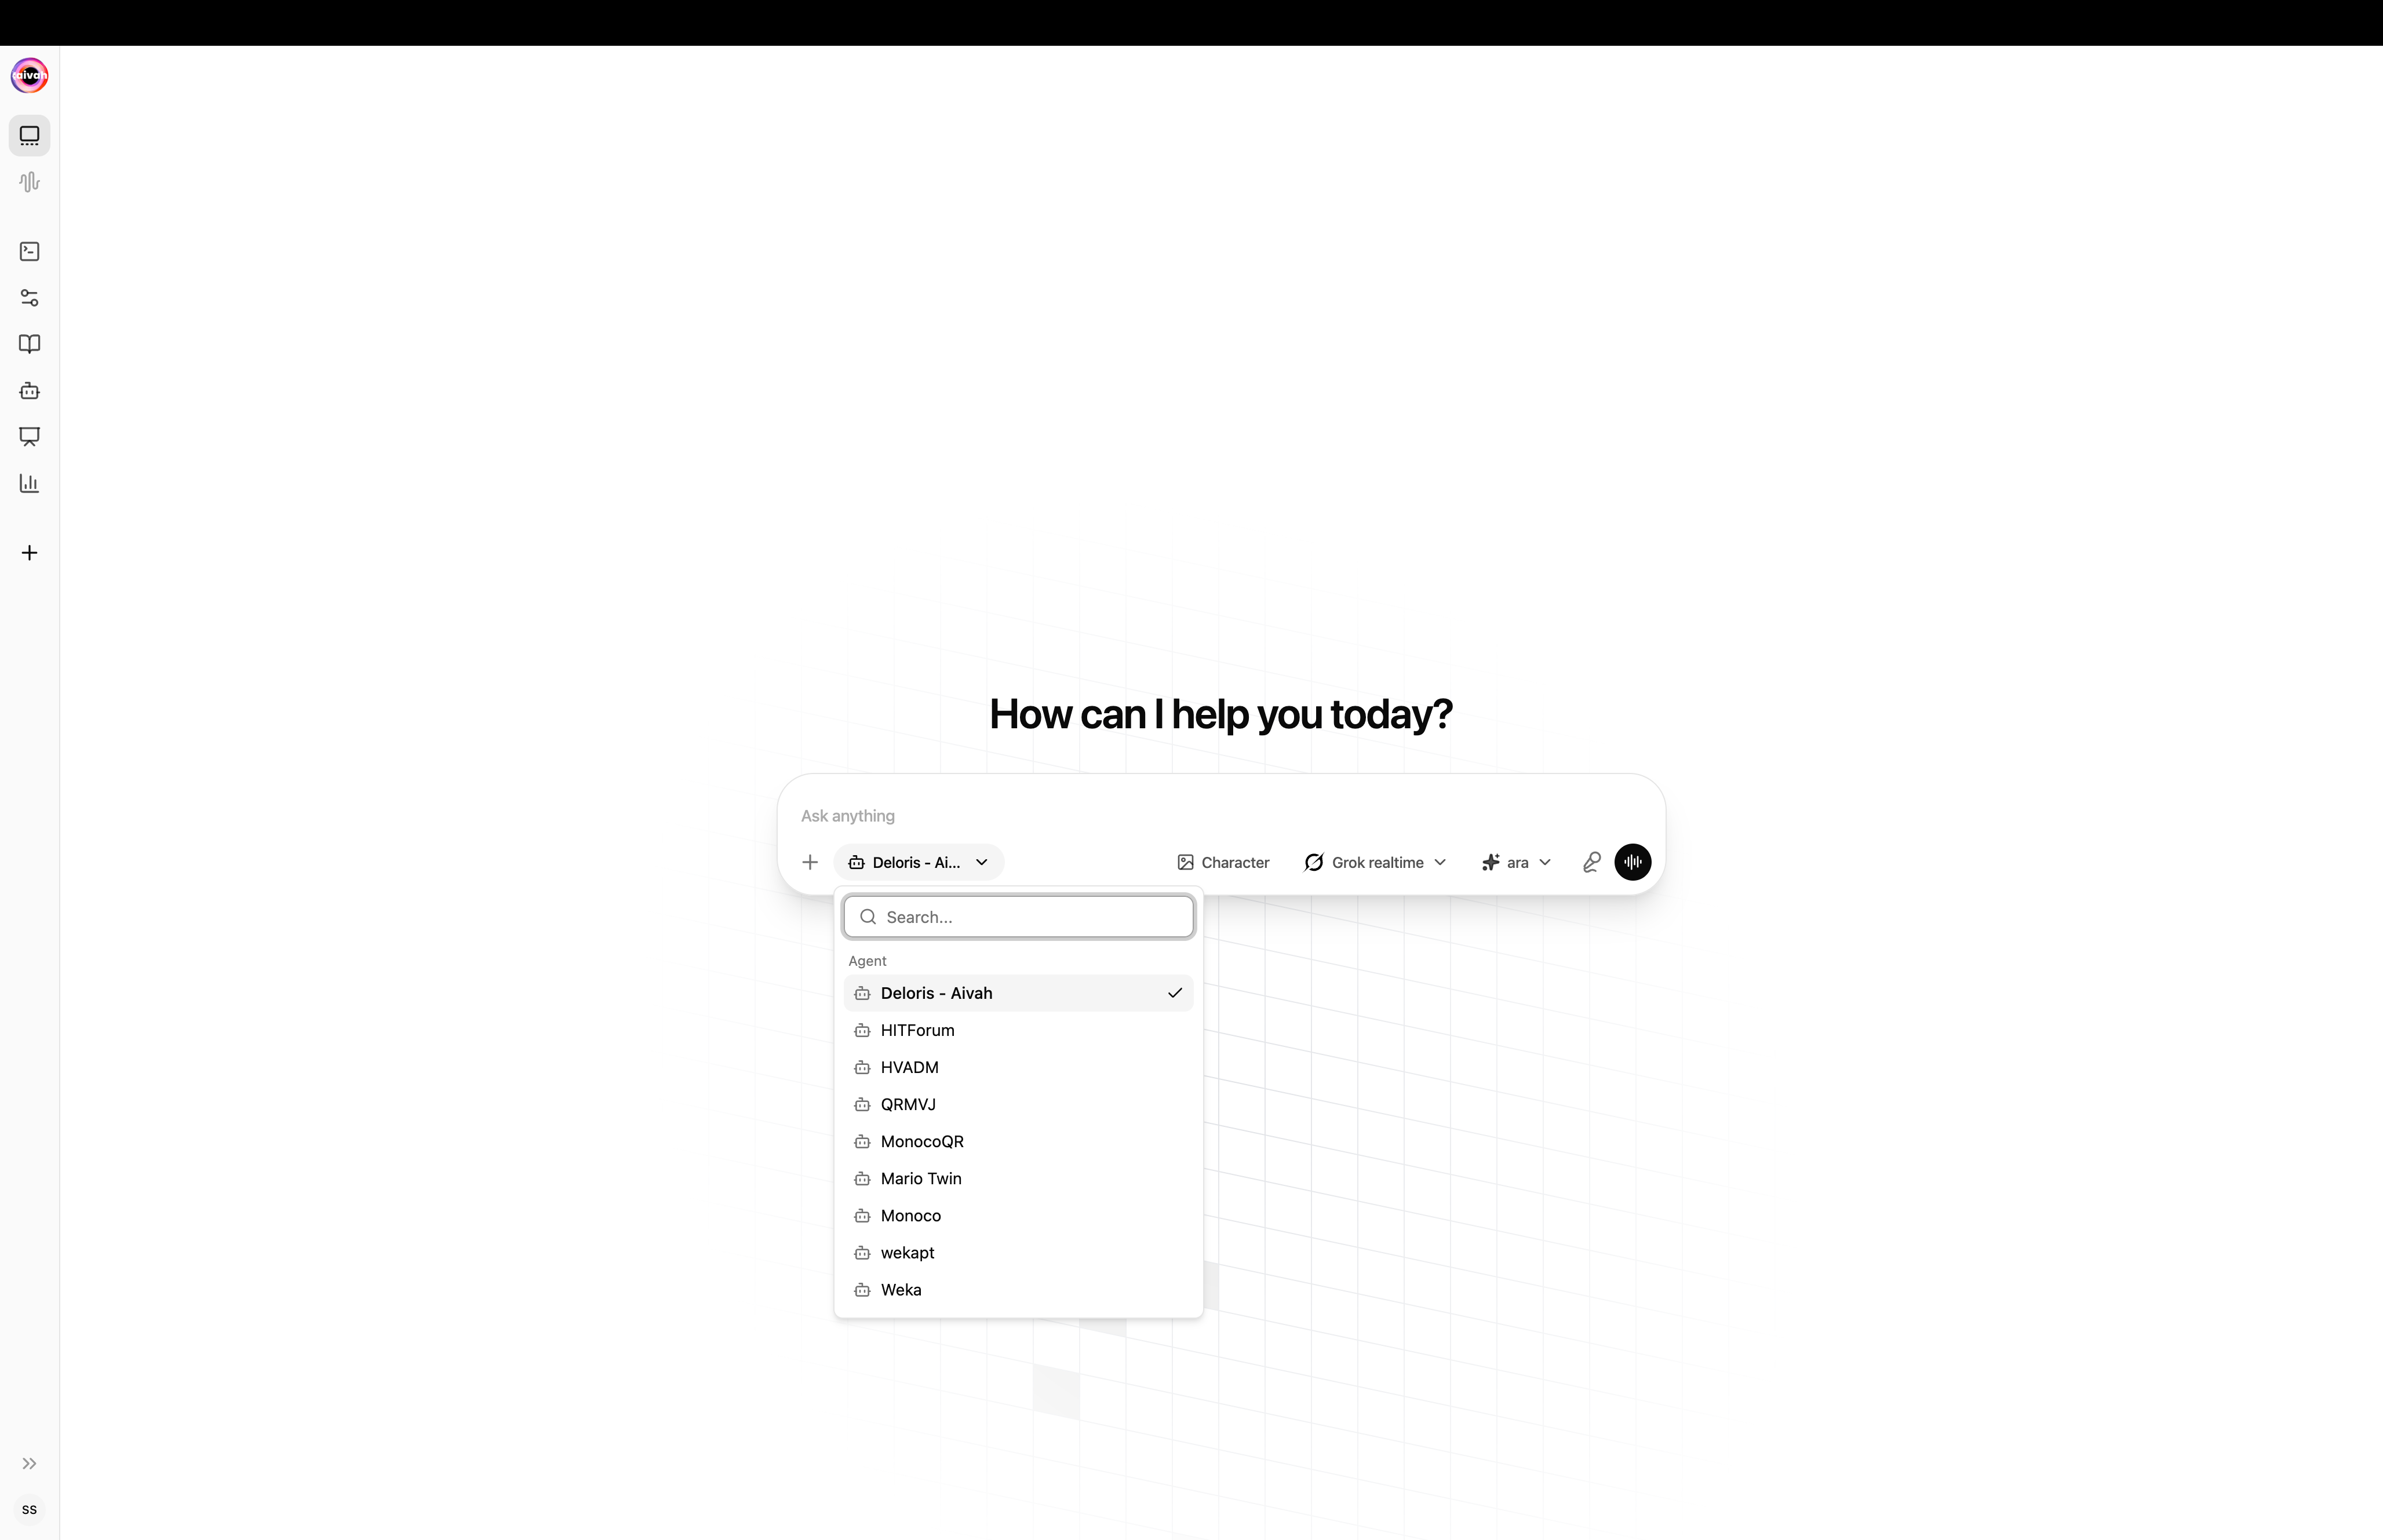
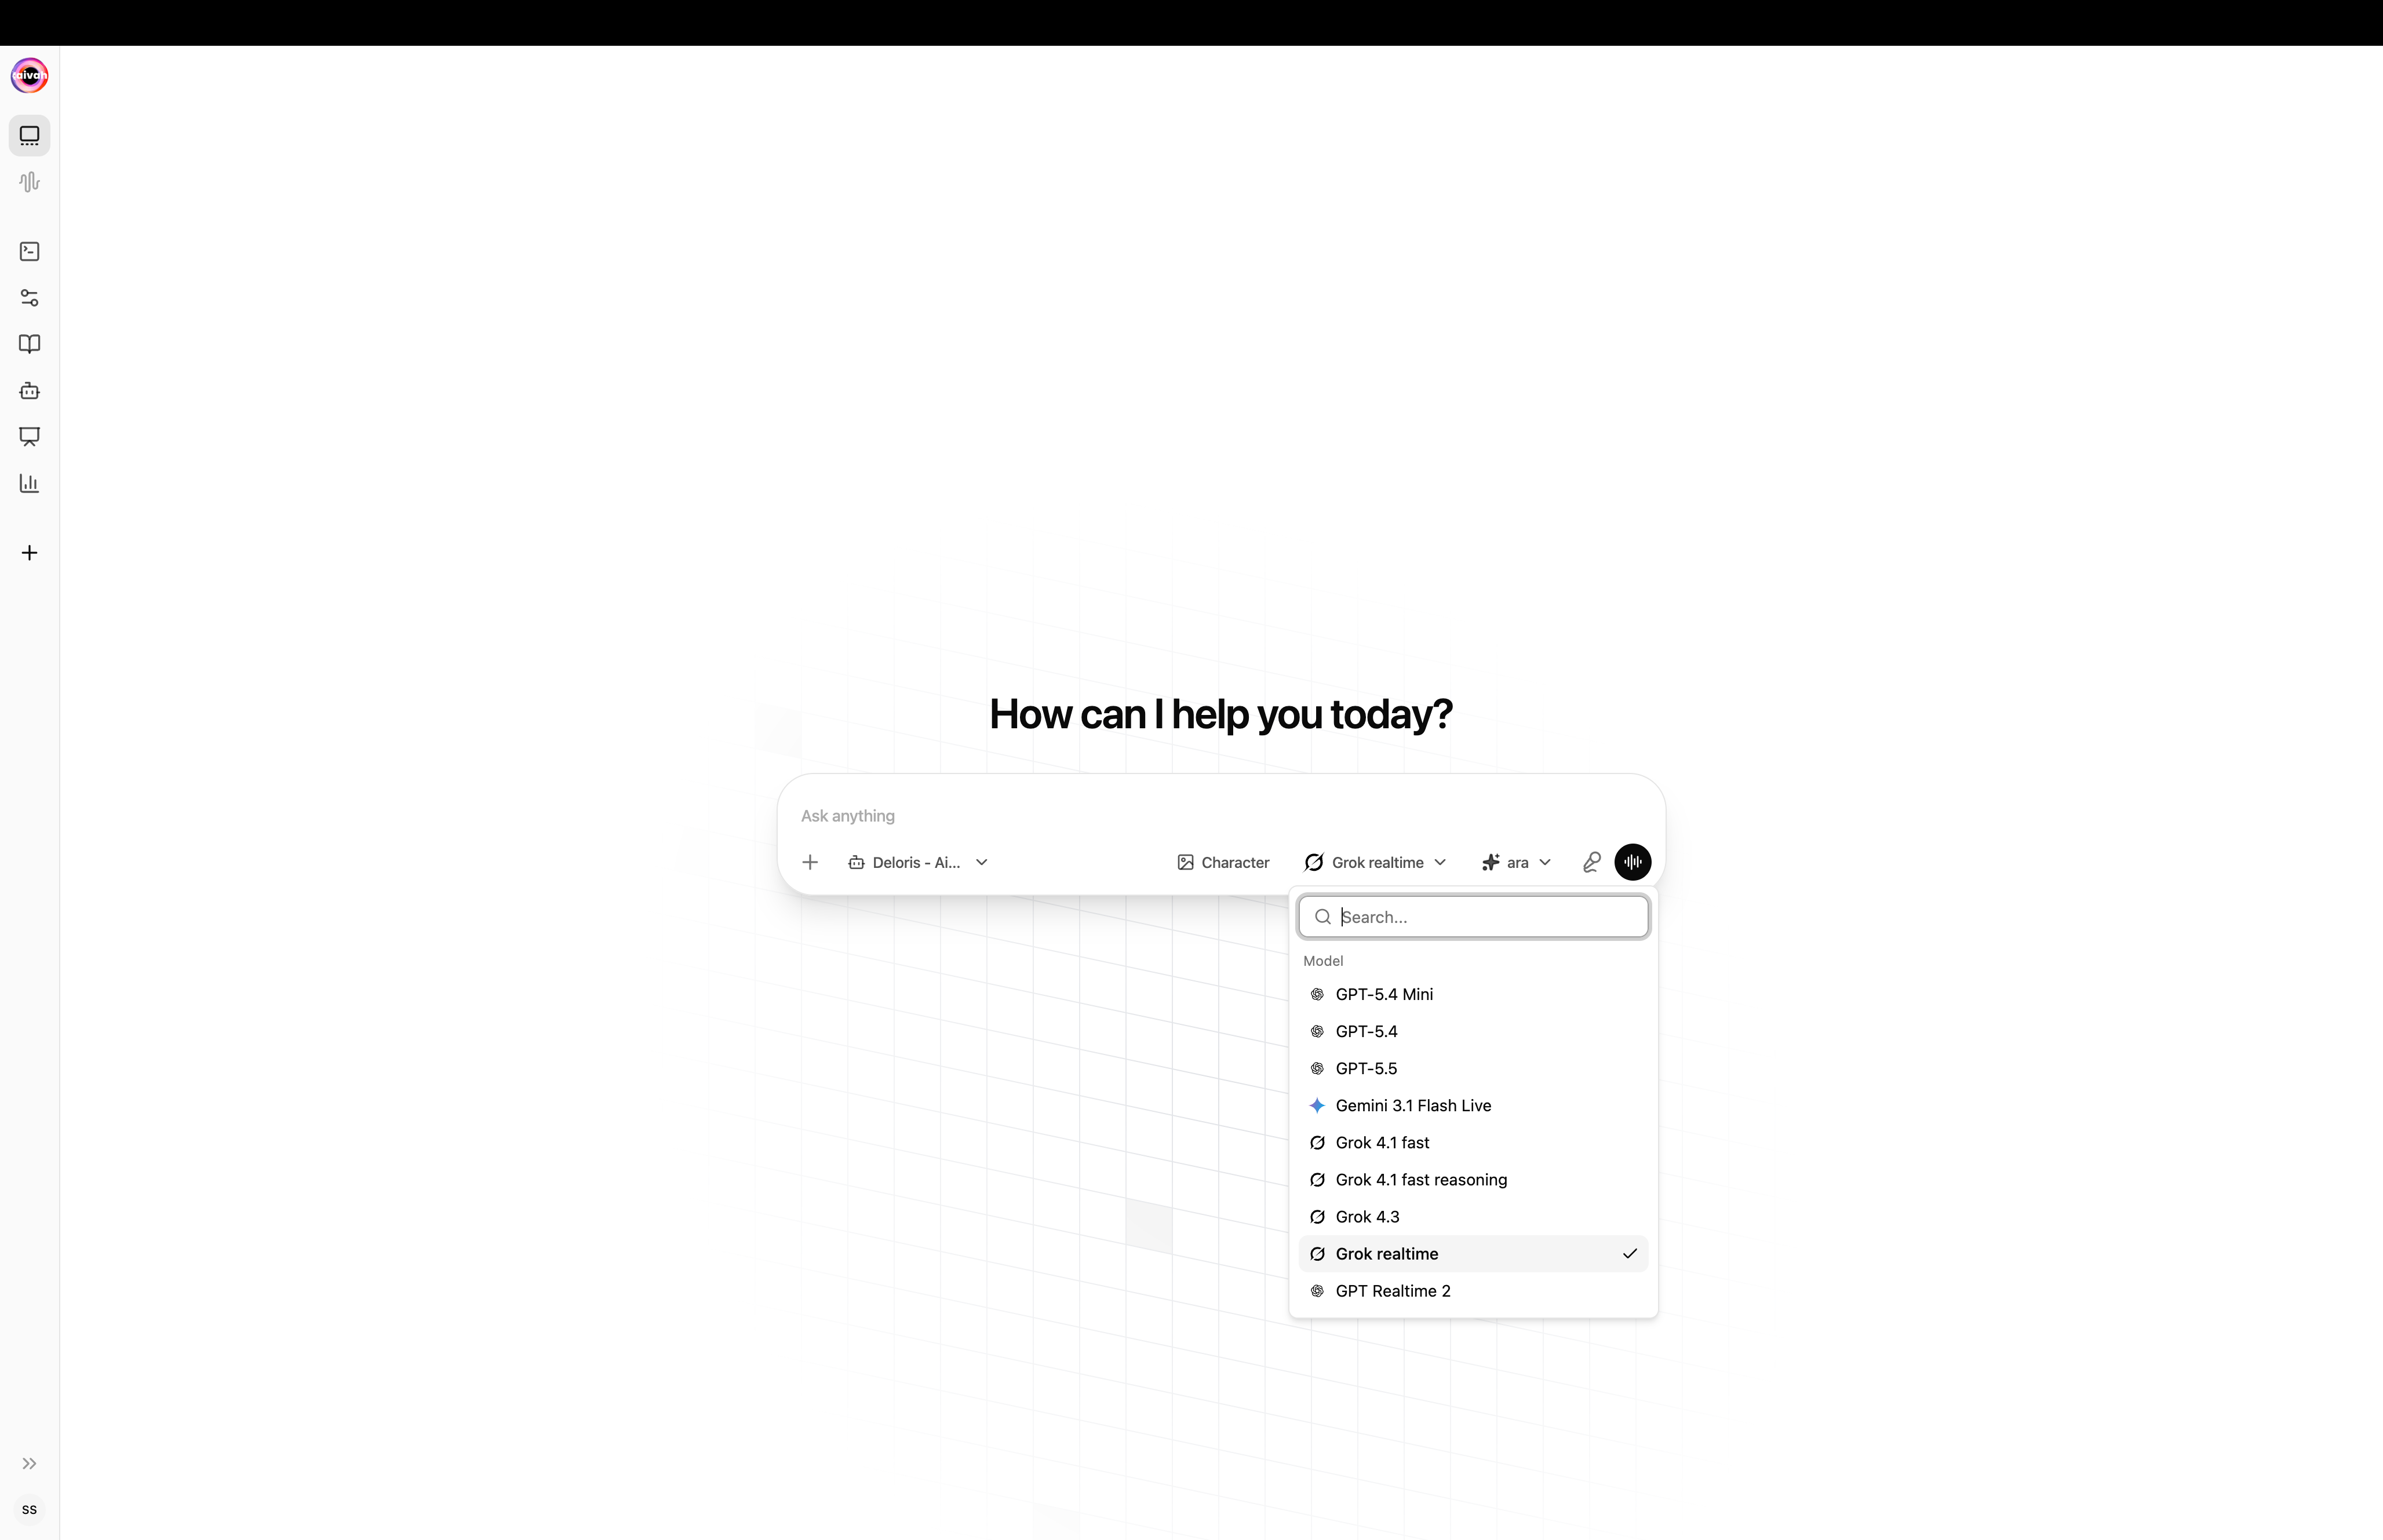
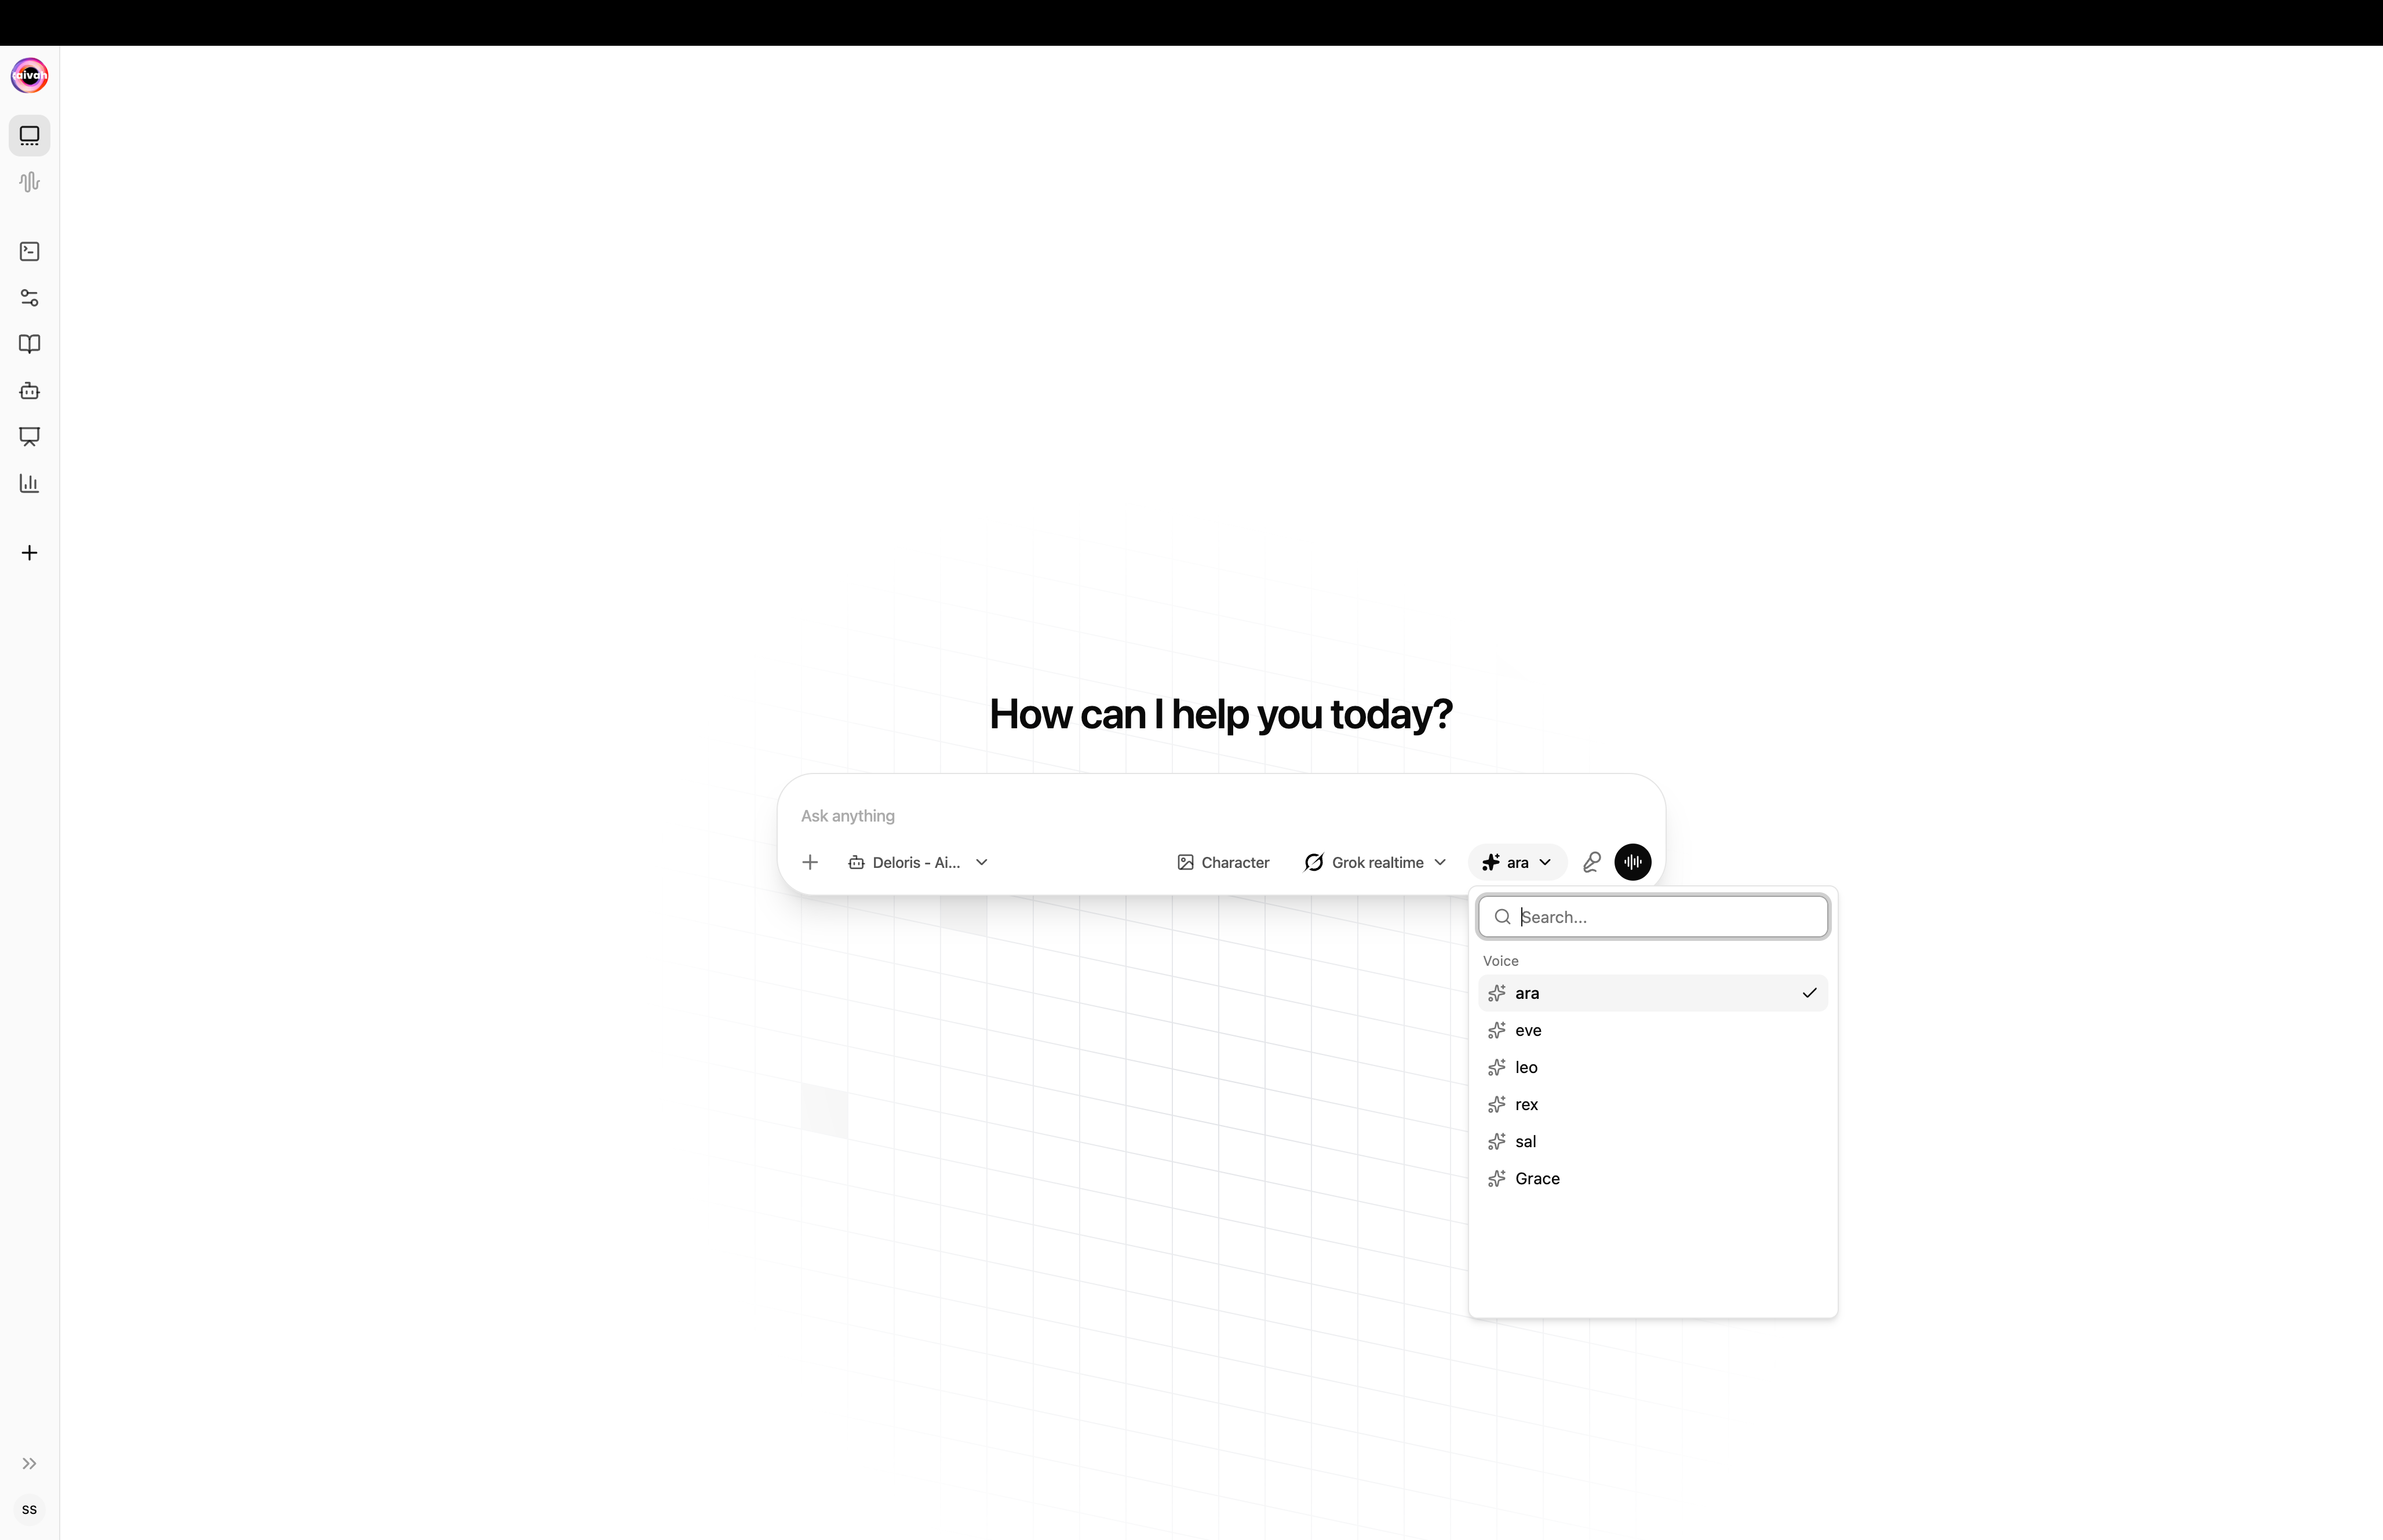
Every important option is one click away from the composer:- Agent
- LLM
- Voice
- Character
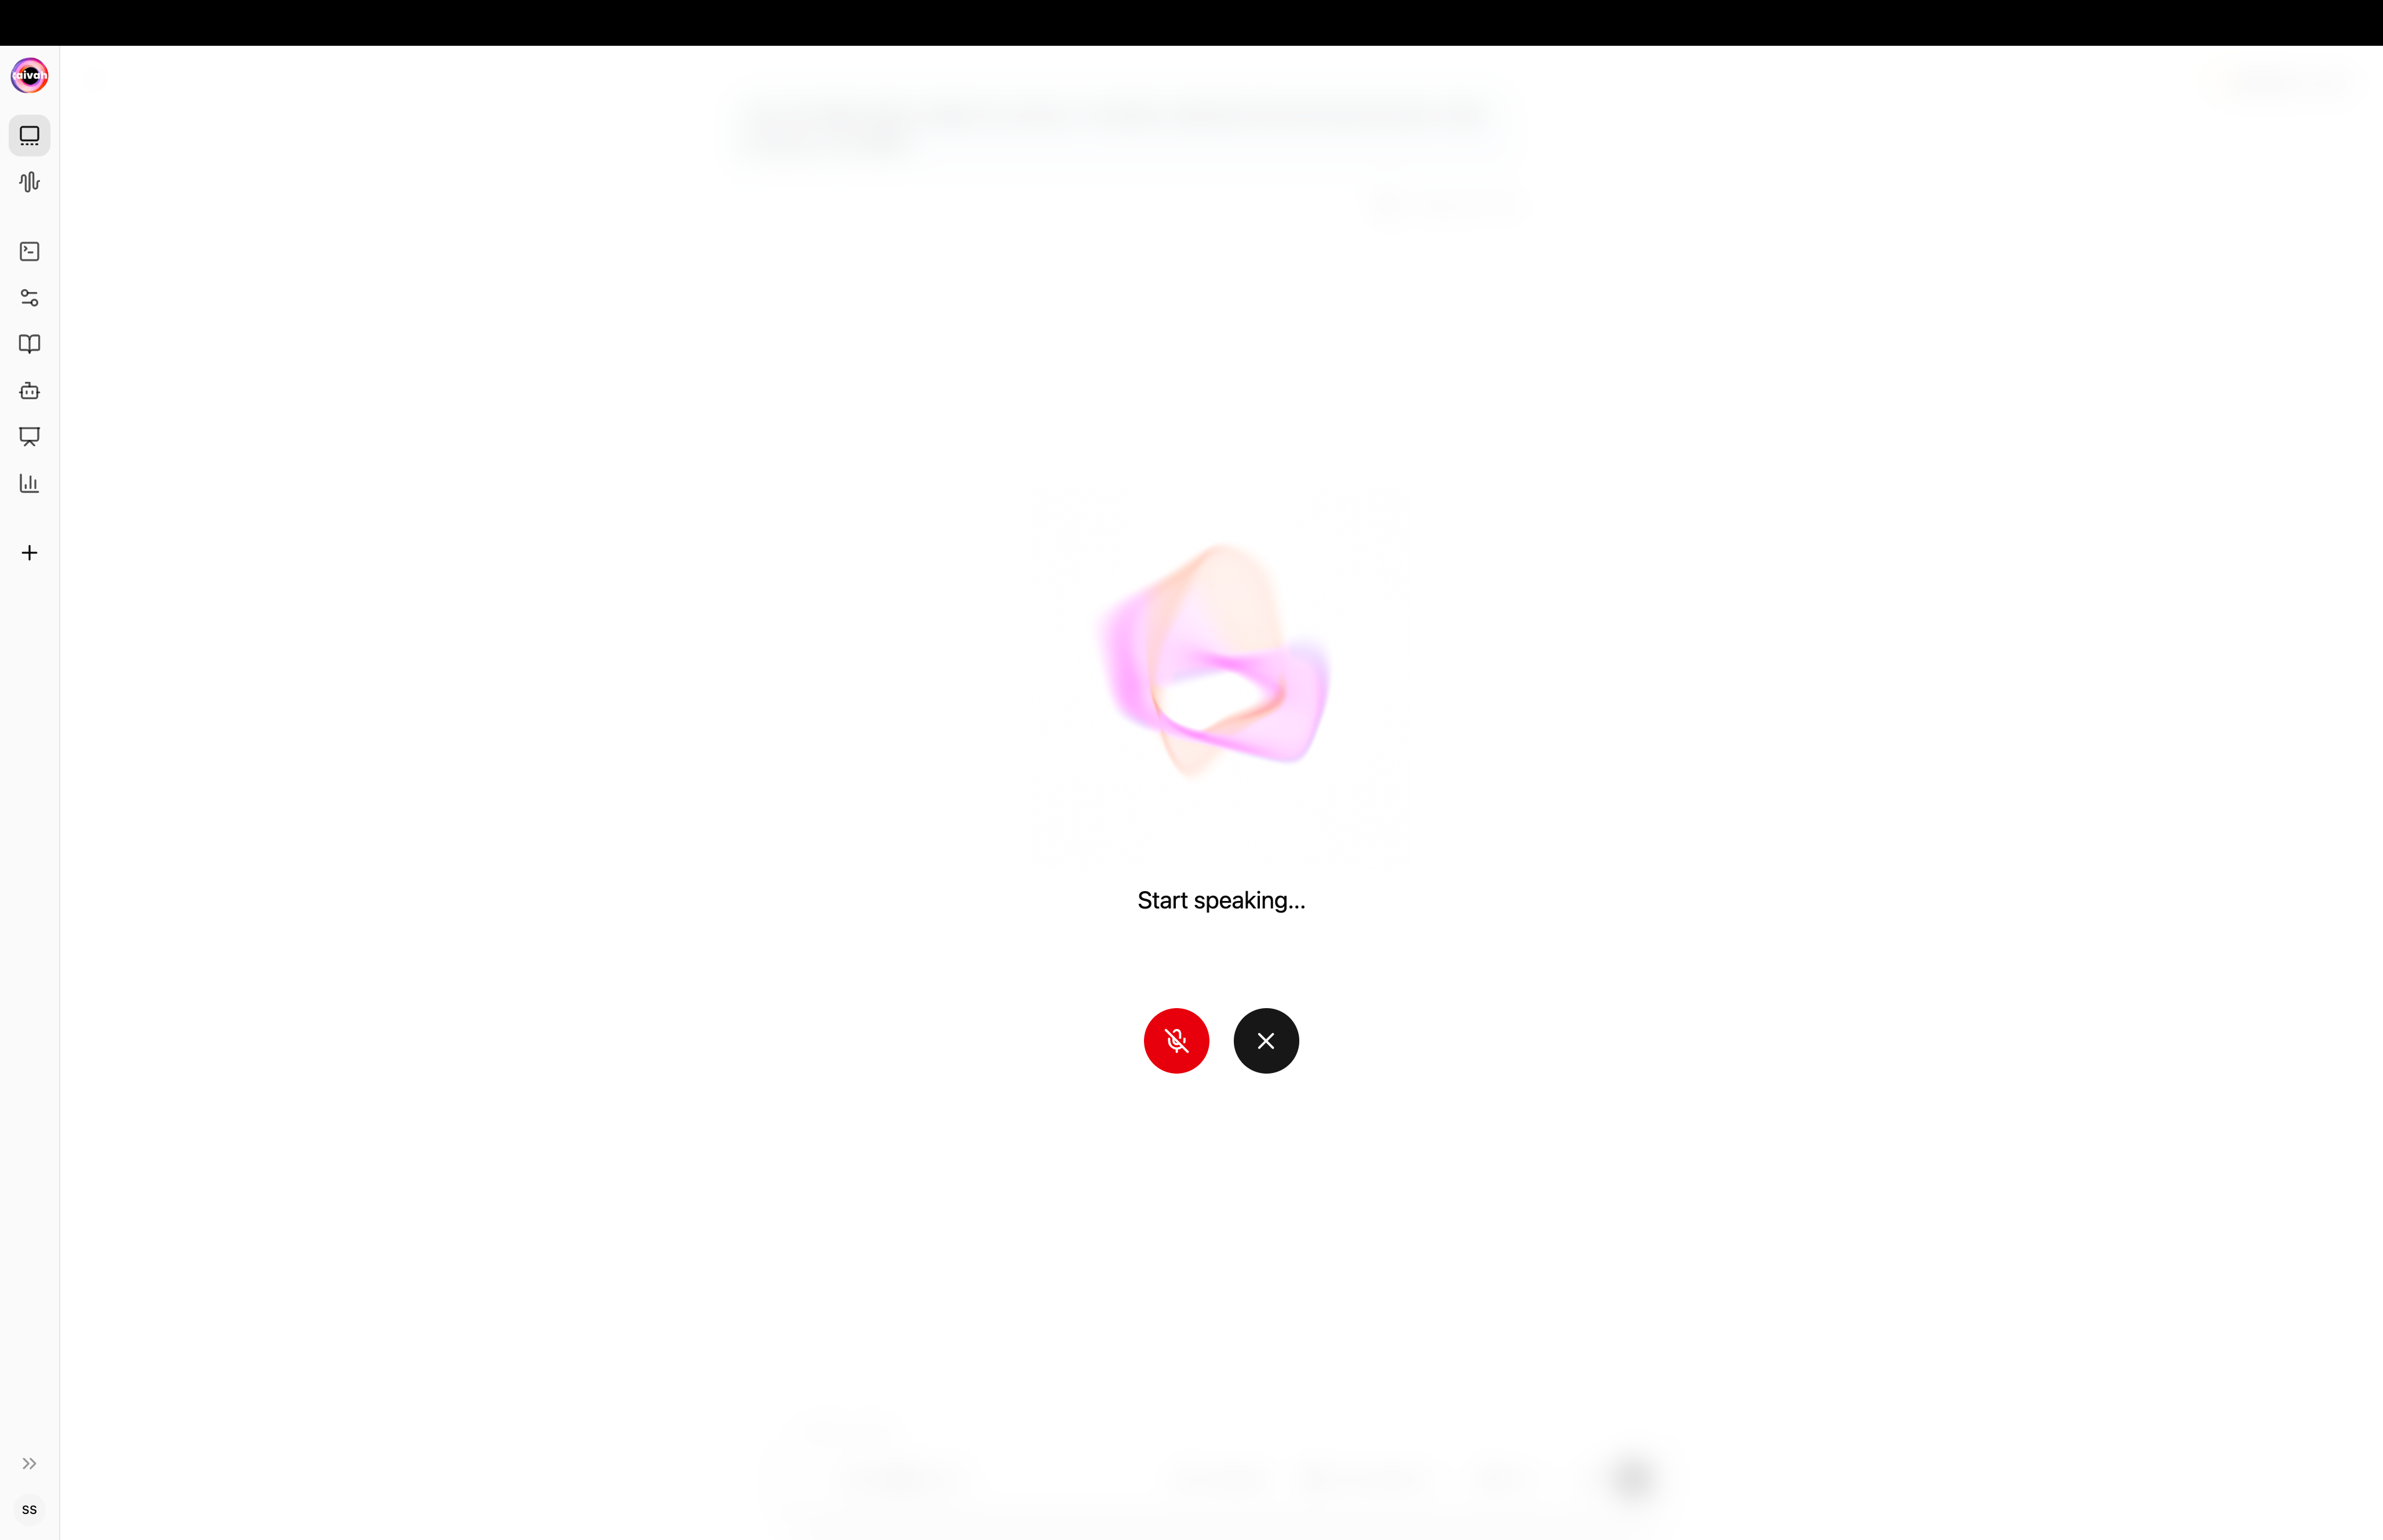
Try the three modes
- Text chat
- Avatar chat
- Voice-only
Type your message, attach files with the paper-clip, ask for an image or video, or trigger a web search inline.
Generate media right from the composer
Ask the agent to draw, animate, or research – the chat composer routes the request to the right model automatically.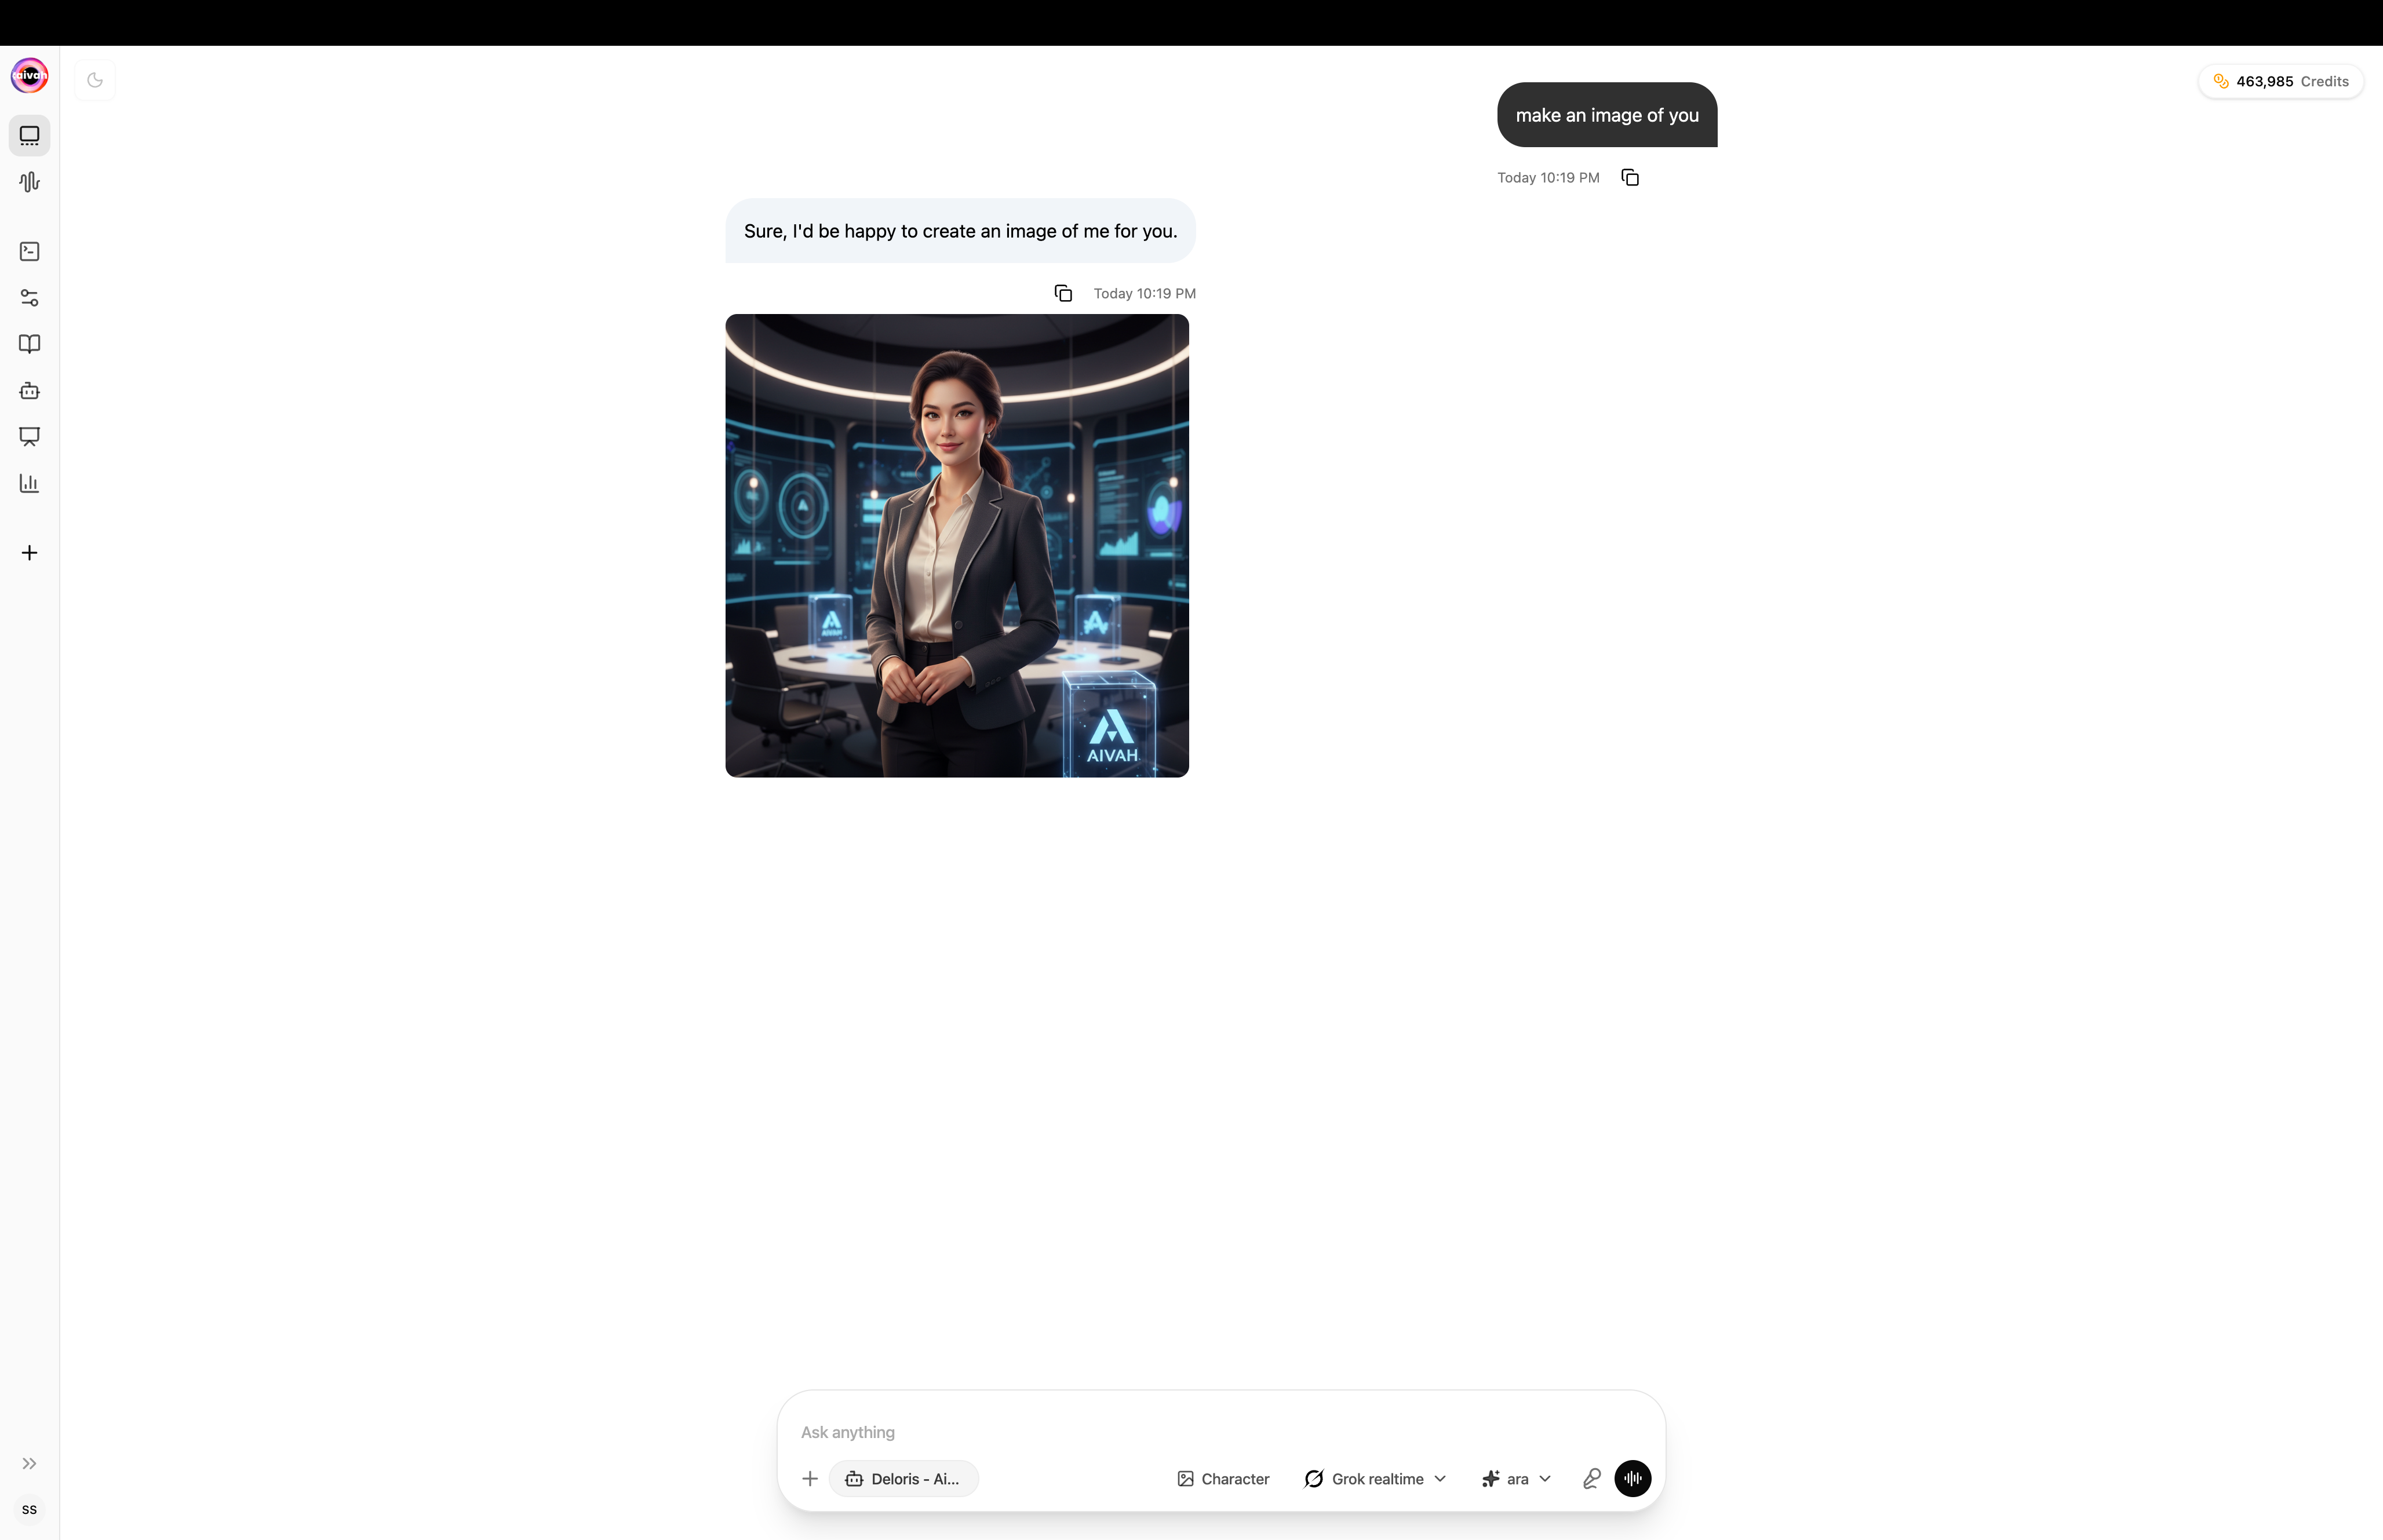
Tune the avatar and scene from Preferences
The palette icon next to the composer opens Preferences. Use it to set the default avatar and the 3D scene the avatar chat opens in.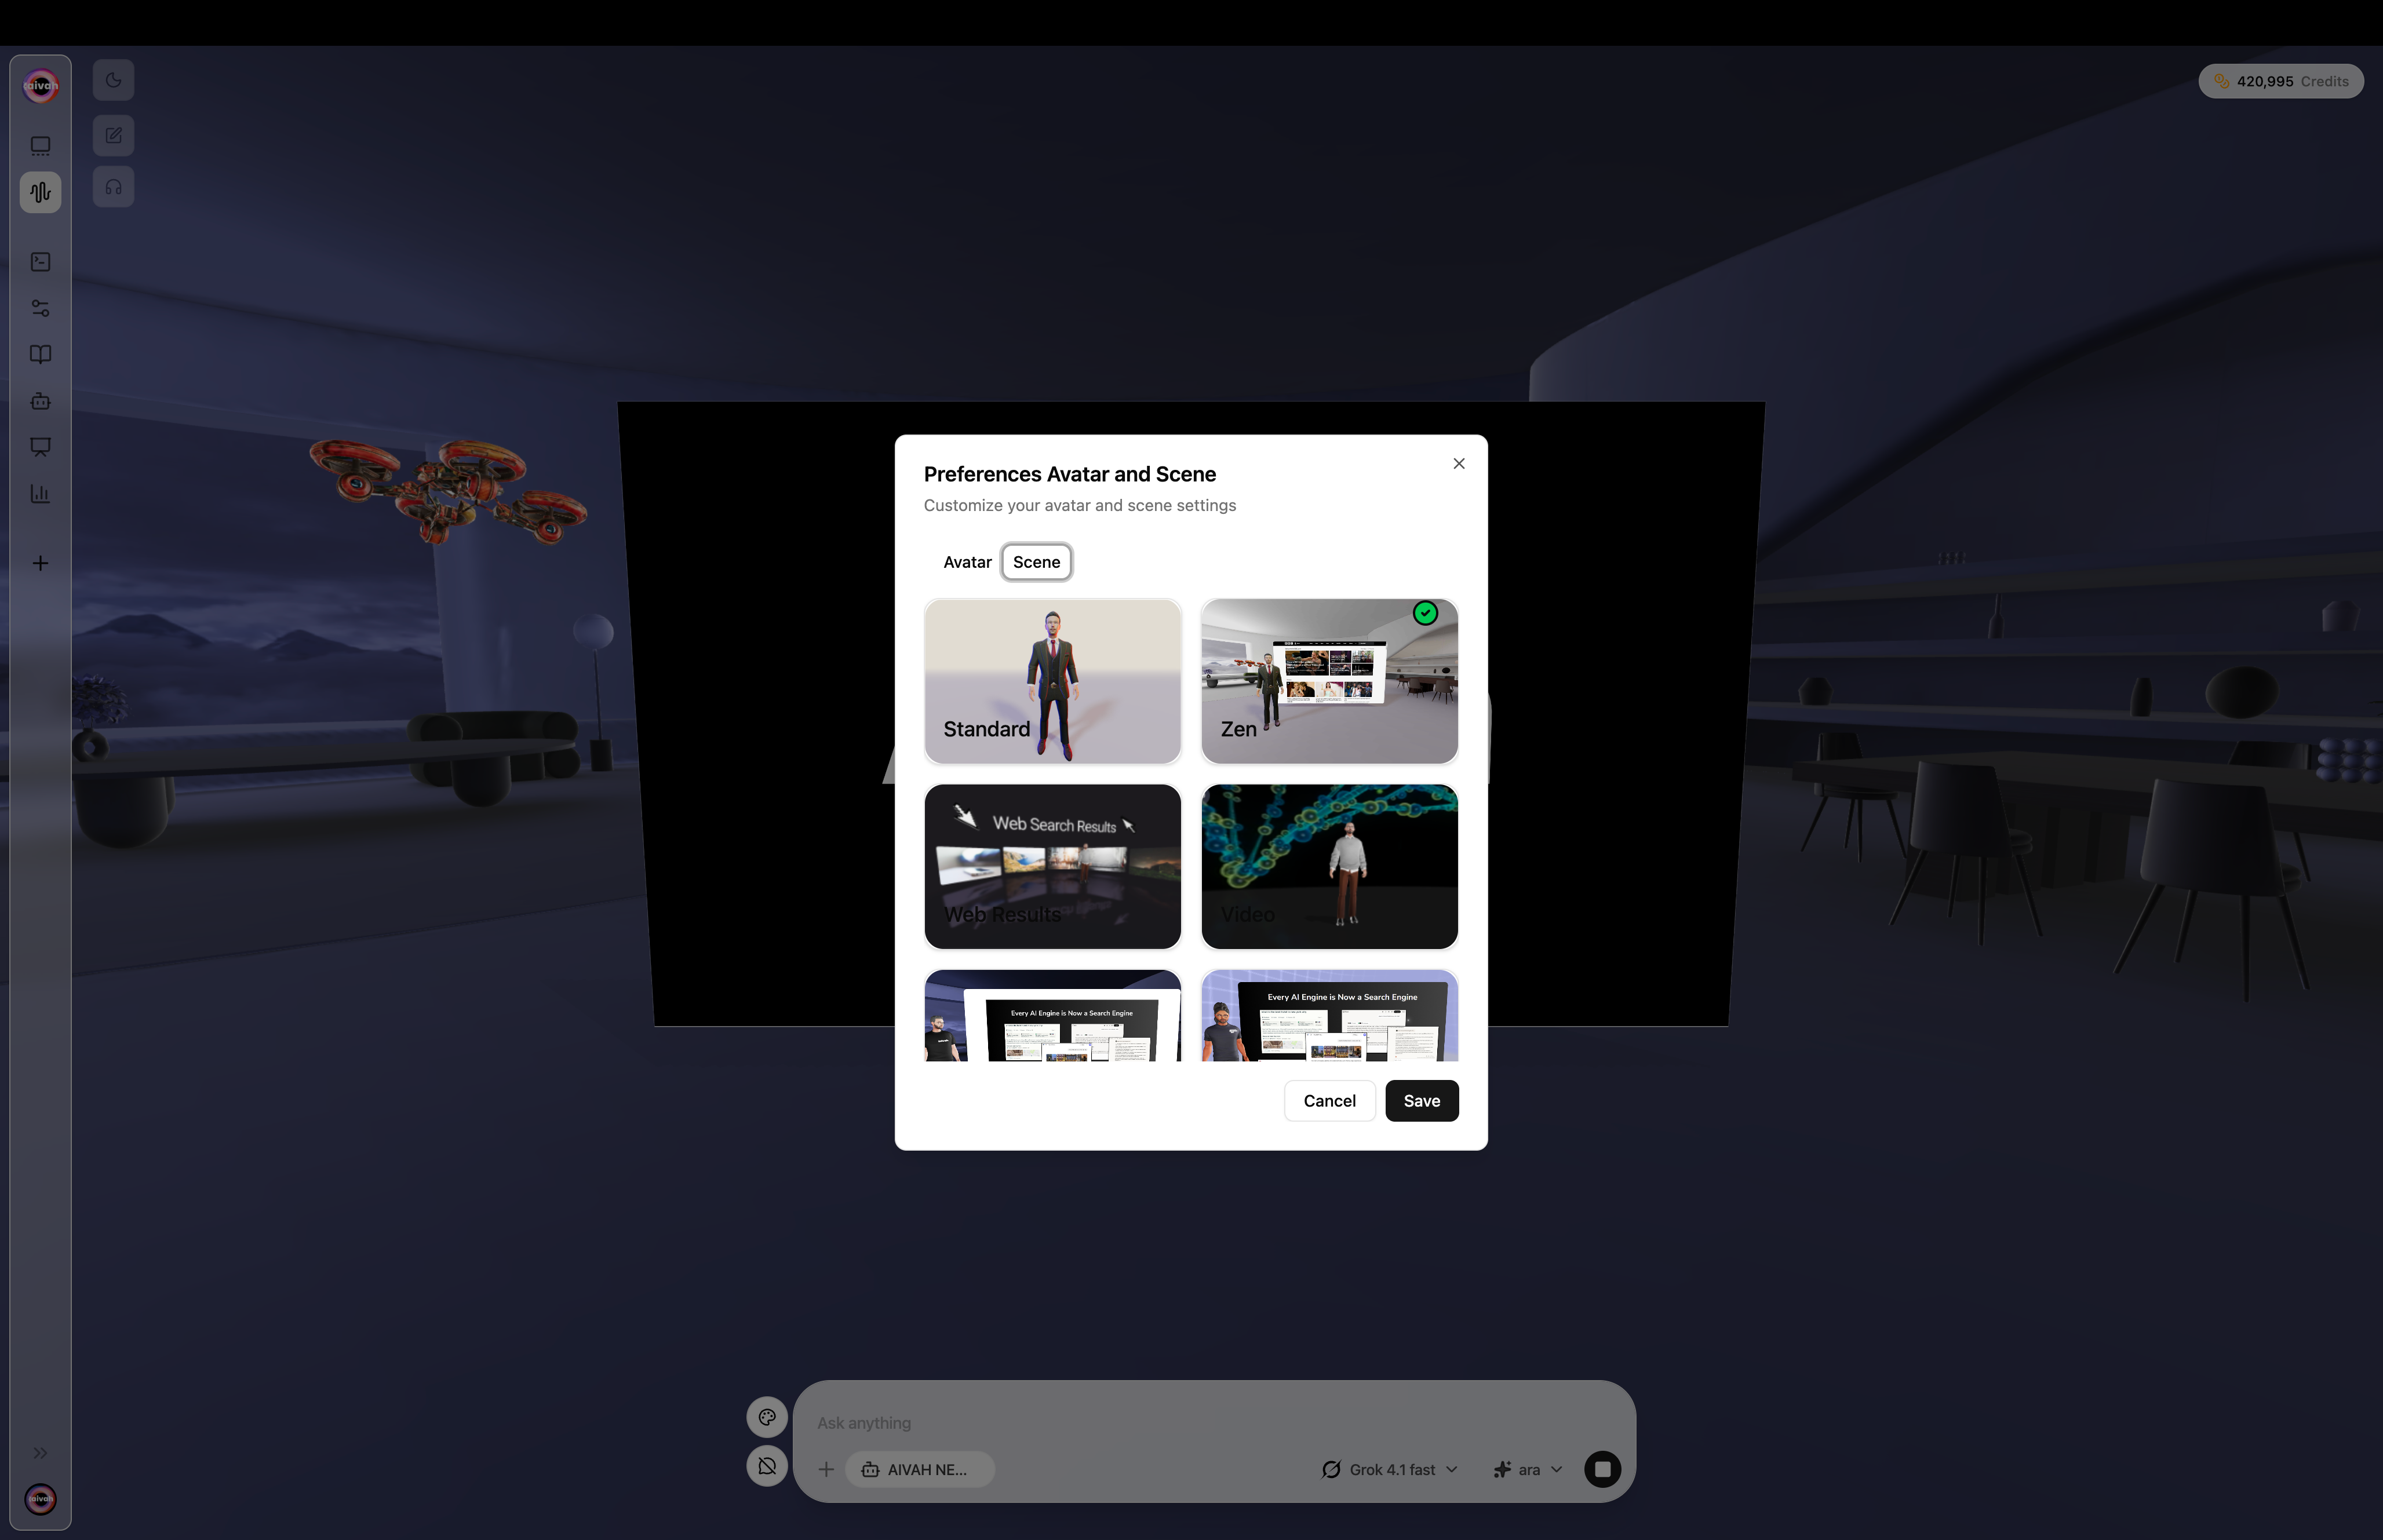
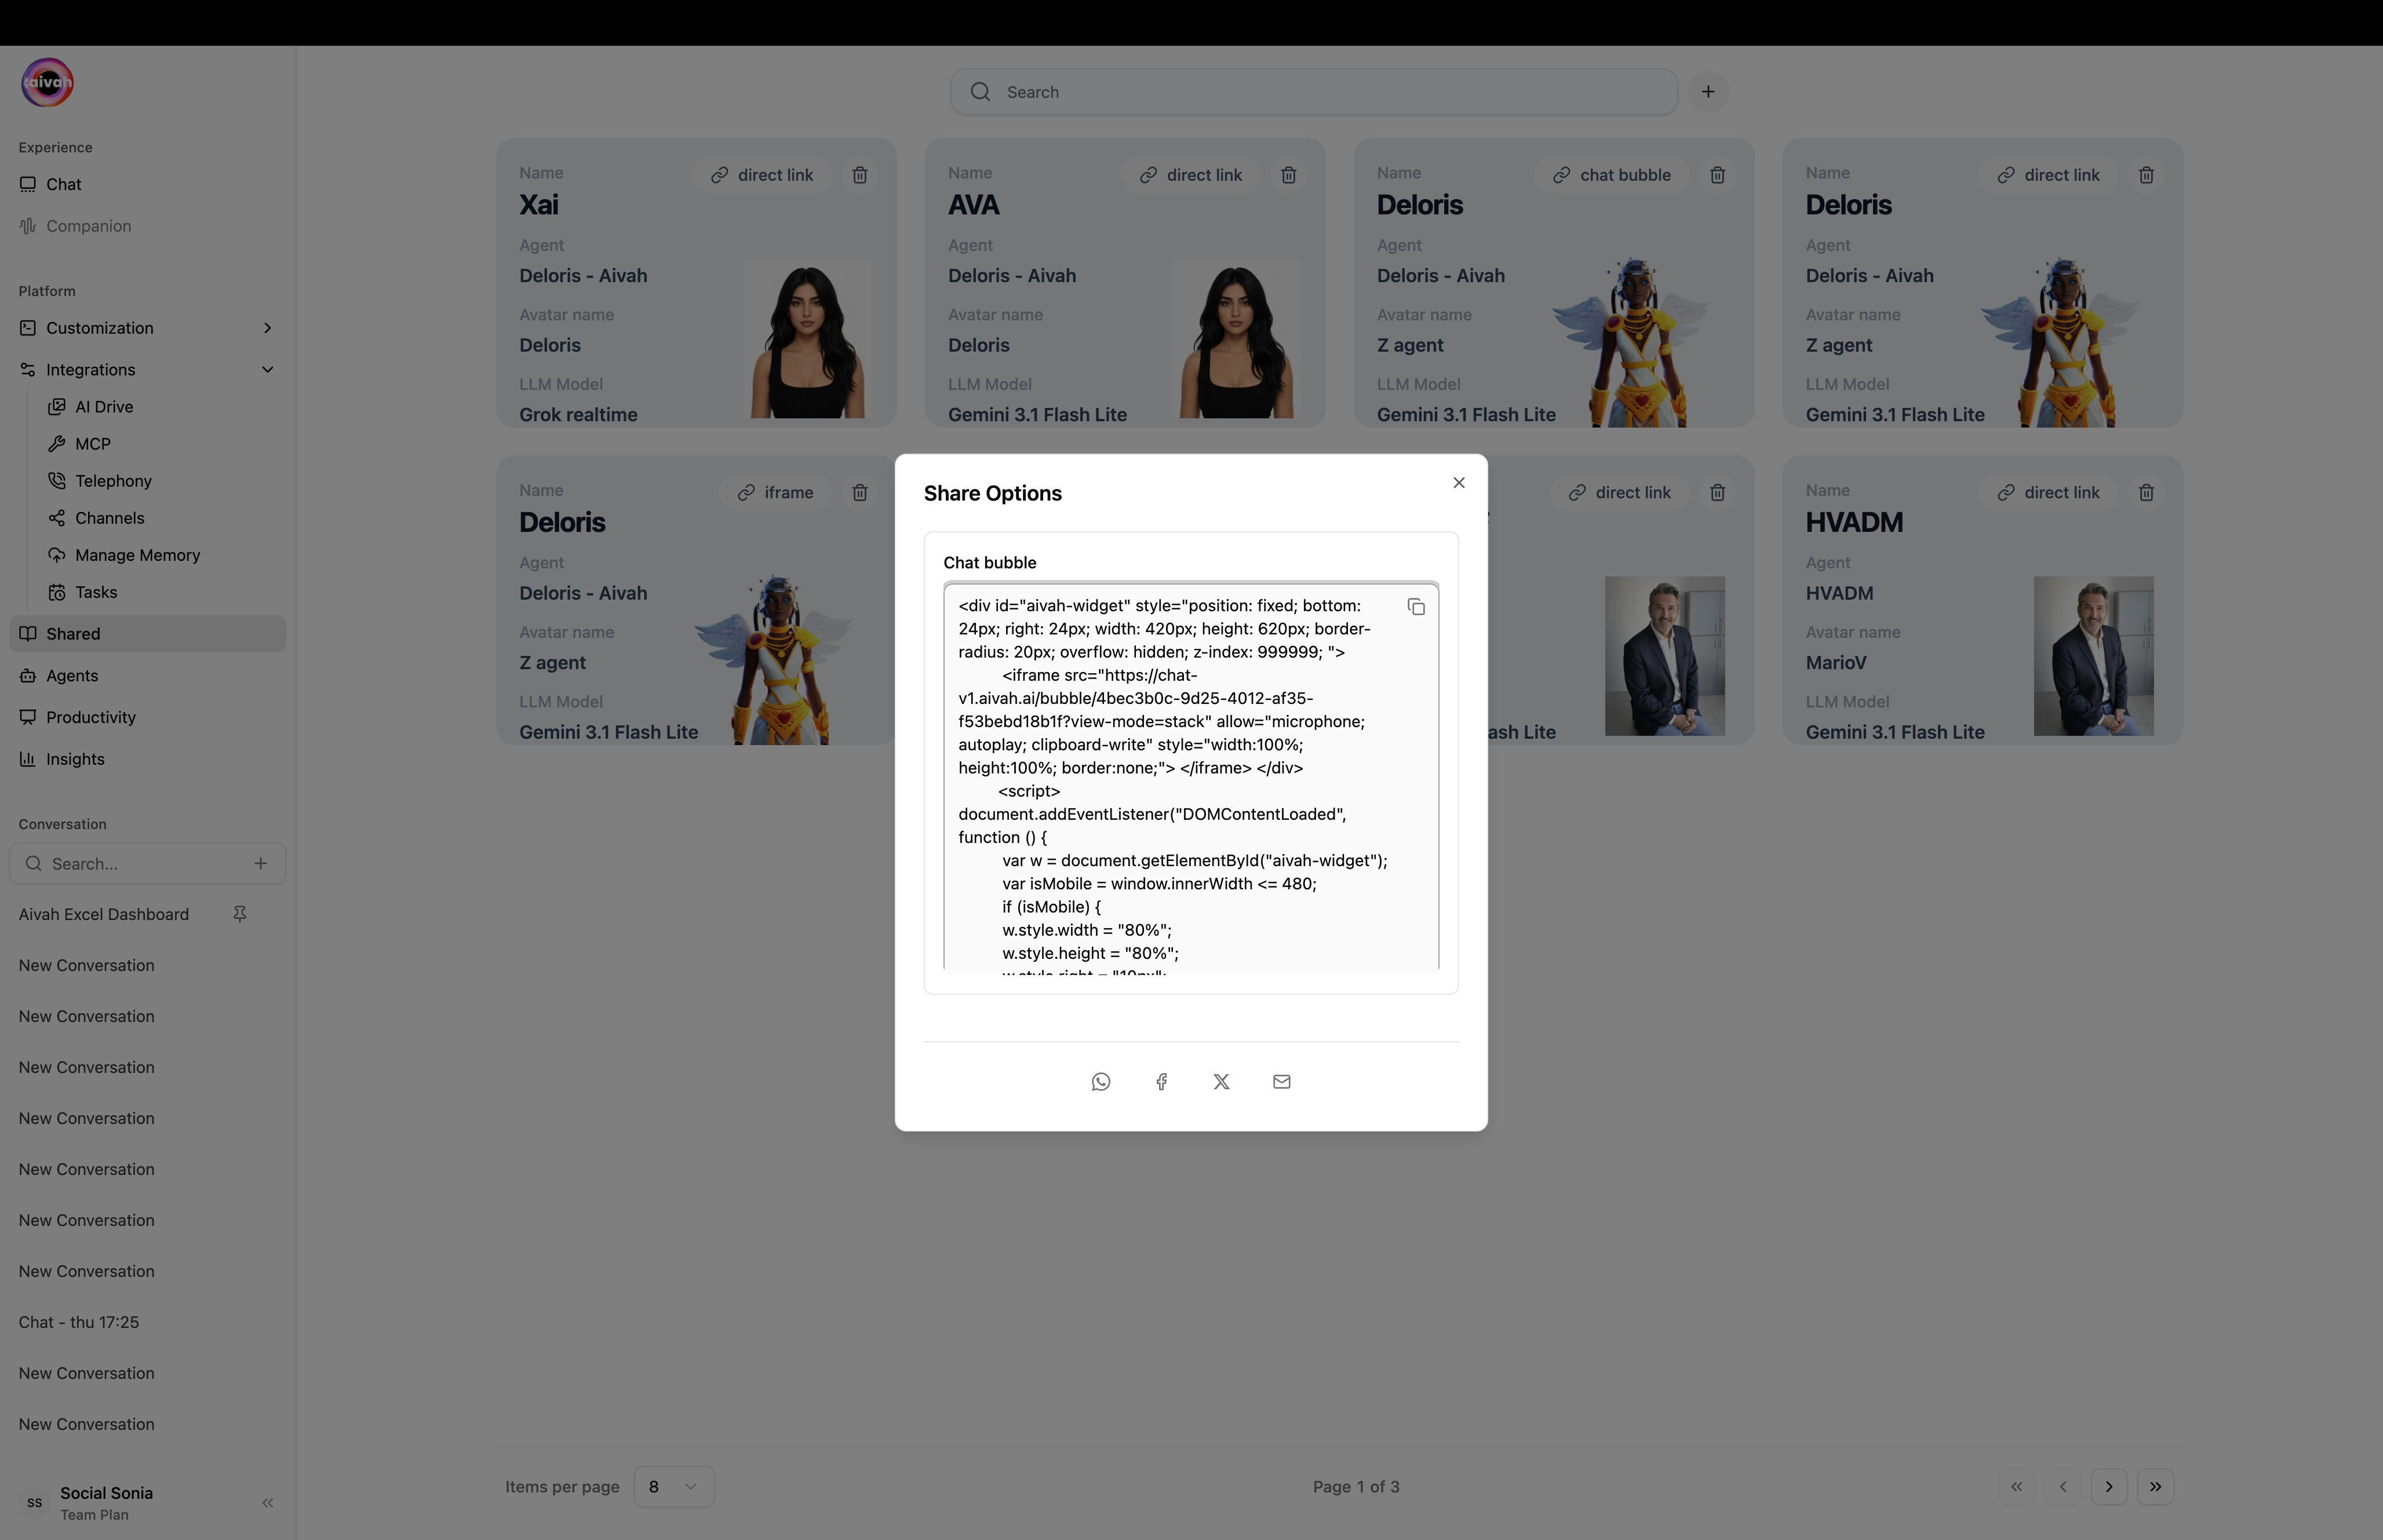
Step 4: Share Your Agent
Open Shared in the side navigation to publish a public link, bubble, or iframe.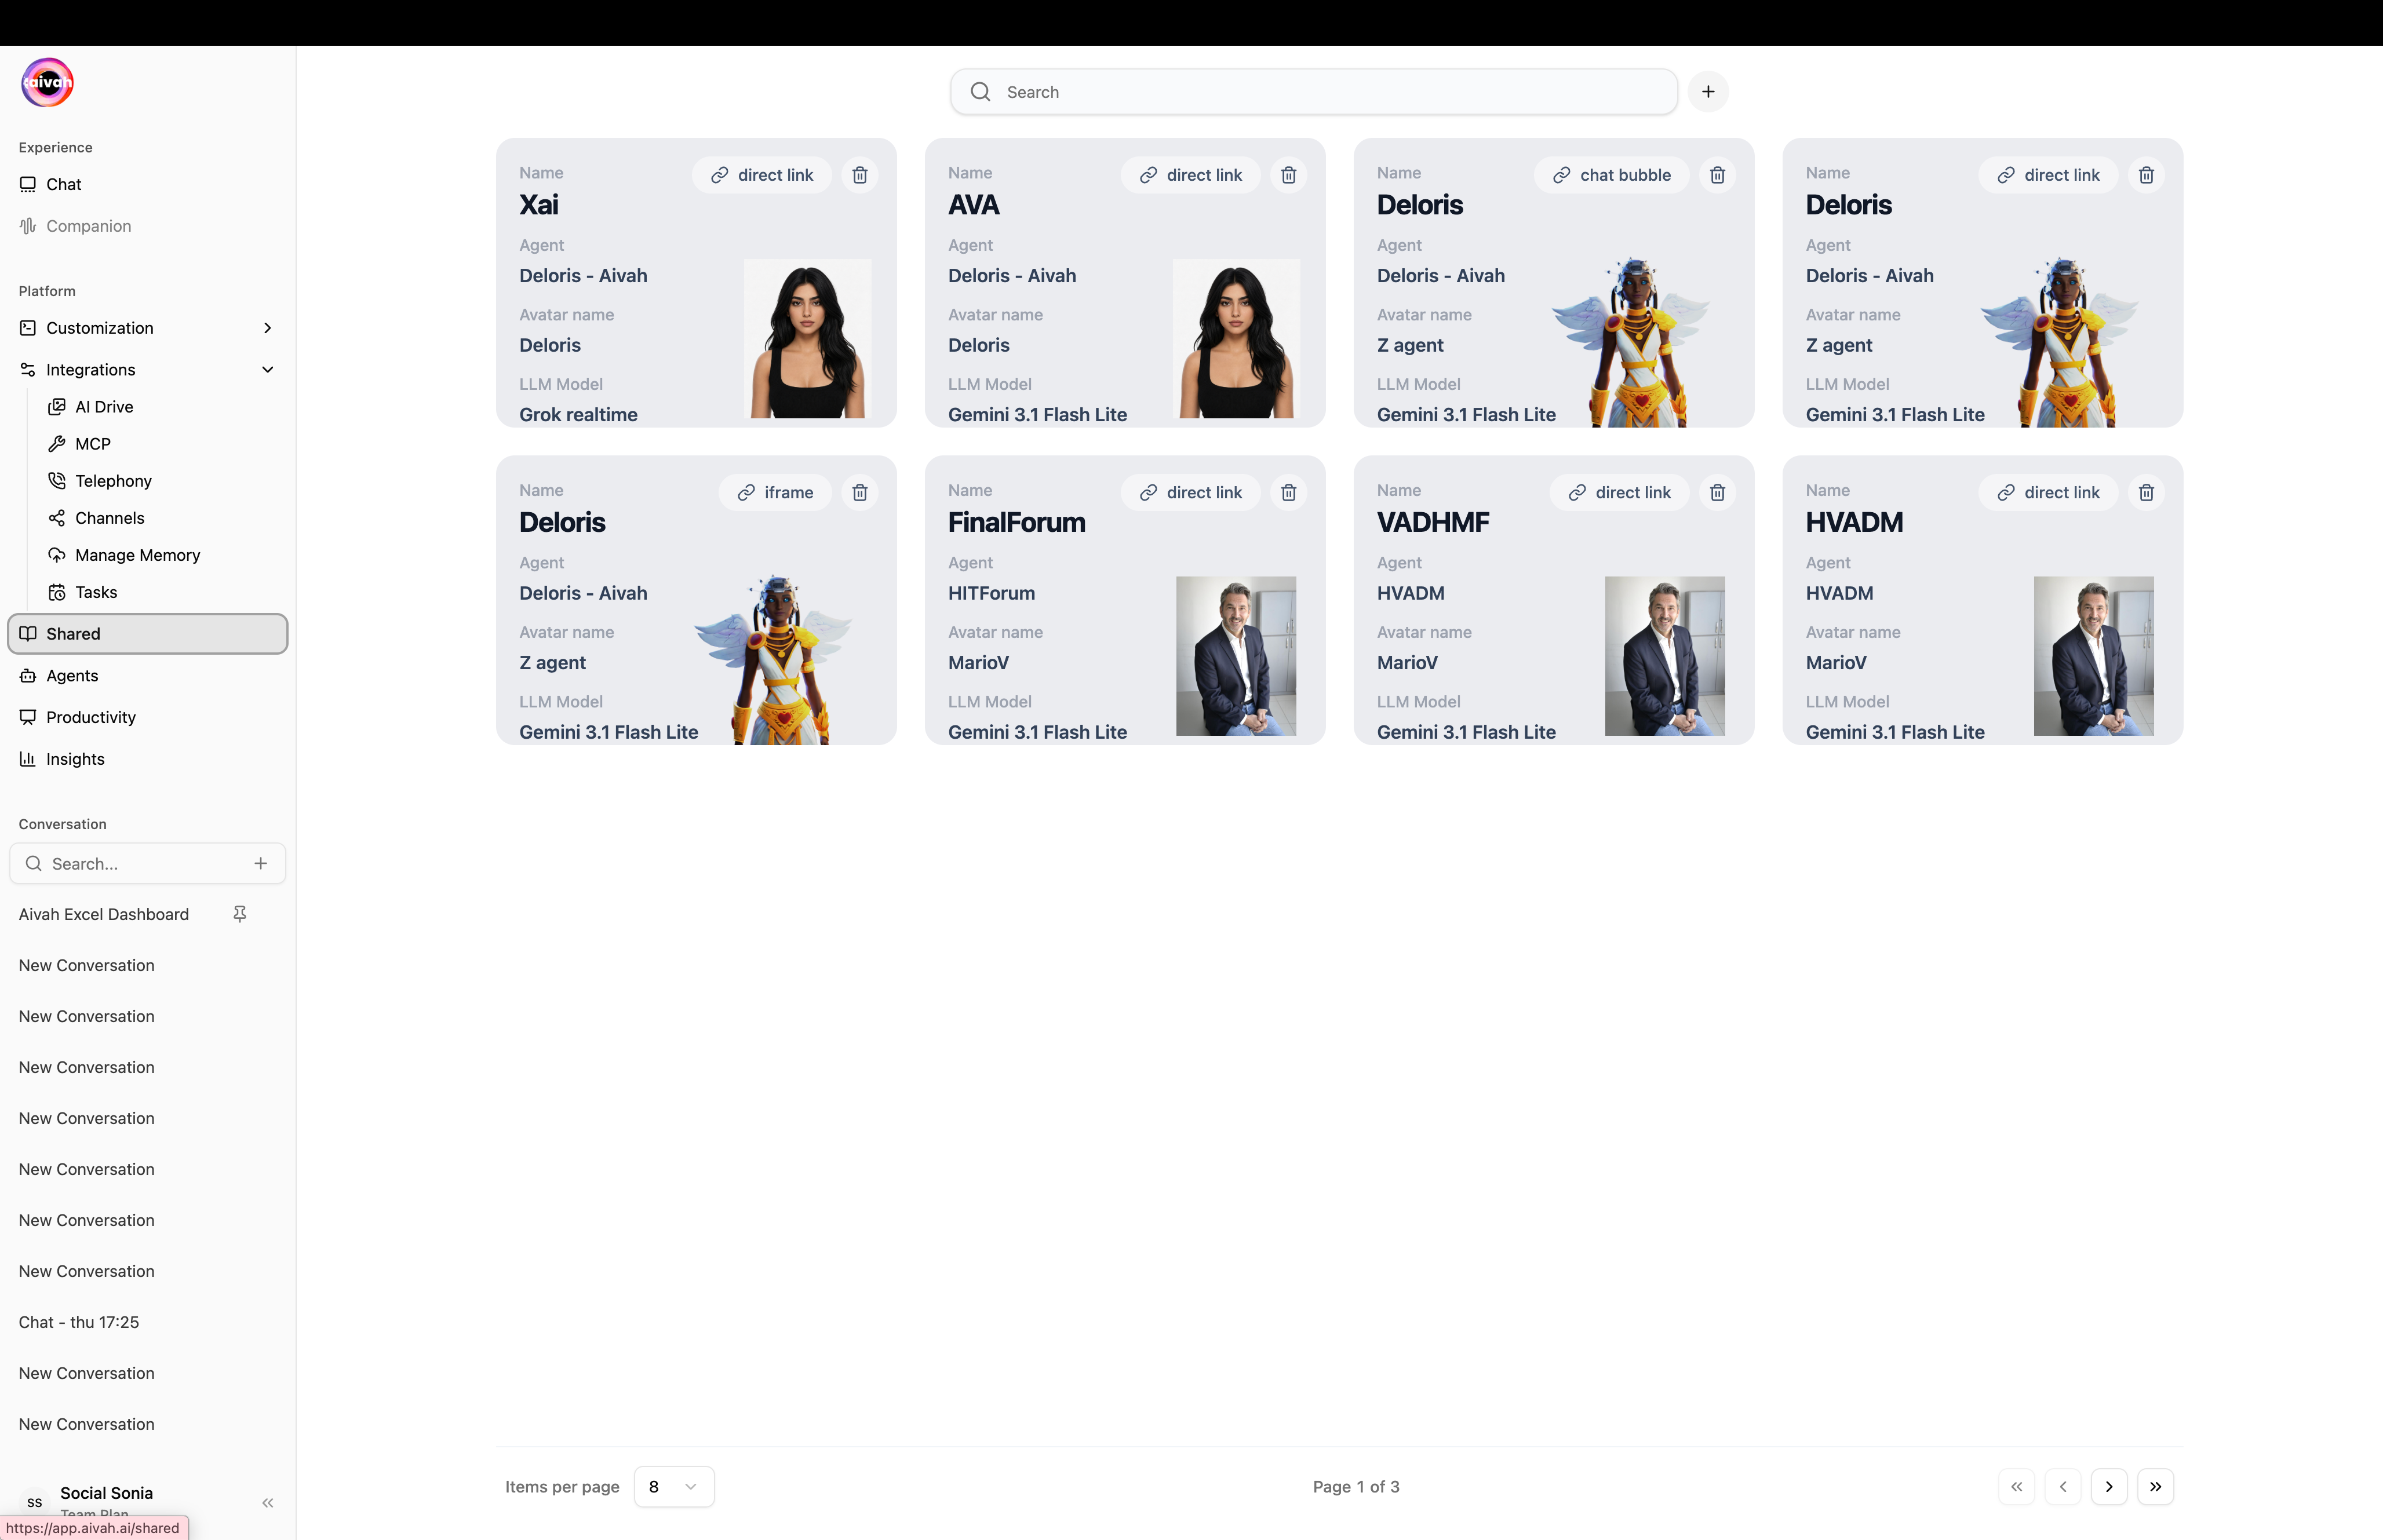
Create a shared agent
Click the + button to open the two-step create flow.Persona step – pick the agent, model, voice, tools, and instructions
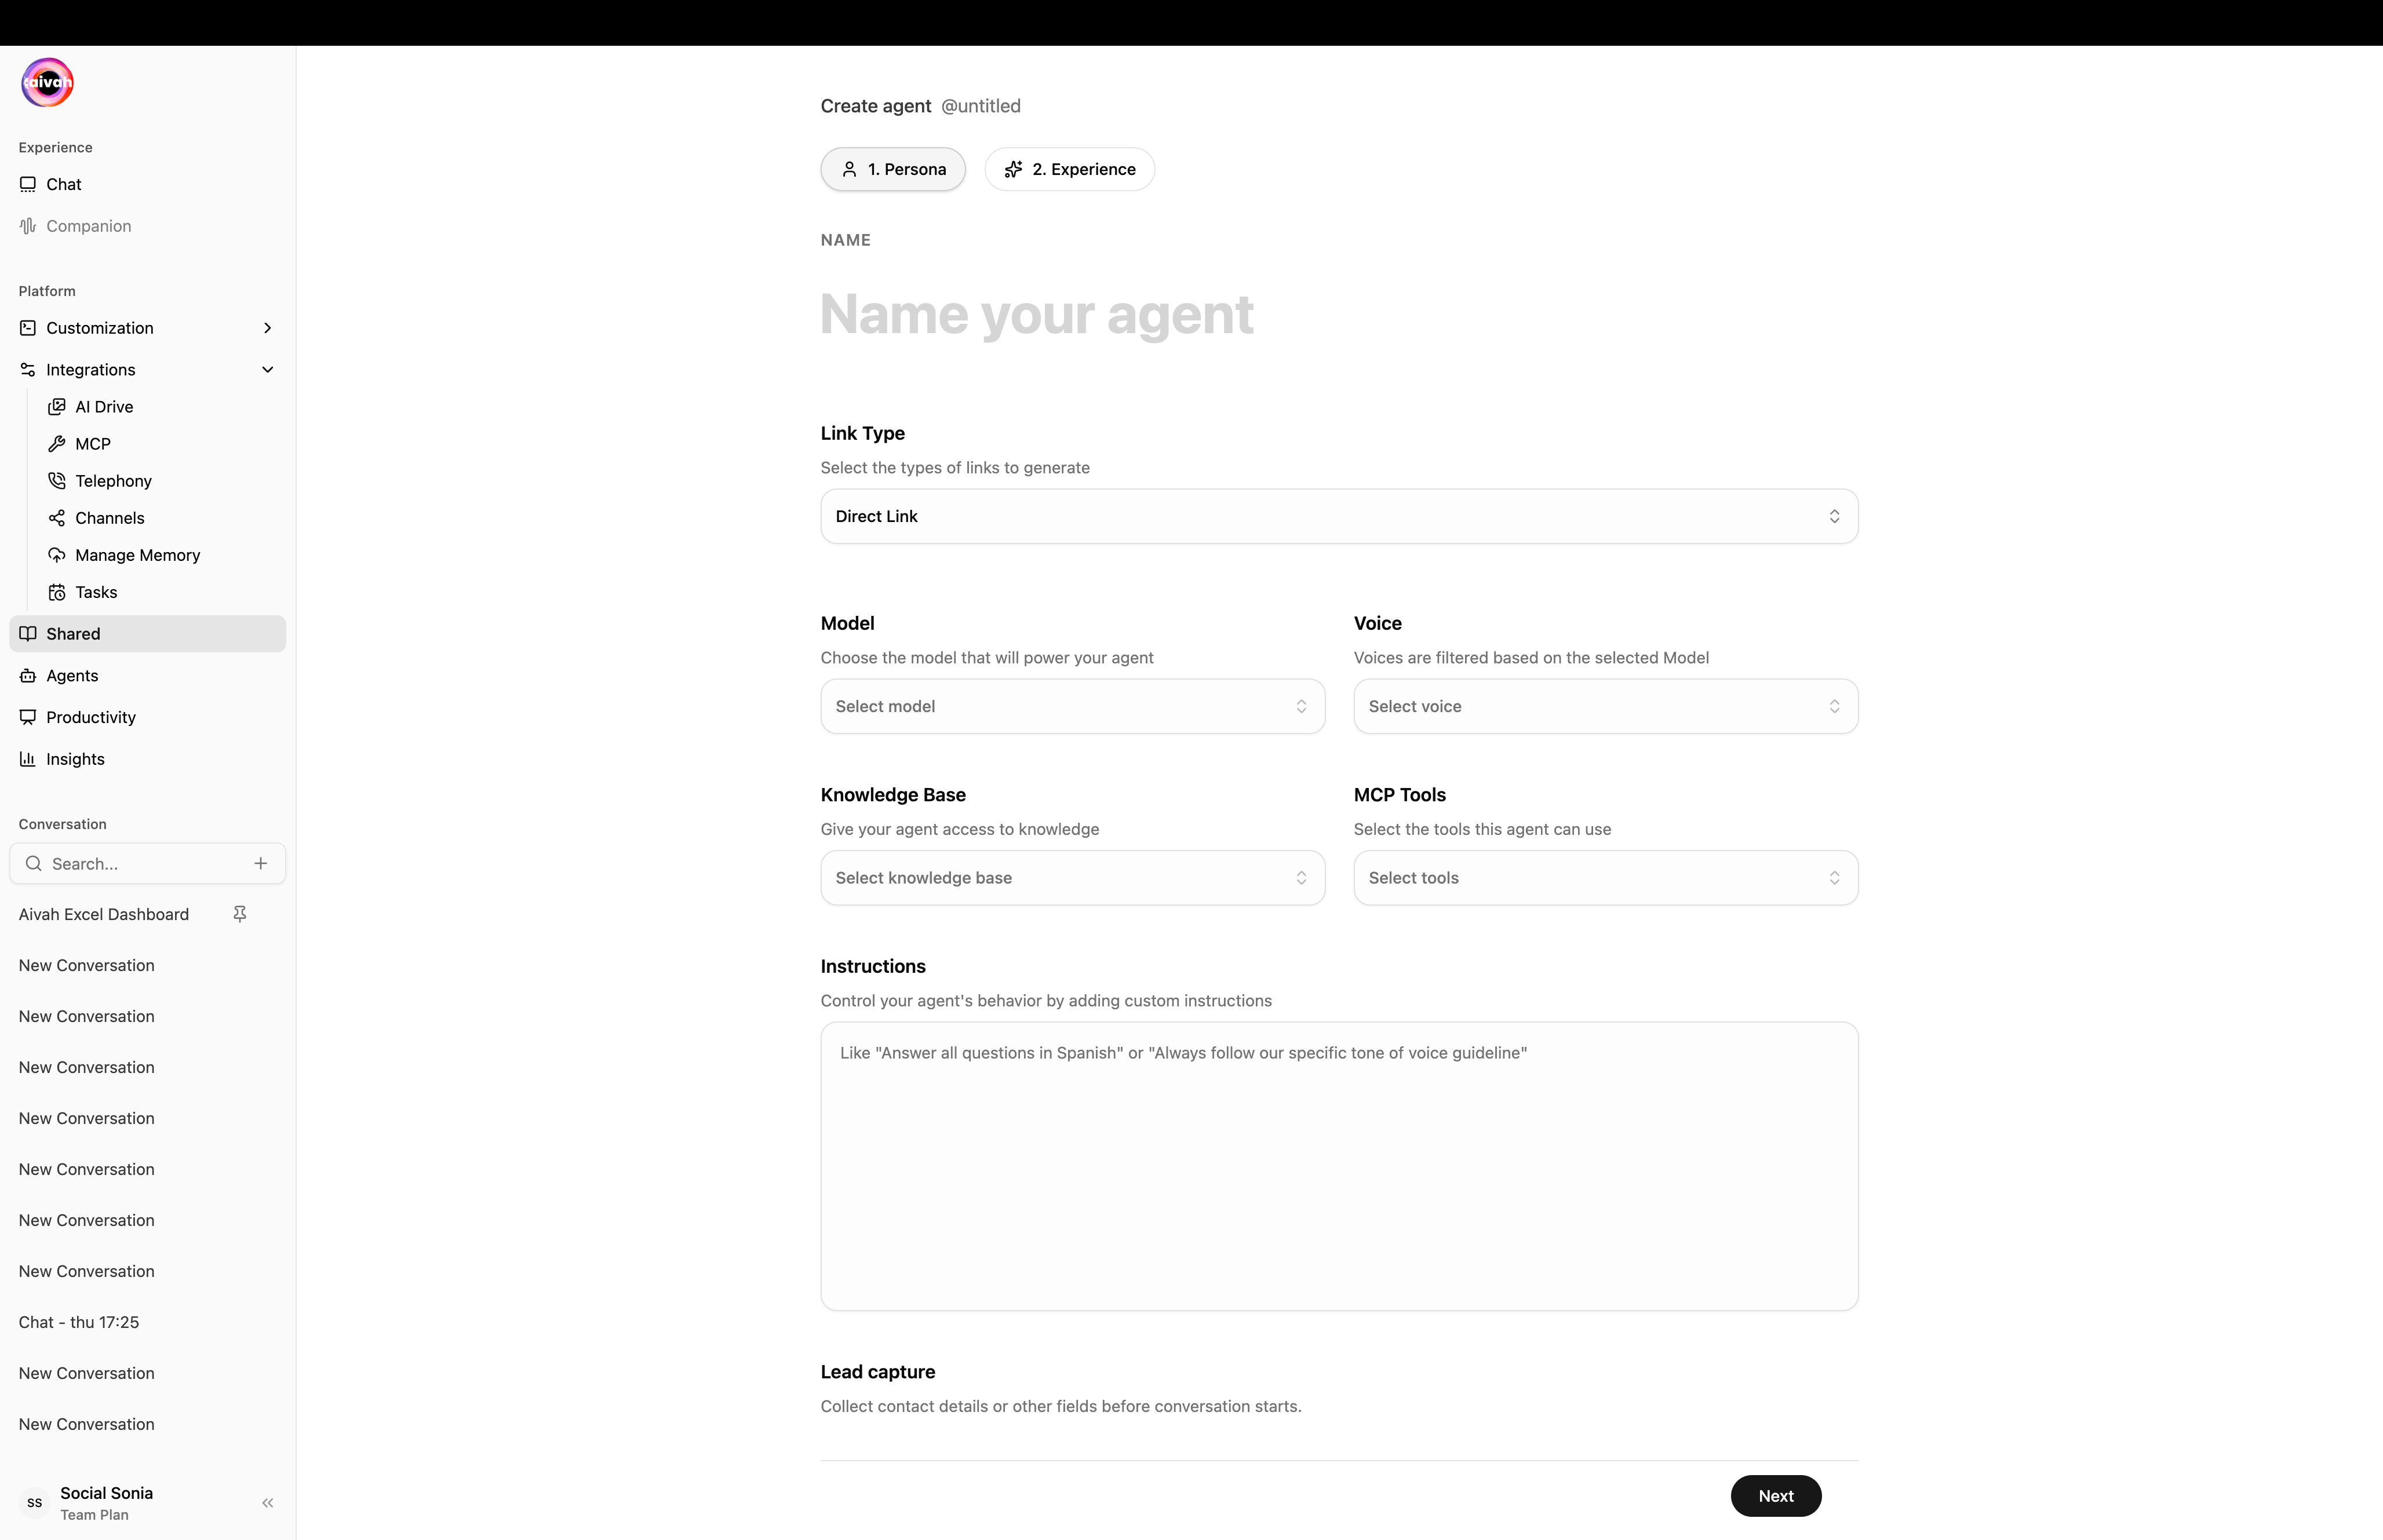
- Direct Link – a clean URL you can post anywhere.
- Iframe – an embeddable widget for your website.
- Chat Bubble – a floating bubble script for any site.
Optional – add a lead capture form
Click Add lead capture form inside the Persona step. Configure title, consent text, and one or more fields (name, email, phone, custom). Mark each as required or optional.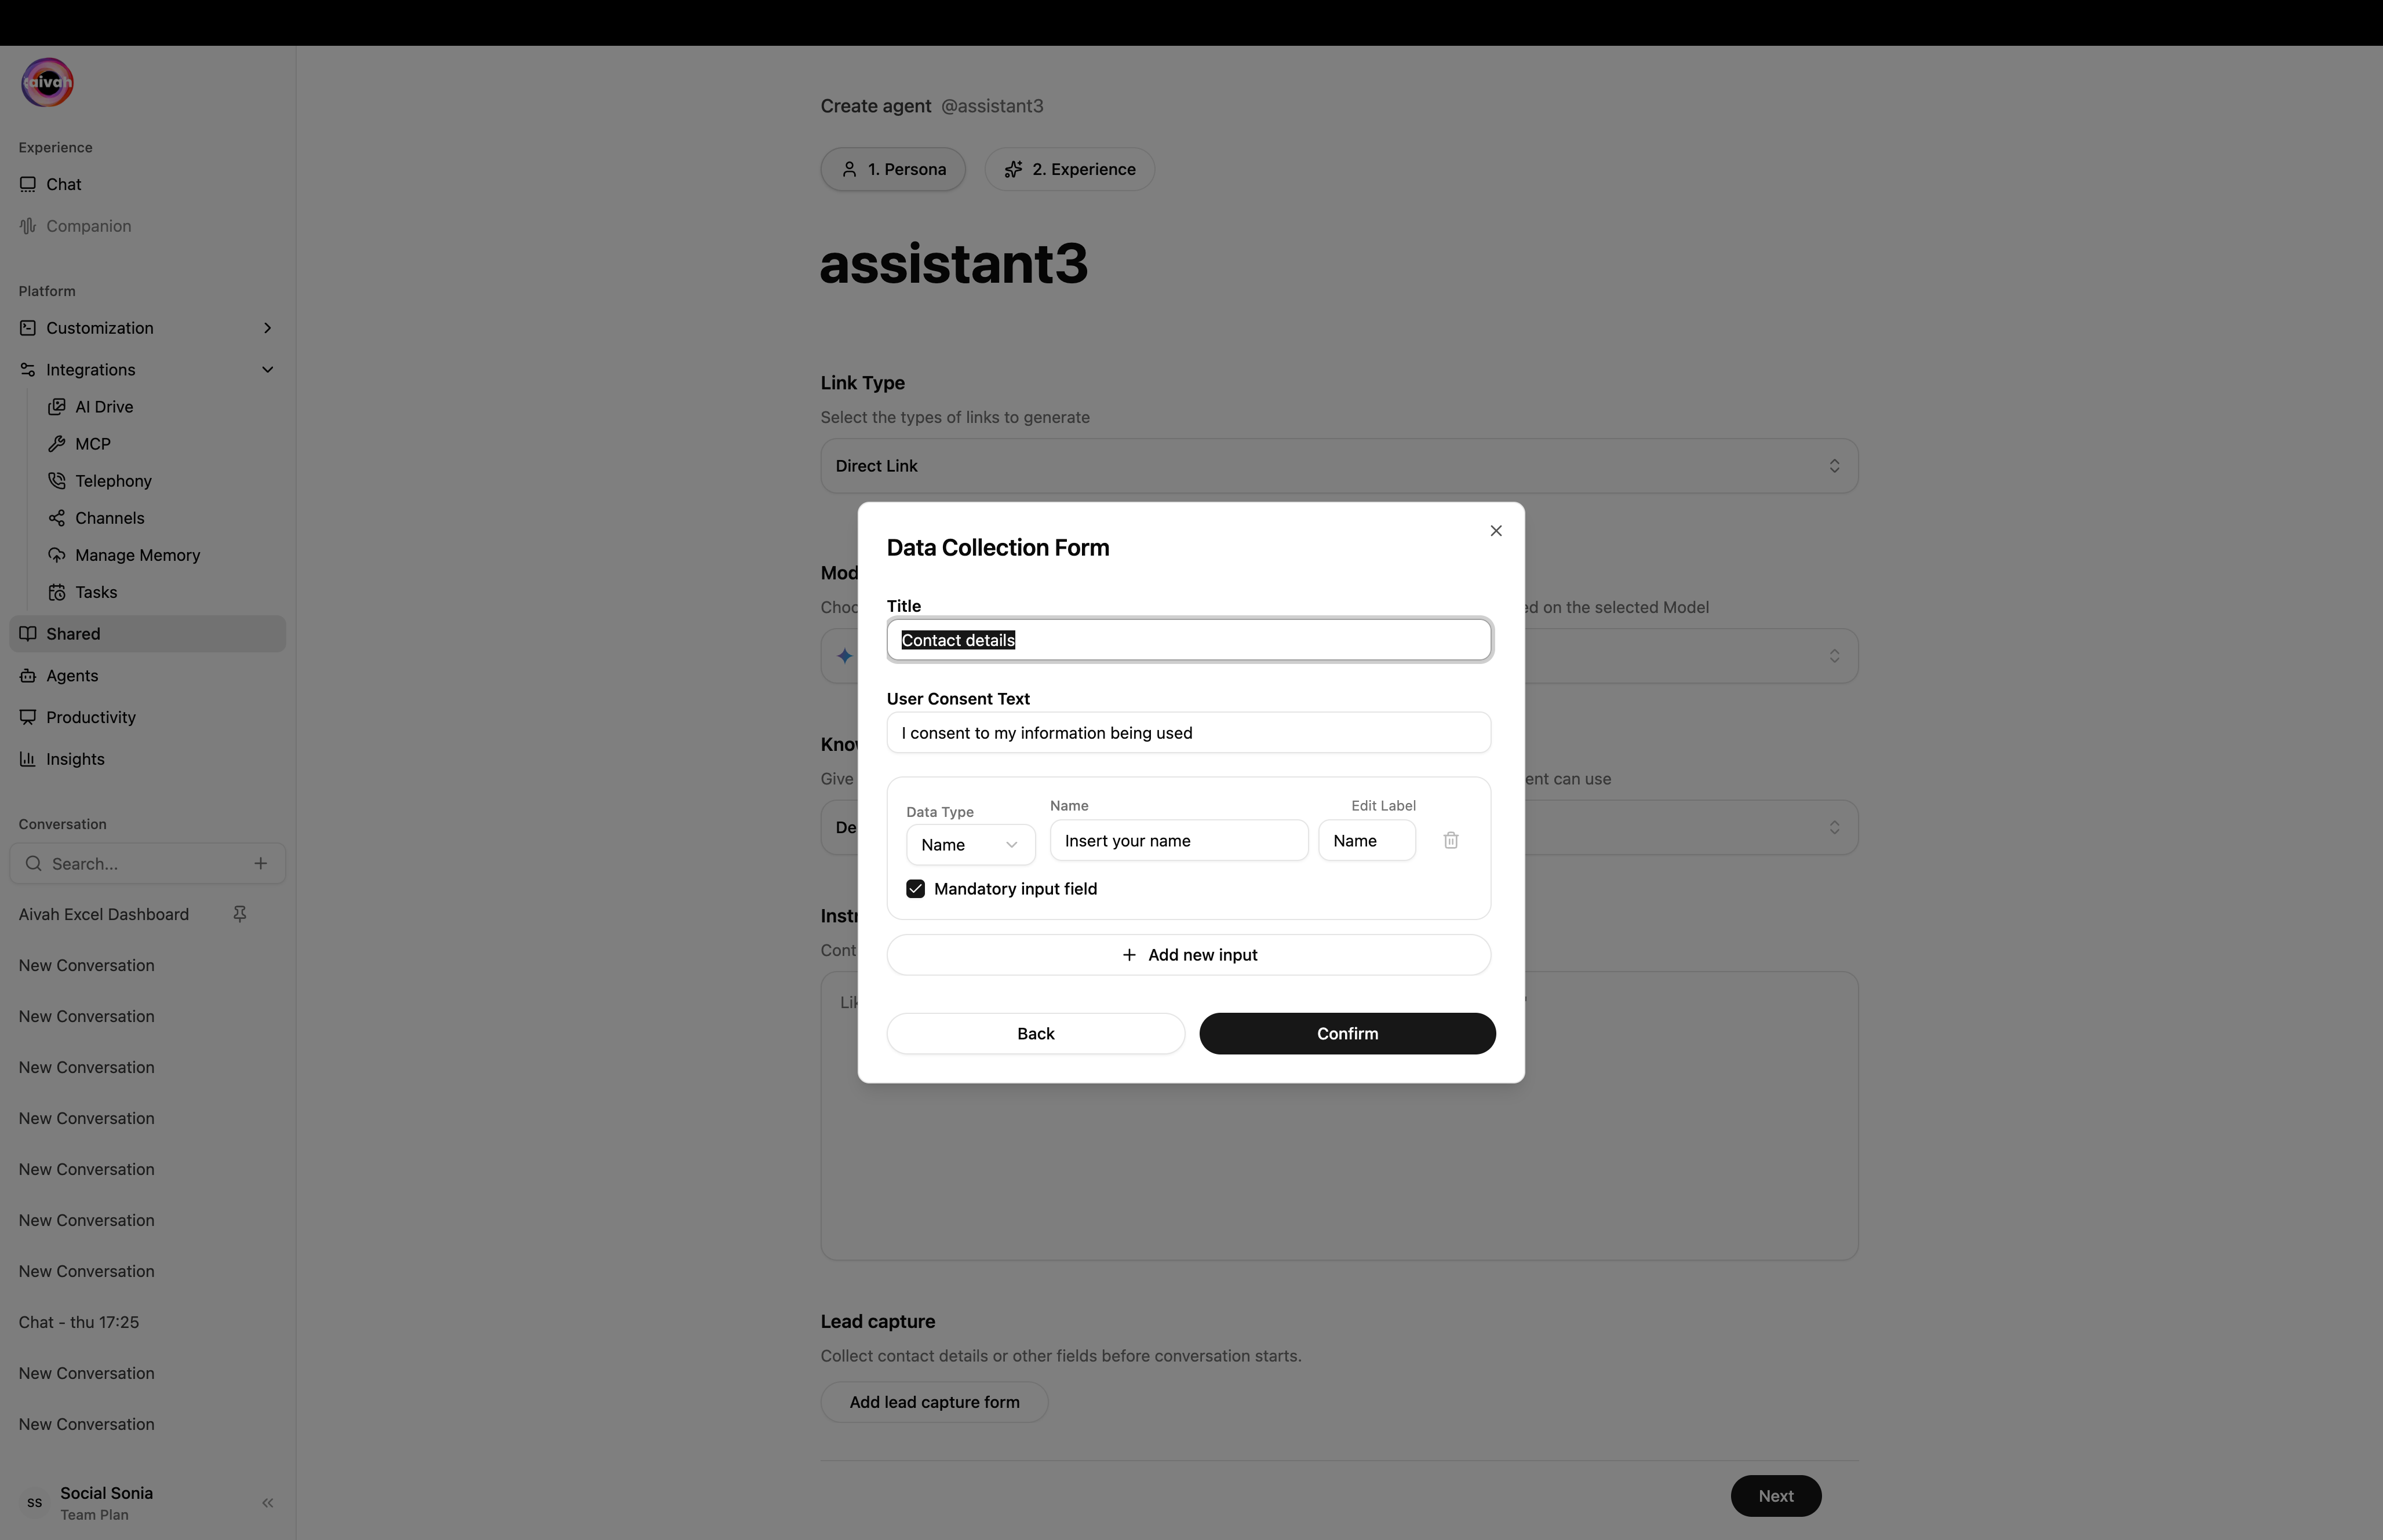
Experience step – pick the avatar / character, scene, and branding
Switch tabs between Companion Avatars (3D) and Characters (2D), pick a scene, and decide what logo appears in the embed.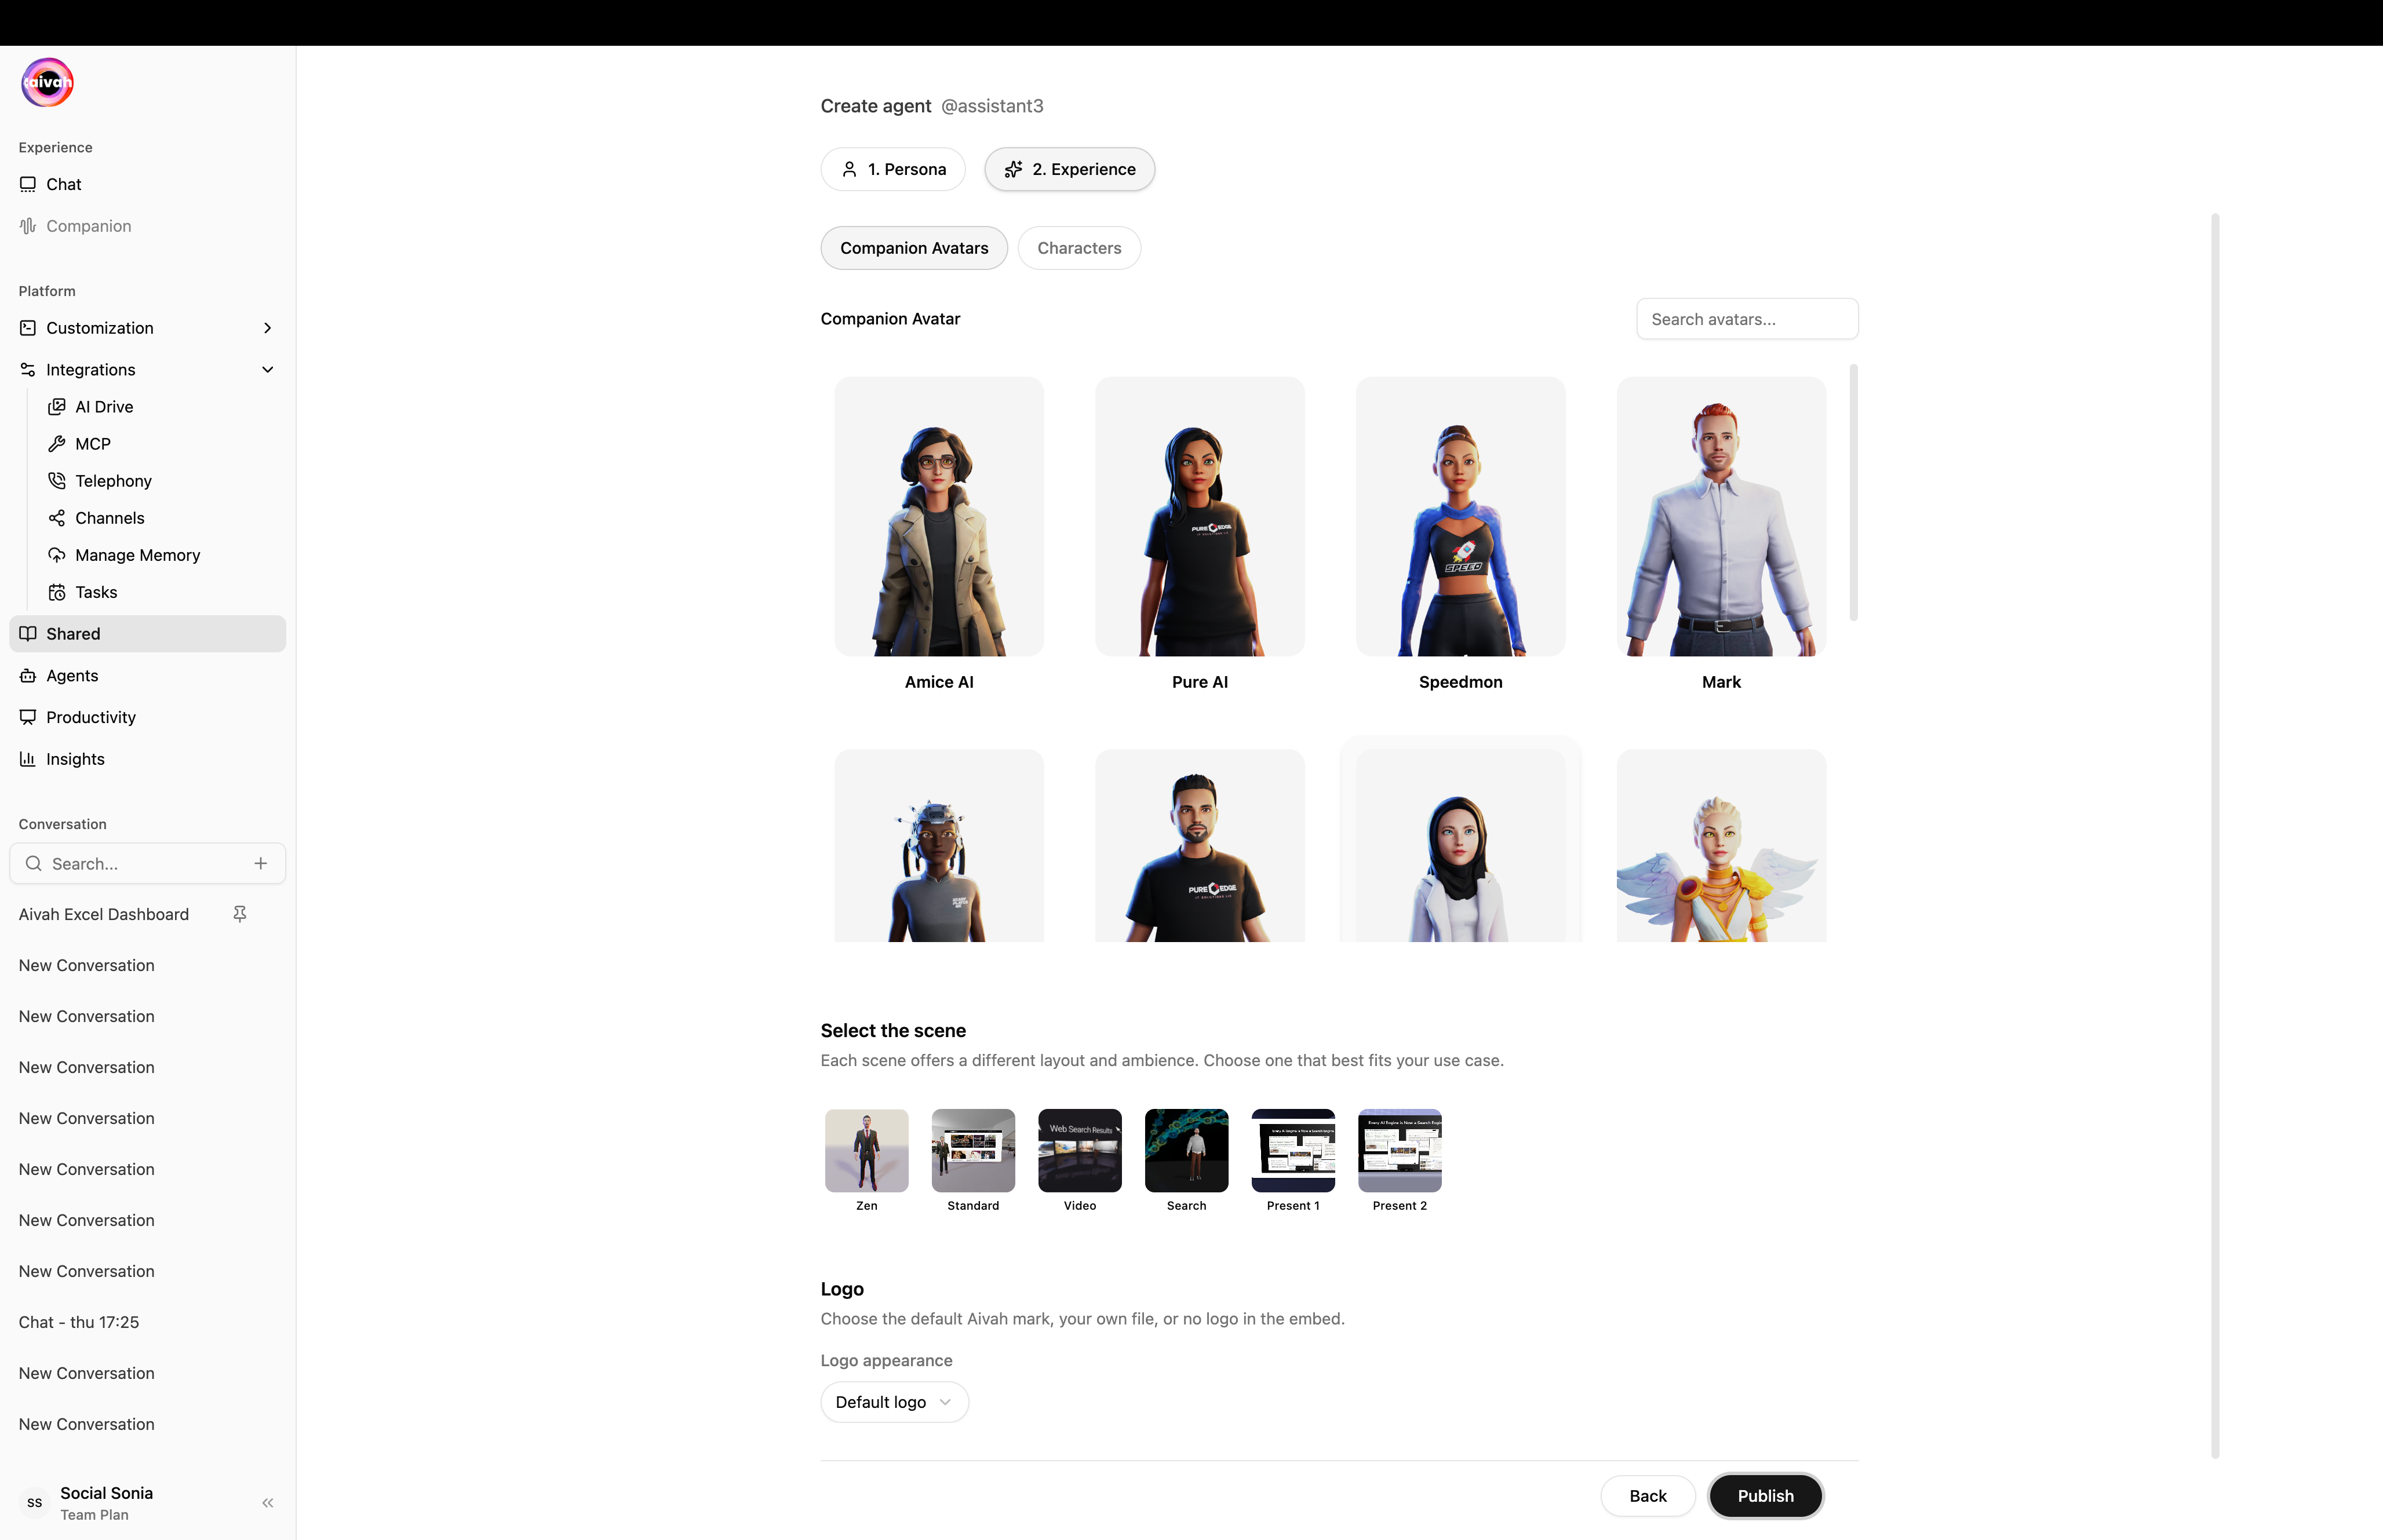

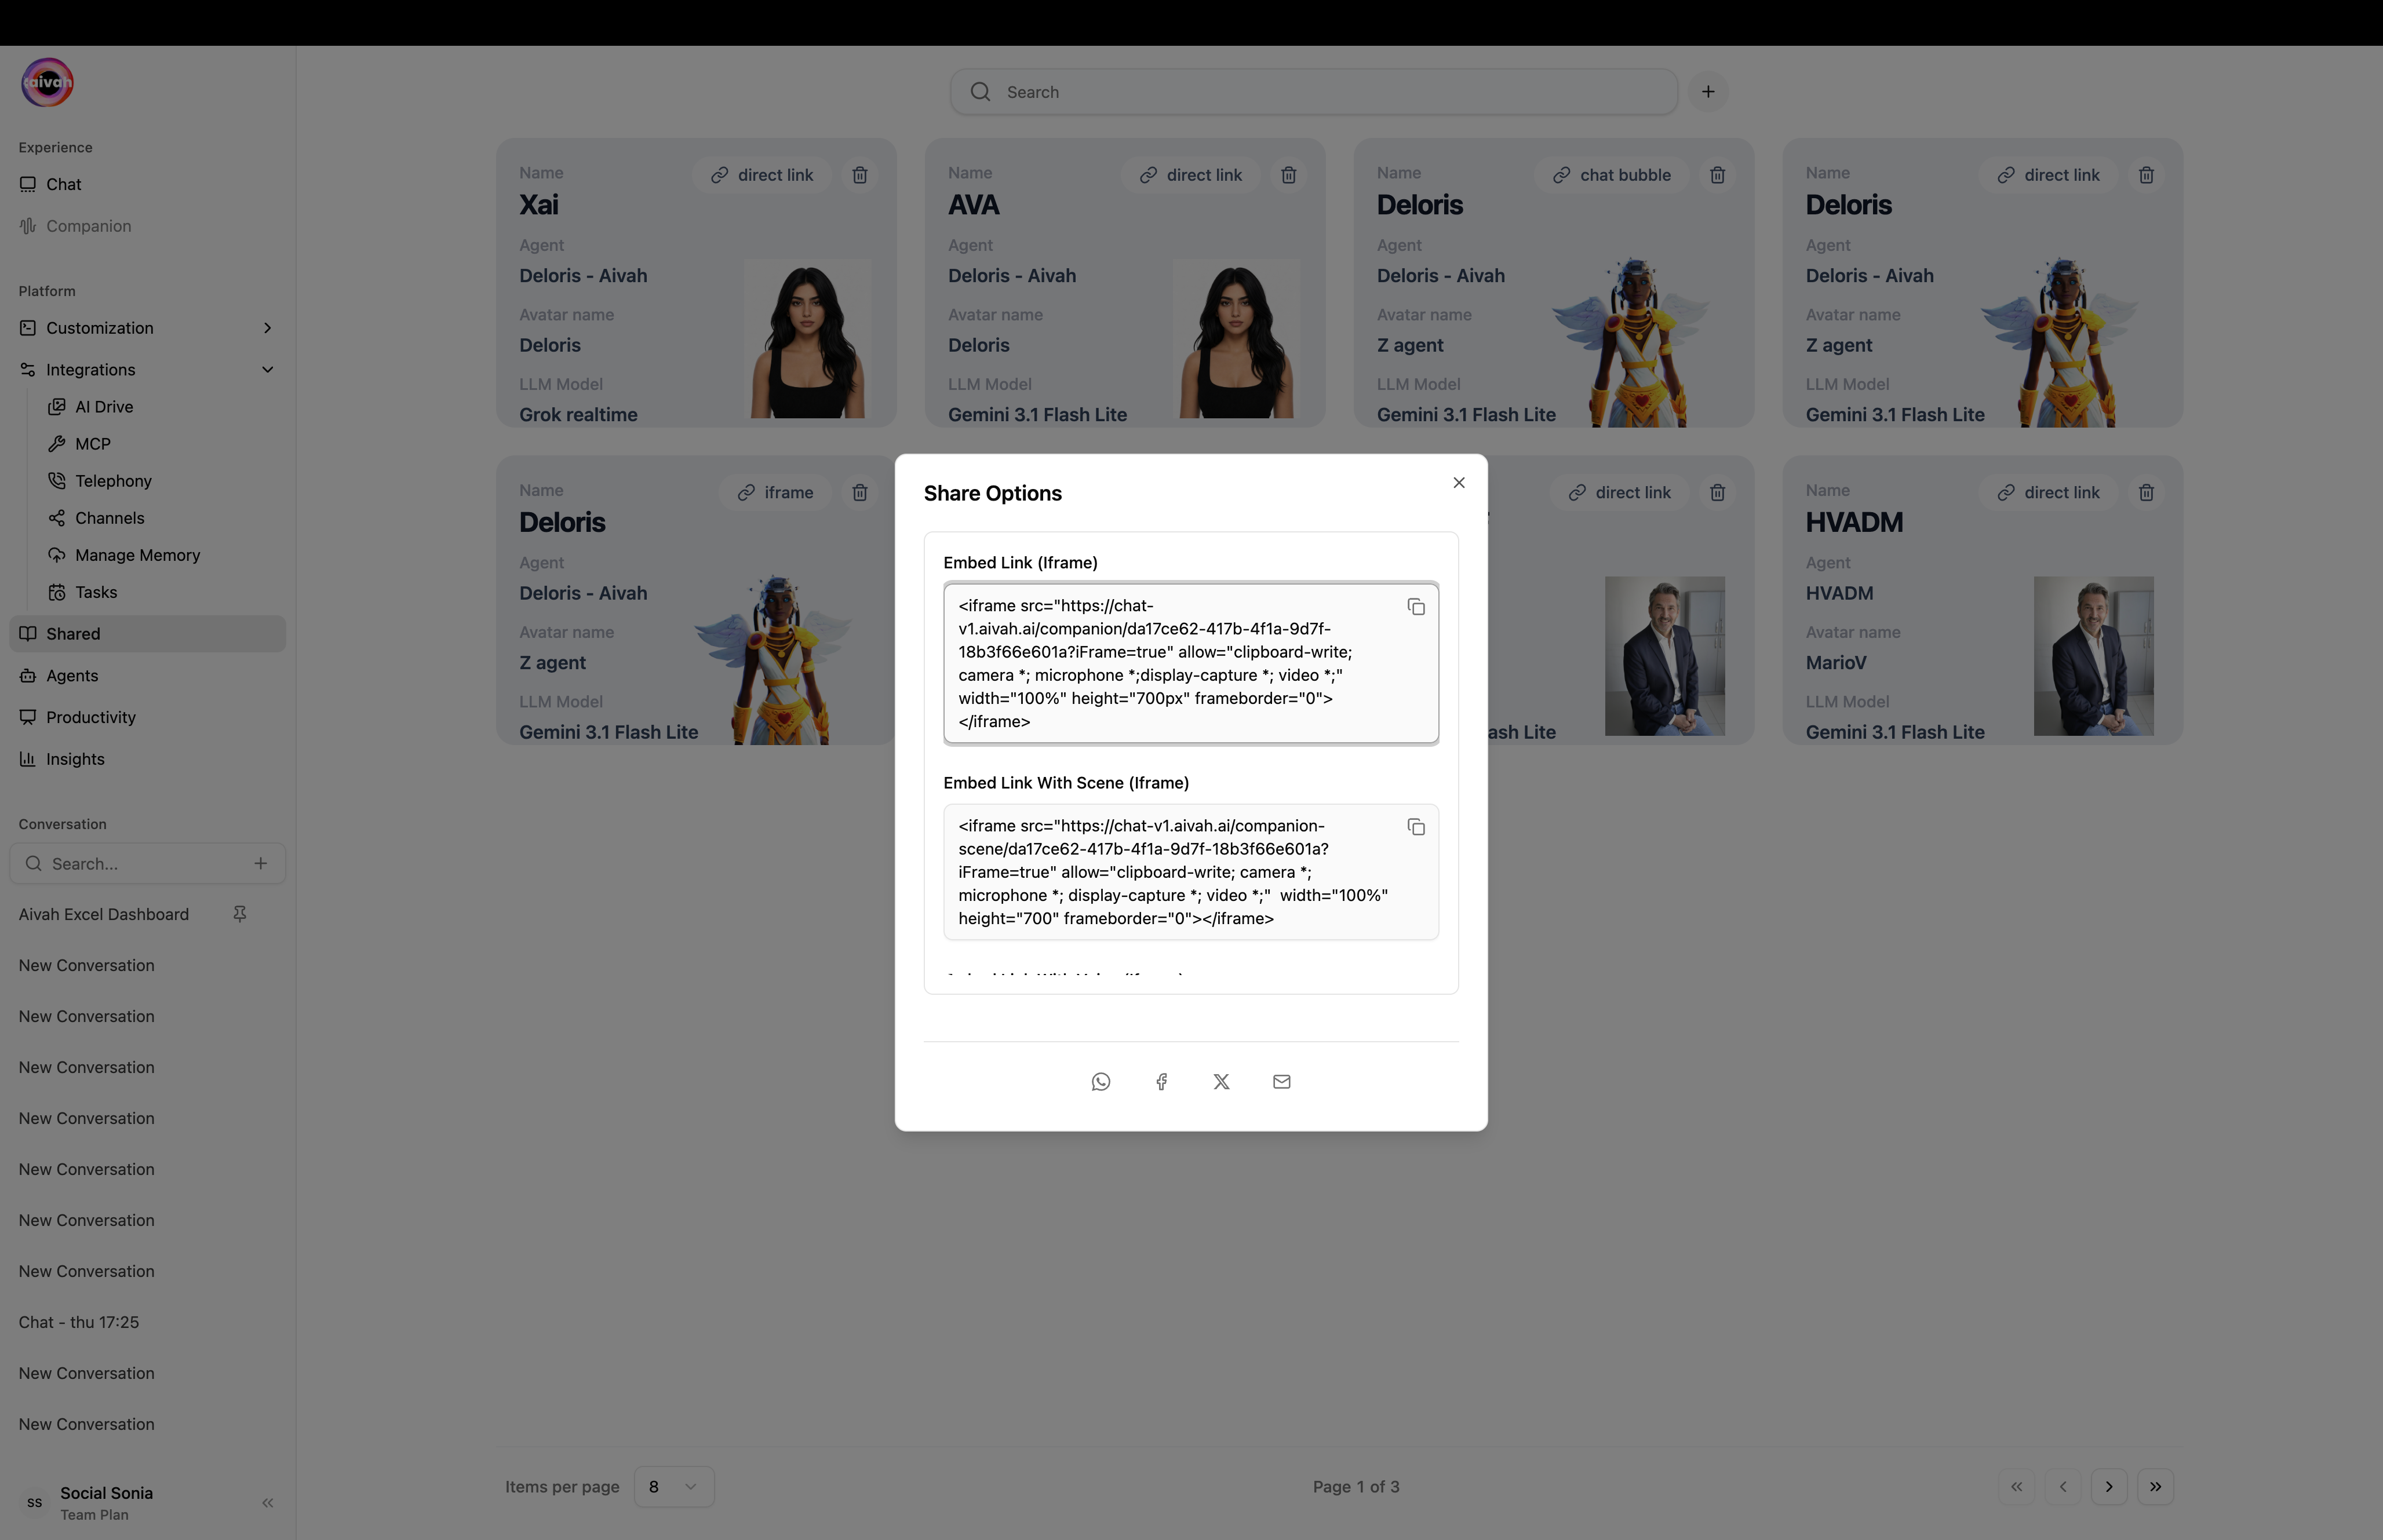
Pick the right distribution
After publishing, the Share Options dialog gives you every distribution snippet for that agent:- Direct Link
- Iframe
- Chat Bubble
A simple URL plus a Direct Link With Voice variant.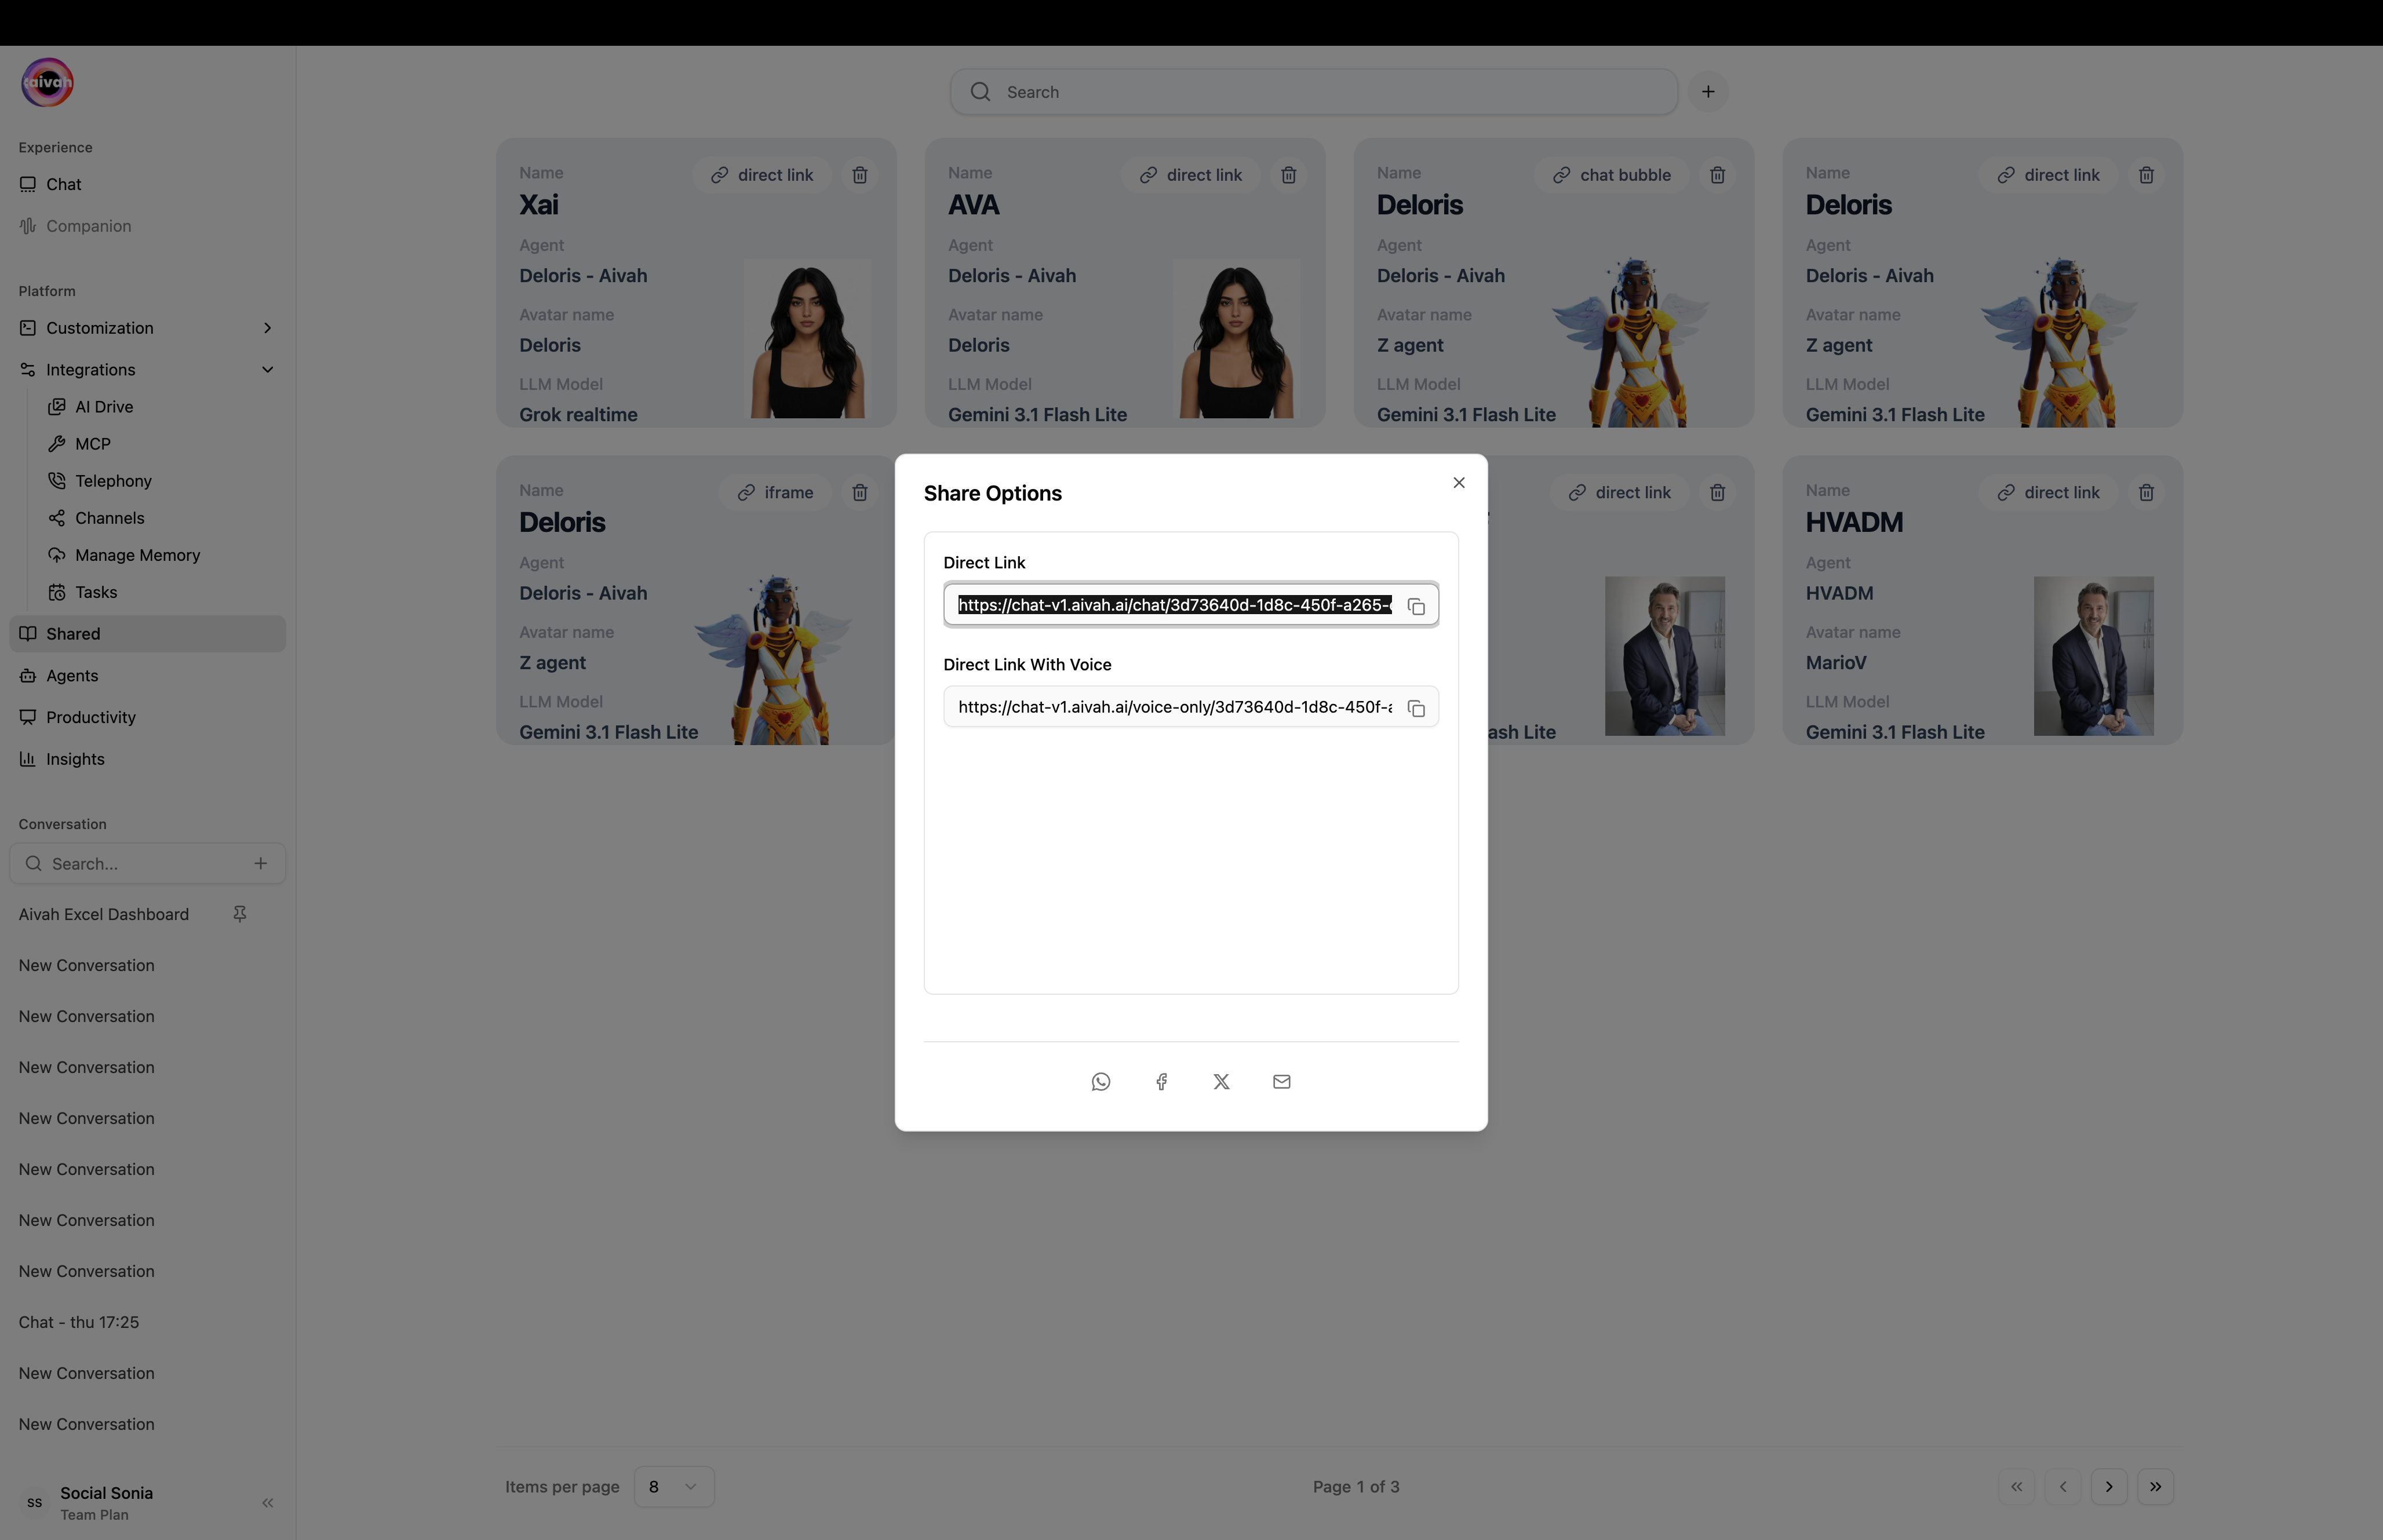
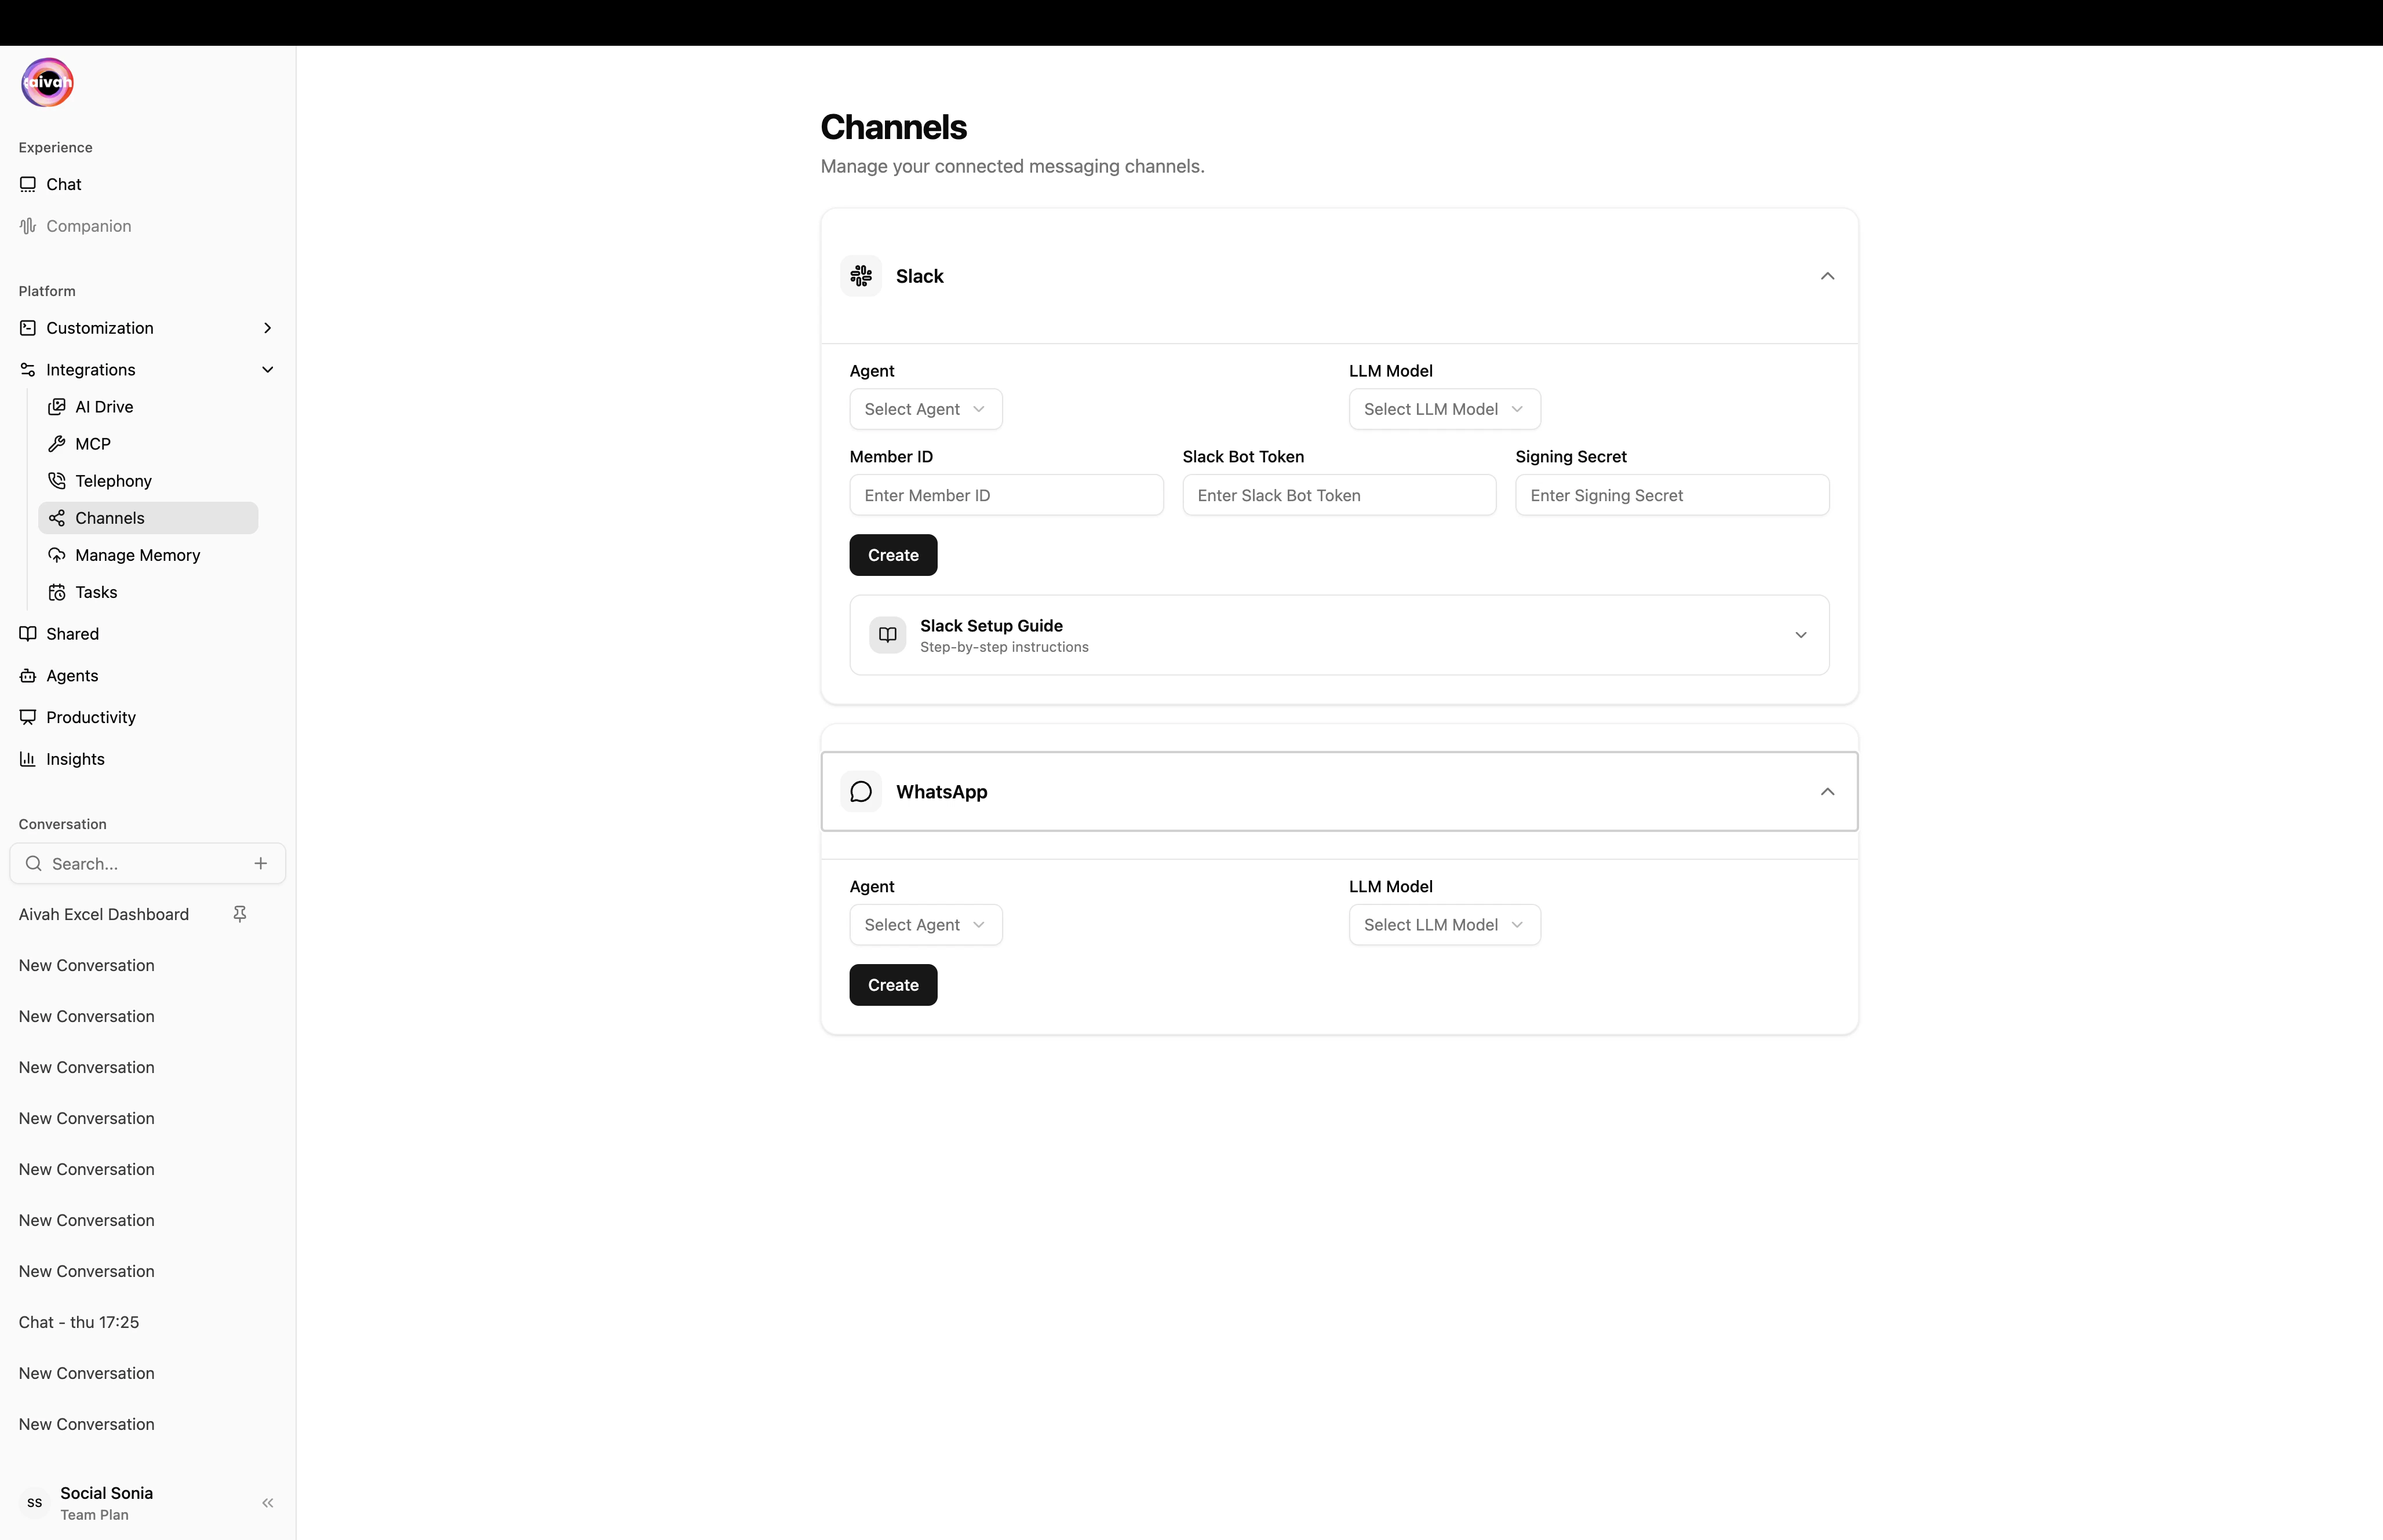
Step 5: Connect Channels and Tools
Open Integrations in the side navigation to plug your agent into the rest of your stack.MCP Tools
One-click OAuth connectors for Gmail, Slack, Notion, Linear, GitHub, Calendar, Drive, Sheets, Outlook, Composio and many more. Toggle on a connector, run the OAuth flow, and Aivah verifies the connection automatically.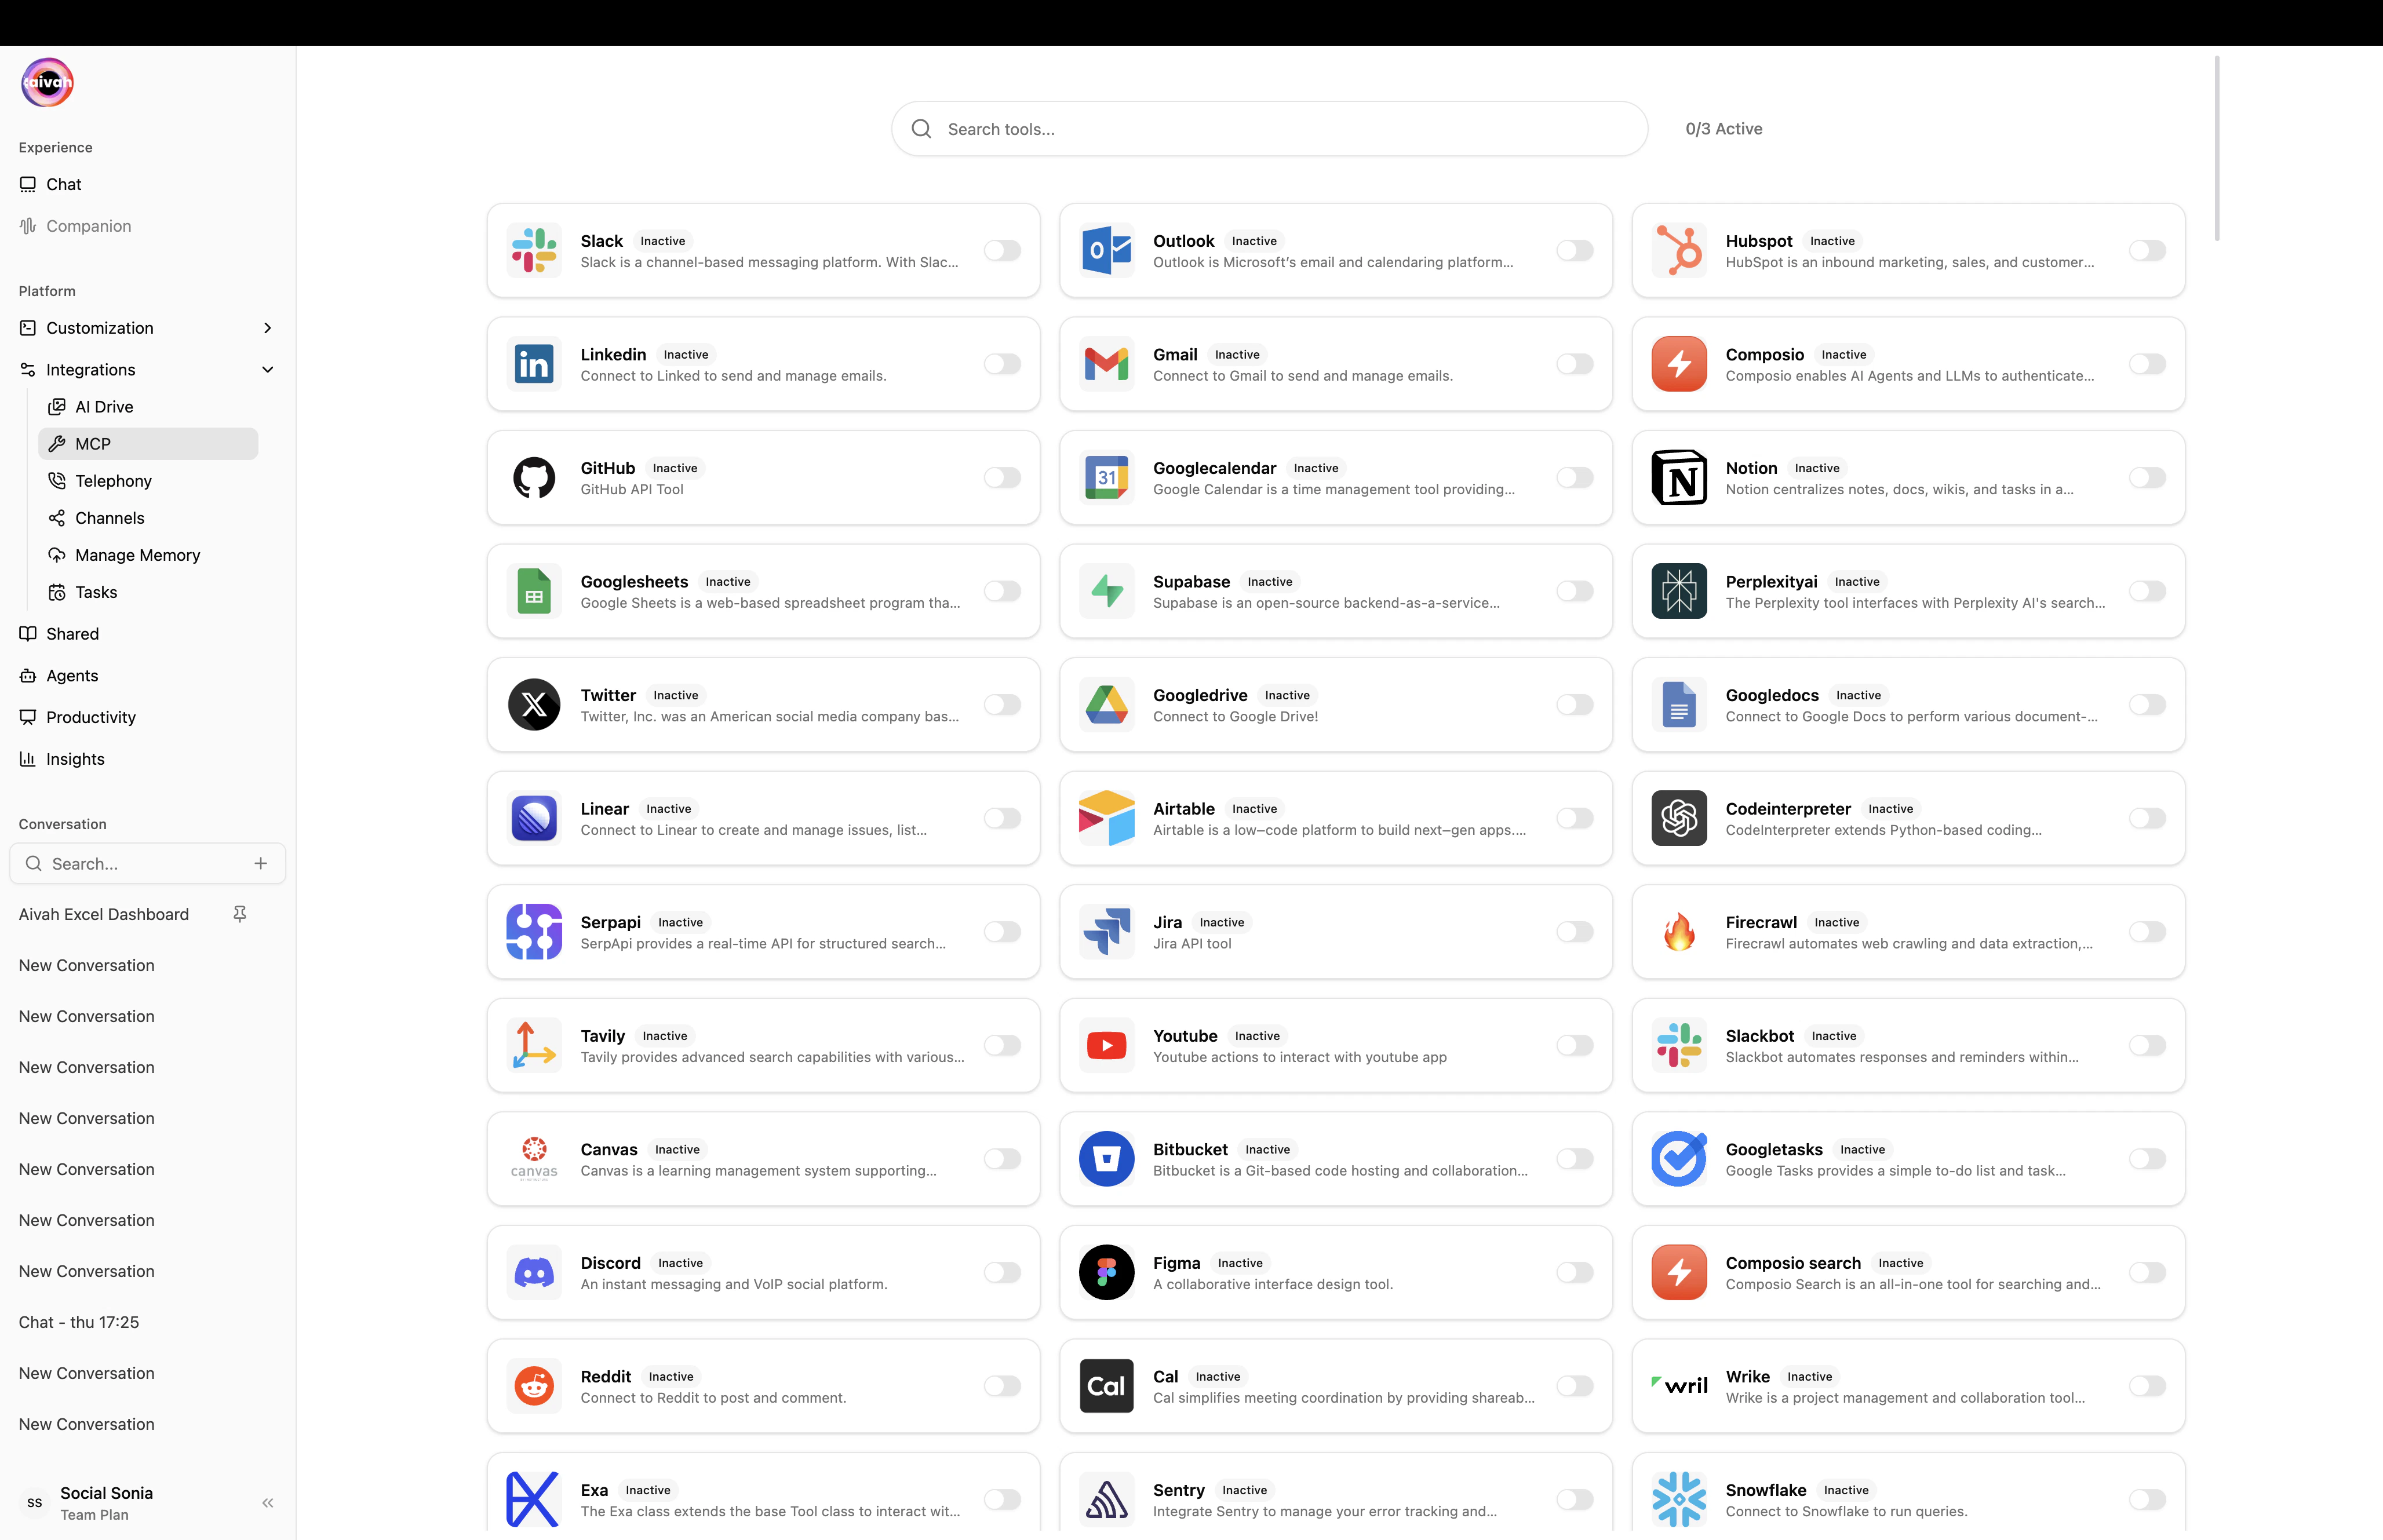
Channels – Slack & WhatsApp
Let the same agent respond inside your team’s chat tools.- Slack uses the included App Manifest plus a Bot Token, Signing Secret, and your Member ID. Invite the bot then use
/aivah. - WhatsApp uses QR pairing – click Connect, scan the QR with WhatsApp → Linked Devices, and you’re live.
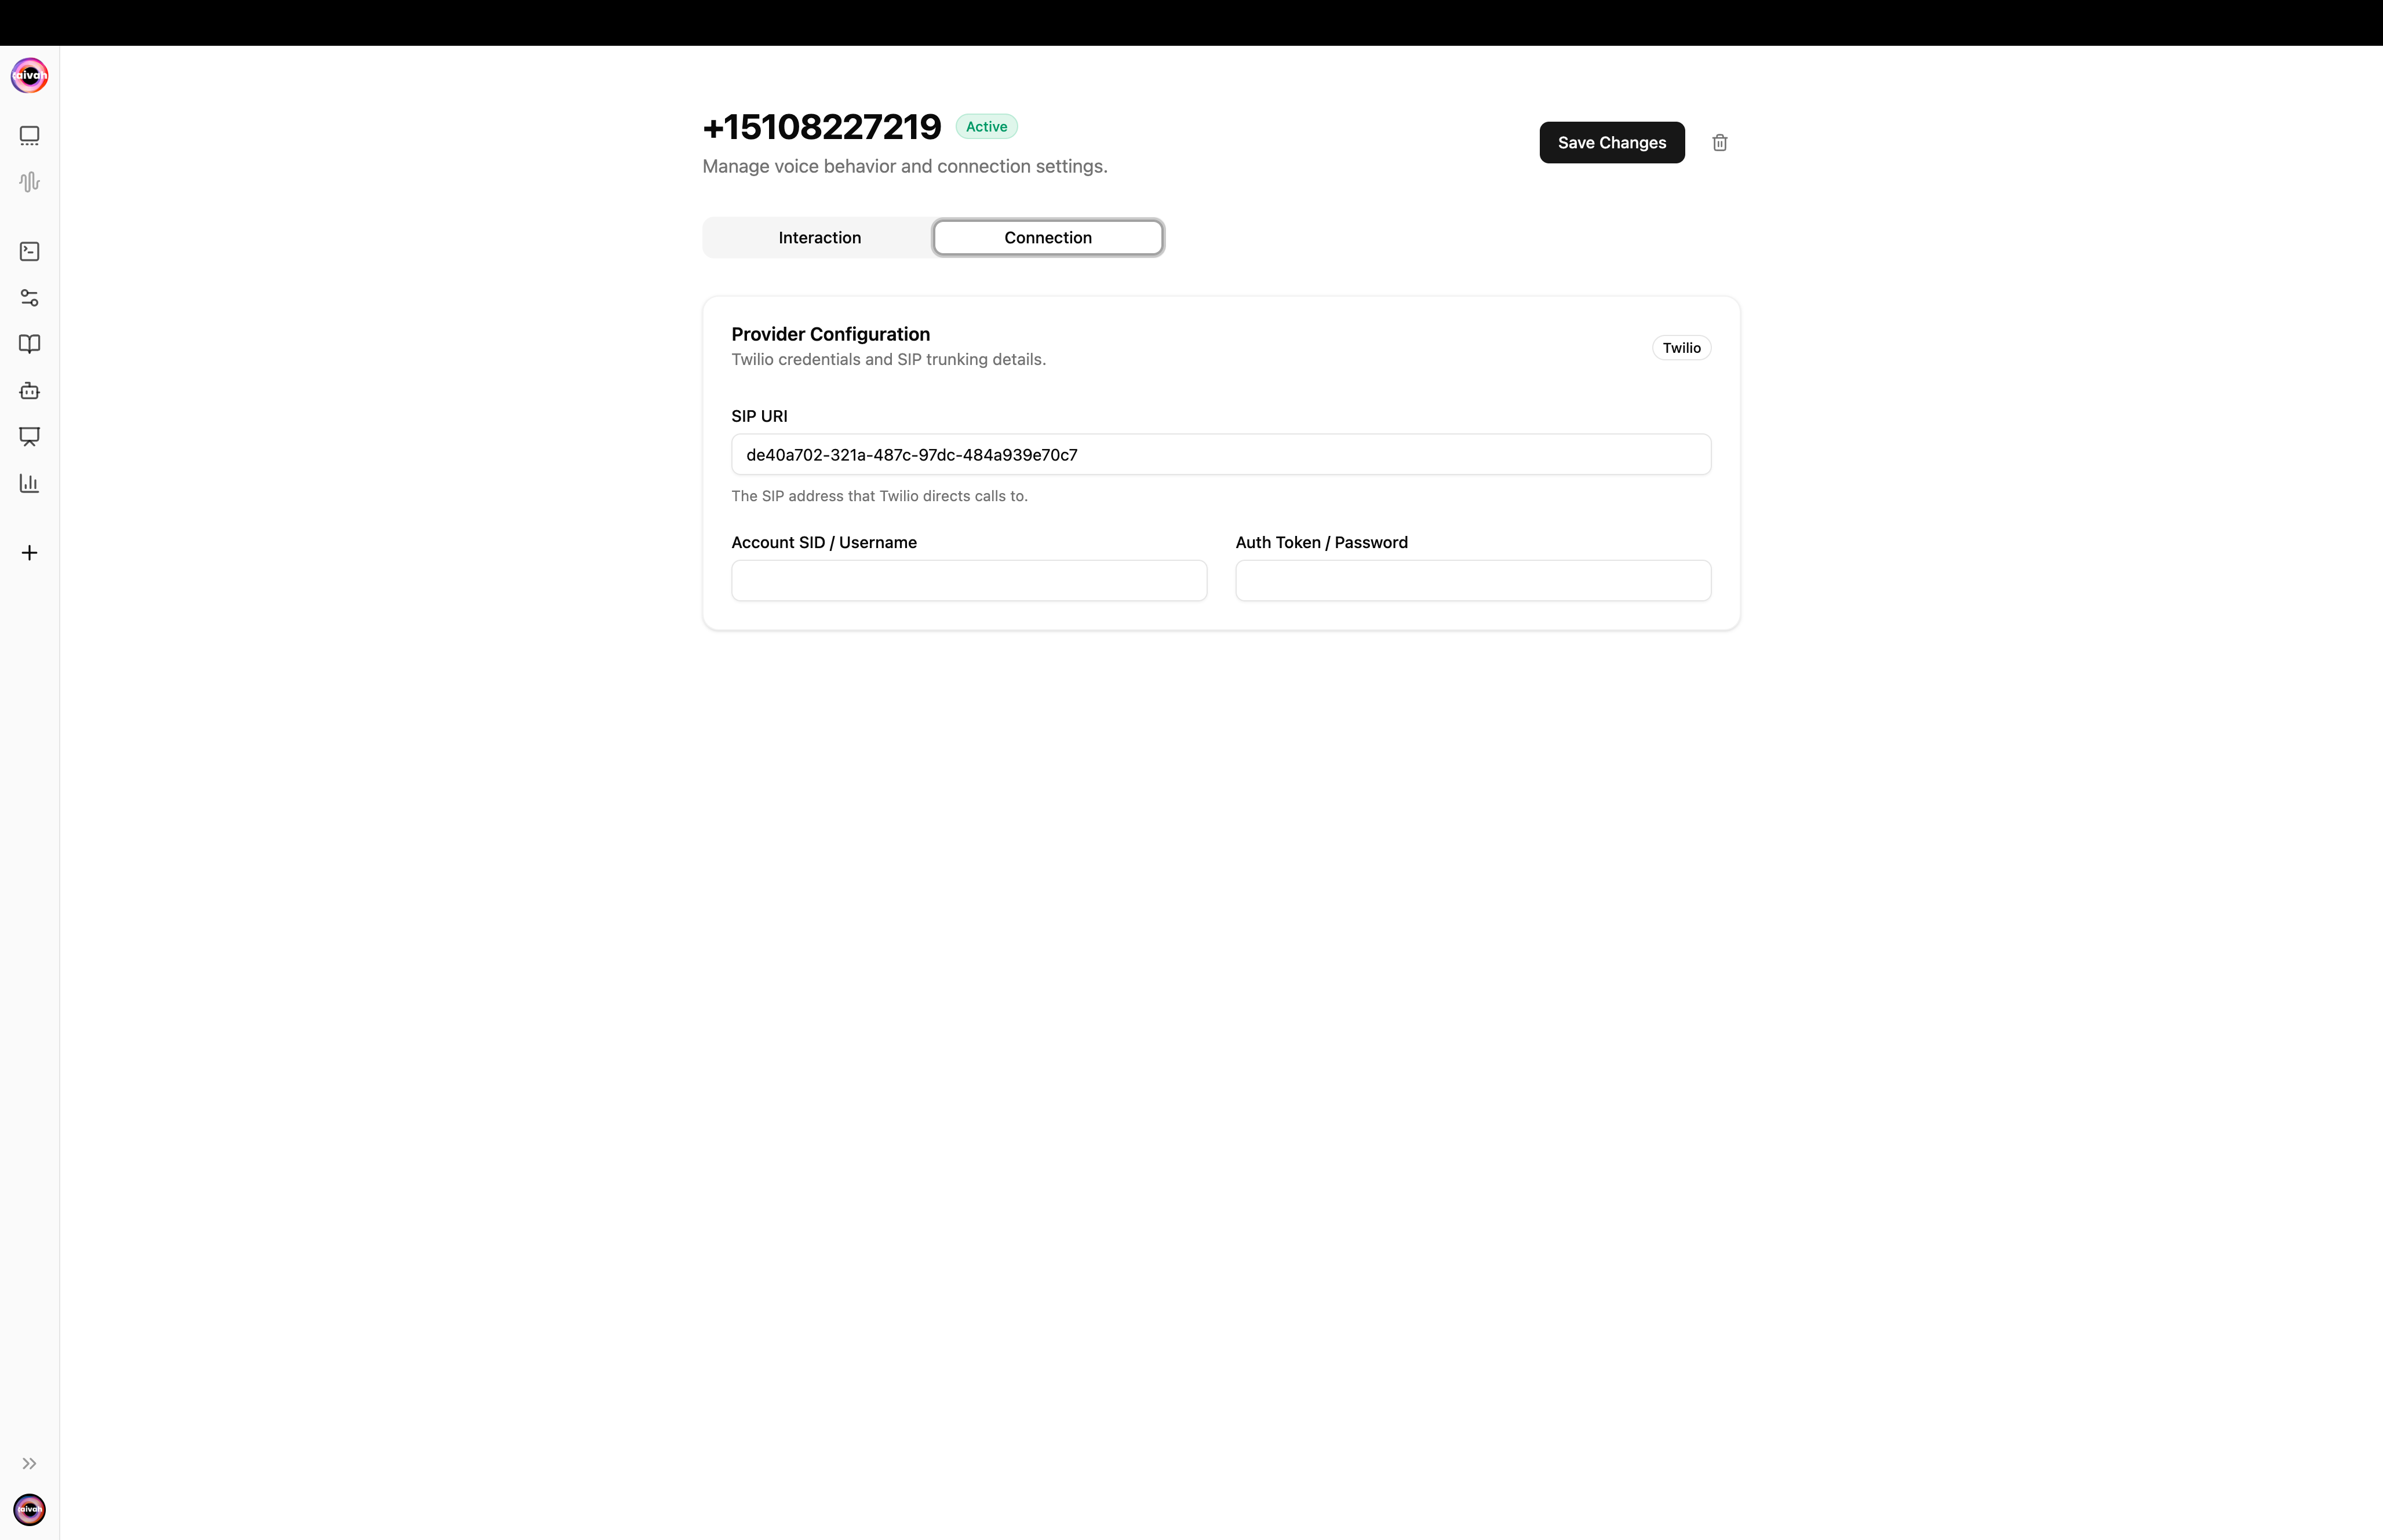
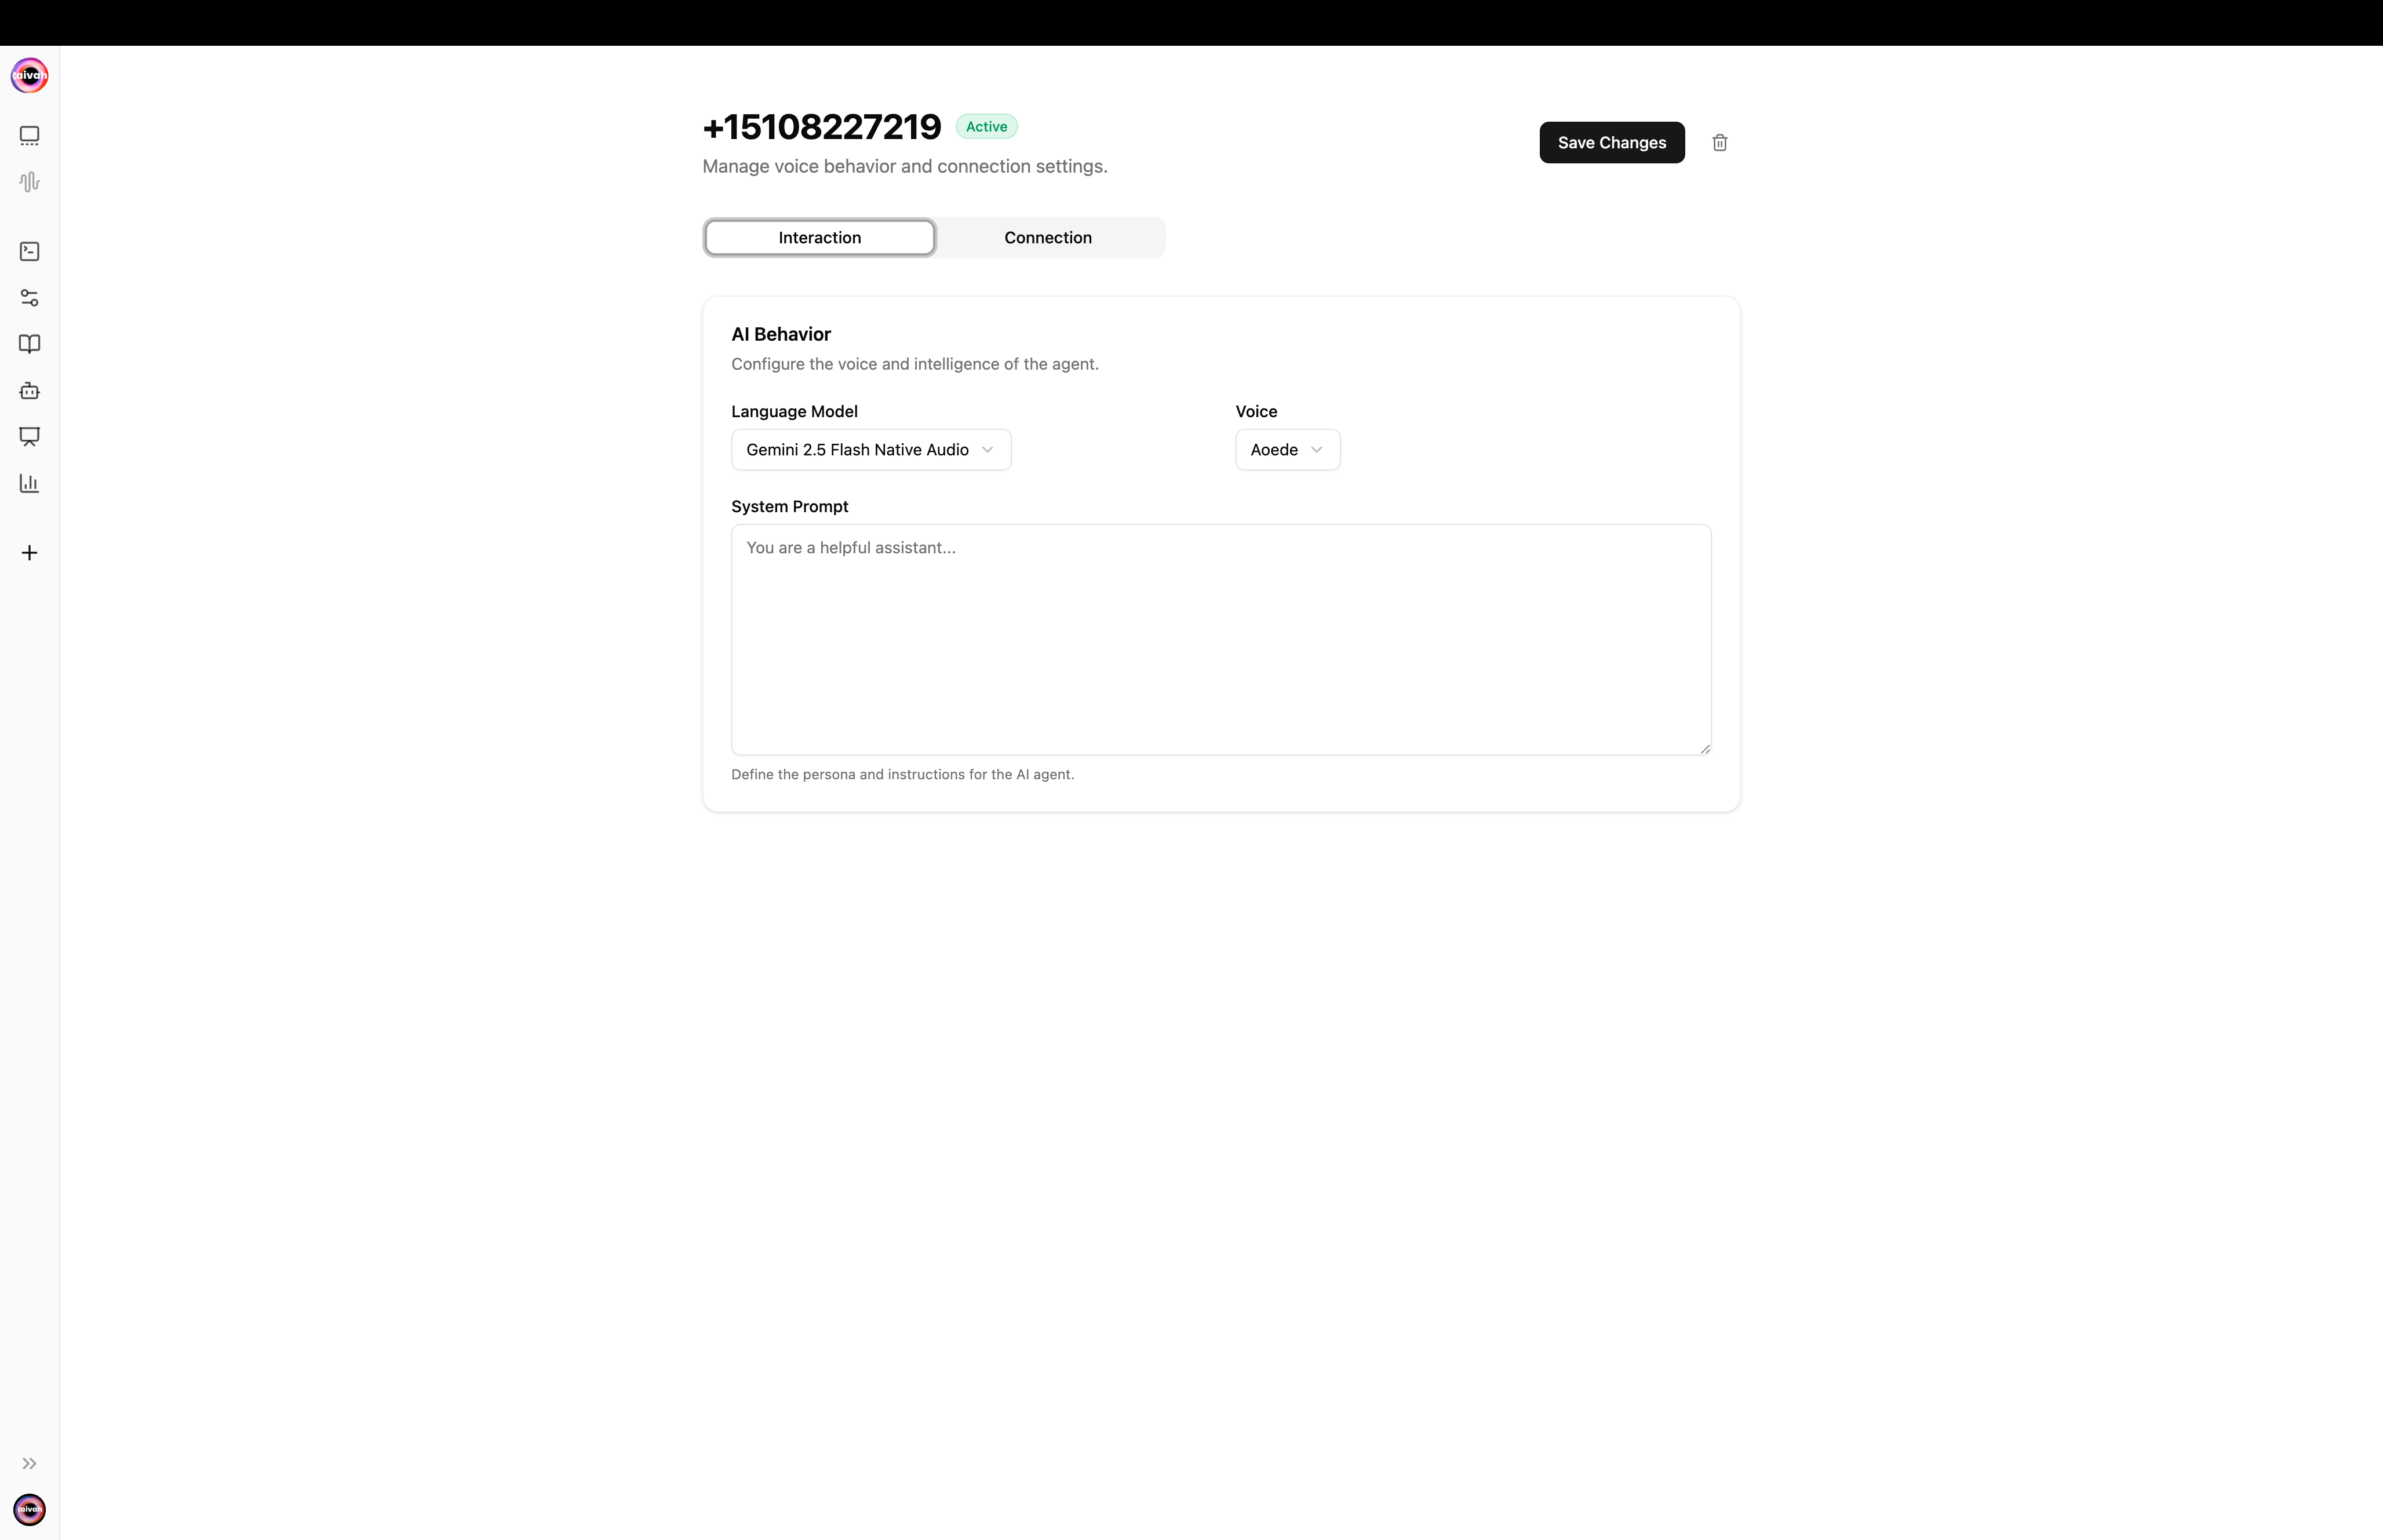
Telephony
Bring your own Twilio number (or mint a free Vapi number). The detail page splits into Connection (SIP URI + credentials) and Interaction (Language Model + Voice + System Prompt) tabs.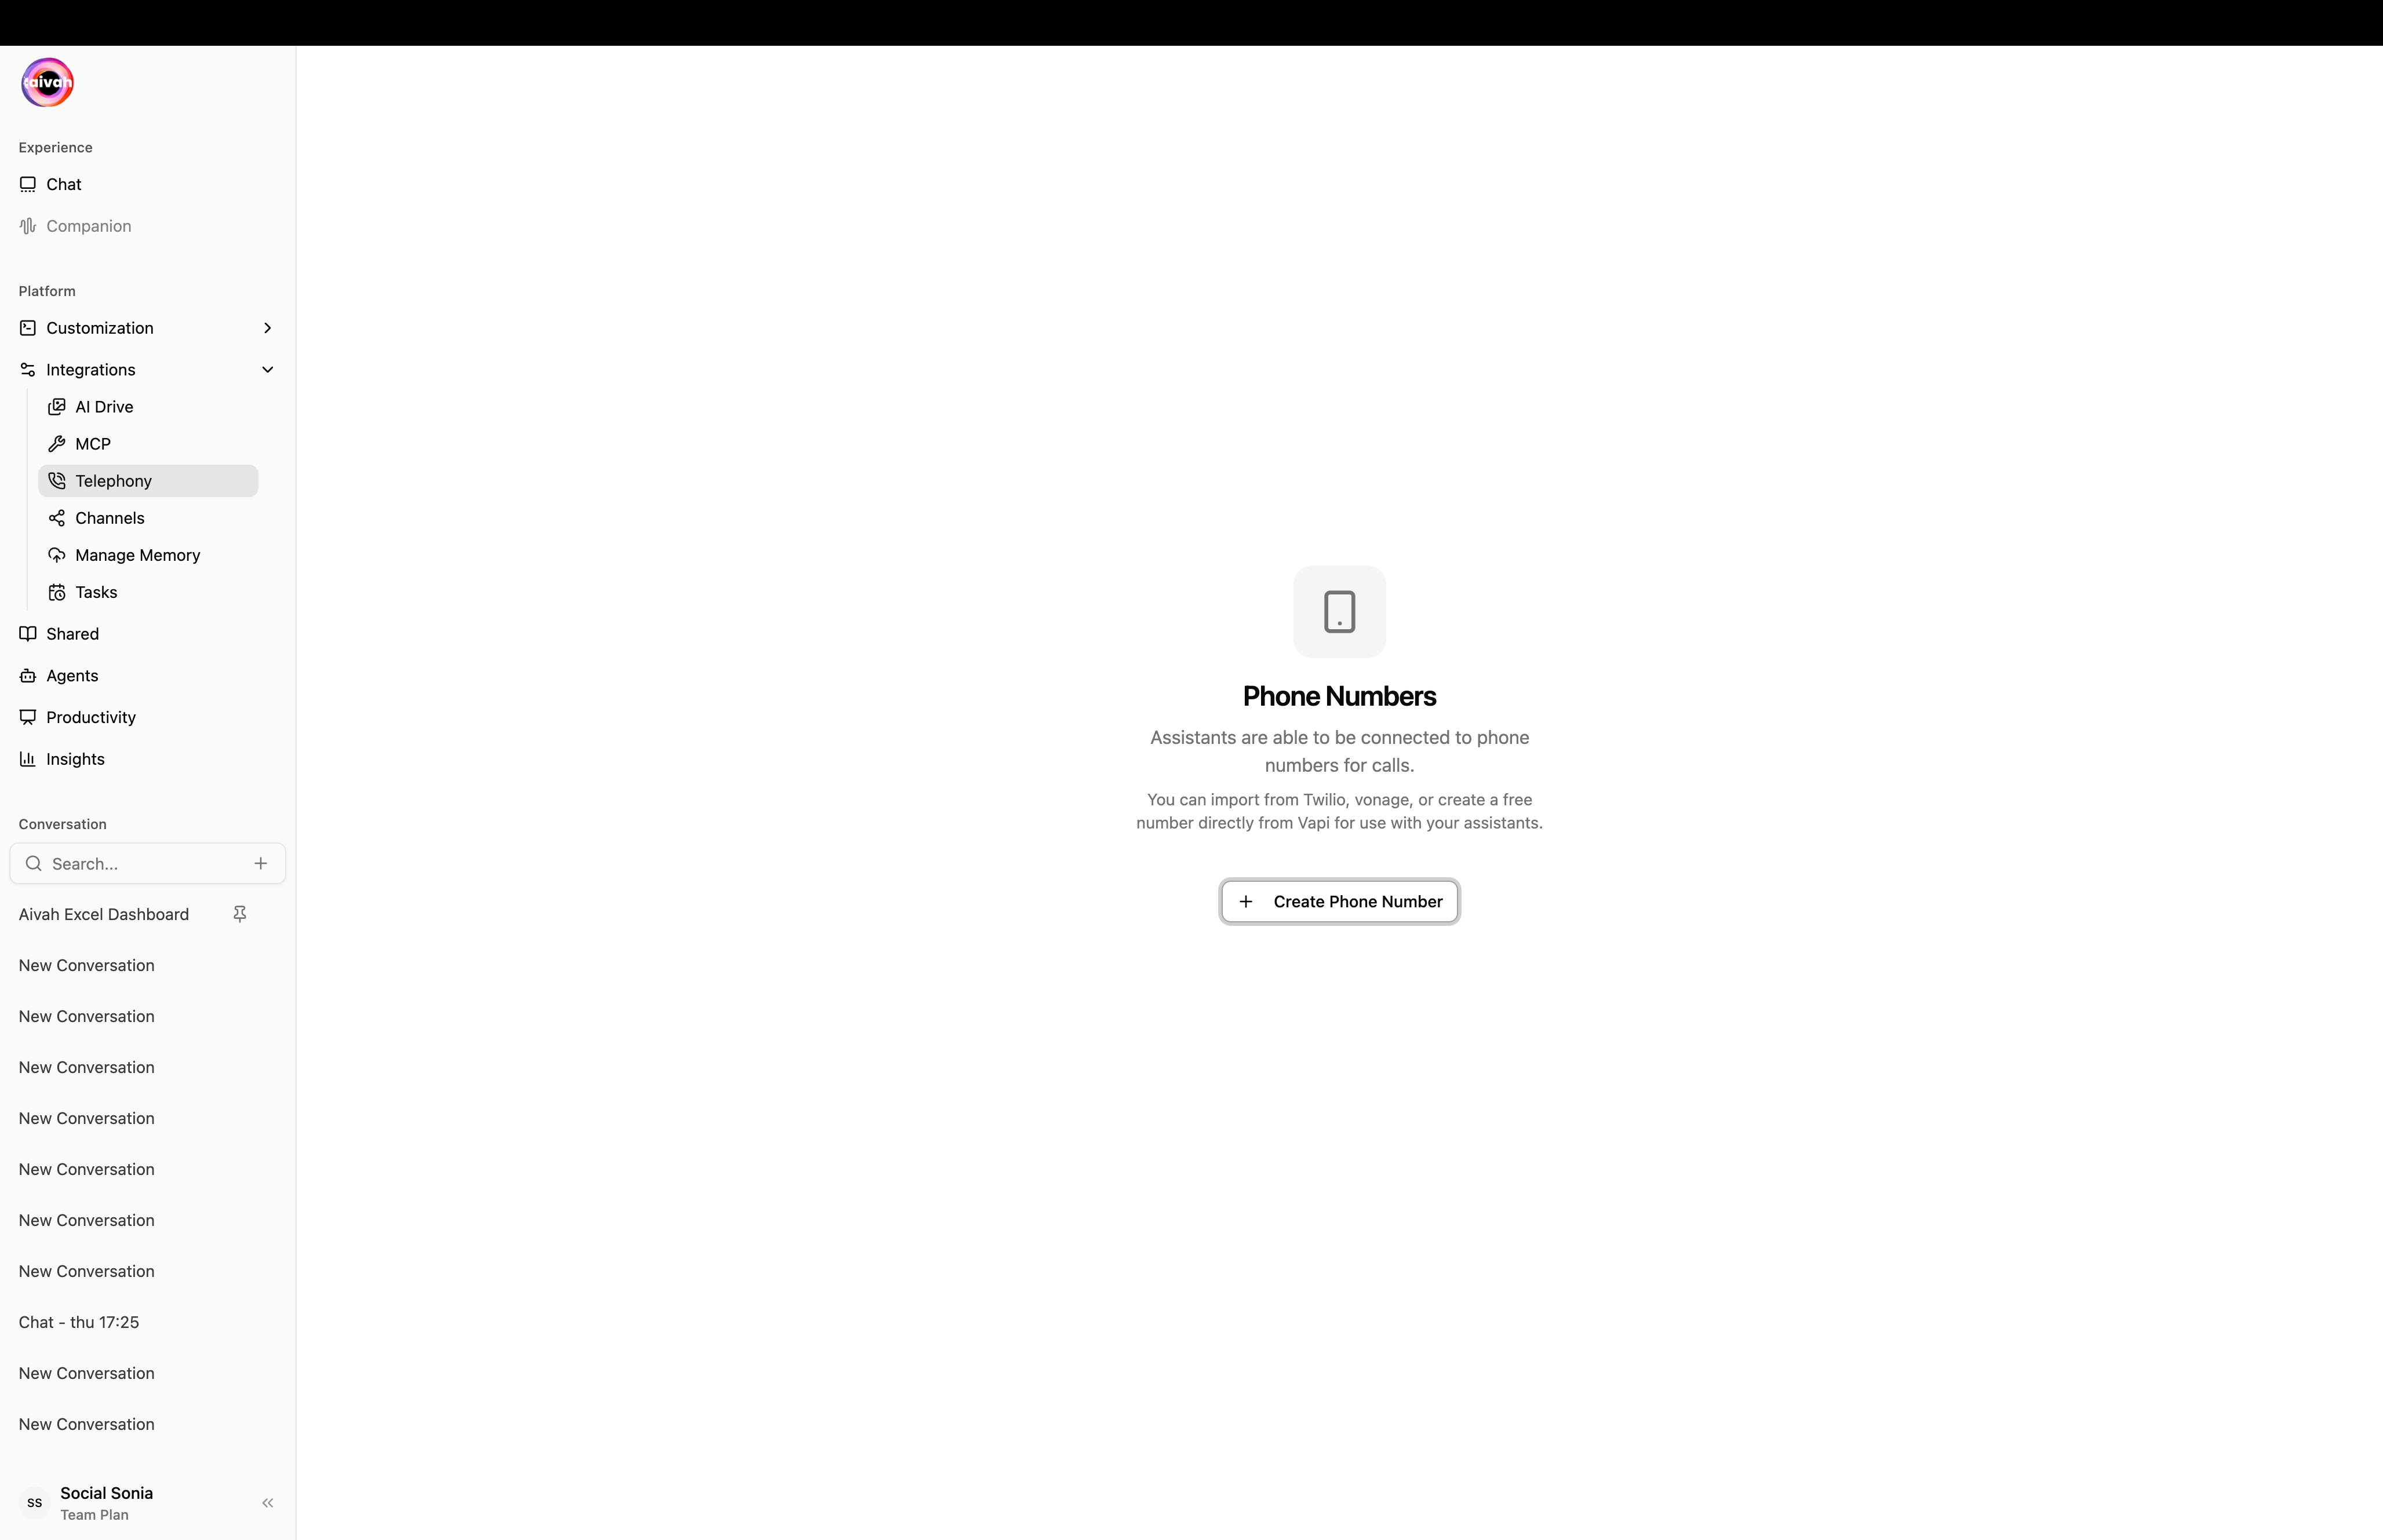
Tasks – Cron jobs and Heartbeat
Schedule recurring jobs (with a Channel column for Web, Slack, WhatsApp, etc.) or wire up heartbeat monitors. Anything created by you, or by the agent in response to a request, lands here.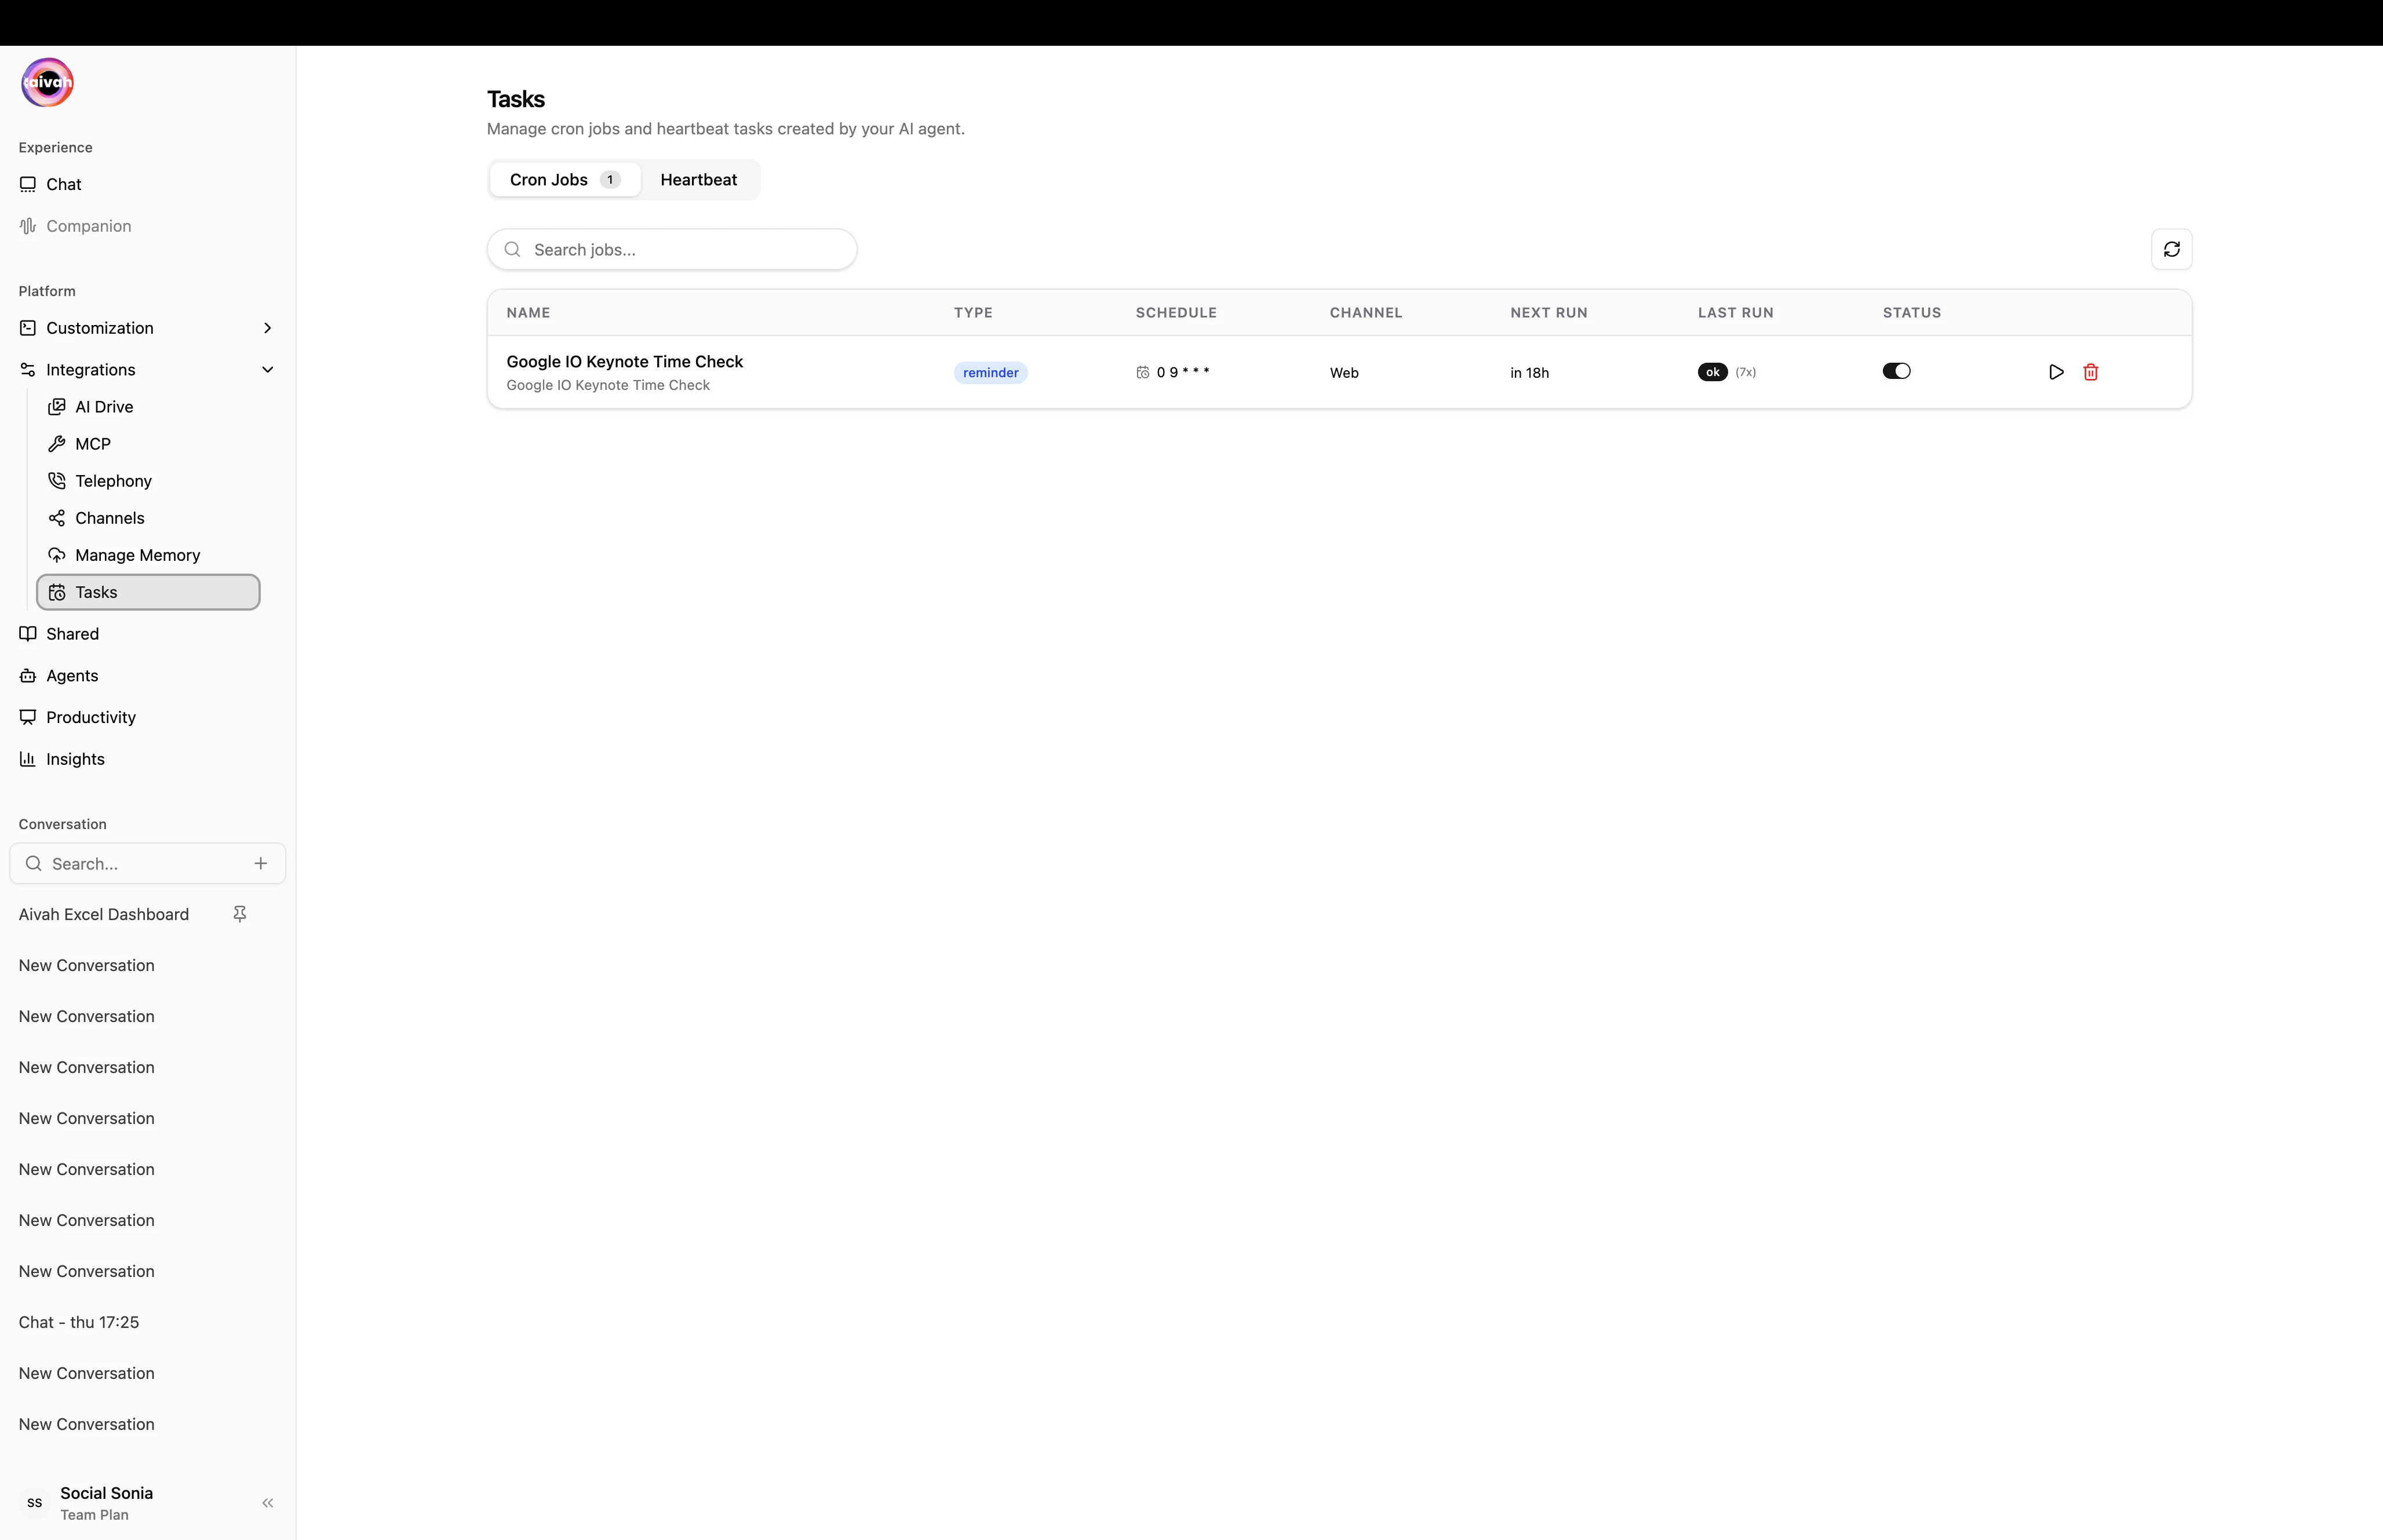
Manage Memory
Every long-term key/value the agent has stored, with timestamps and a Download CSV action. Use it for audit, GDPR exports, or quick edits when memories drift.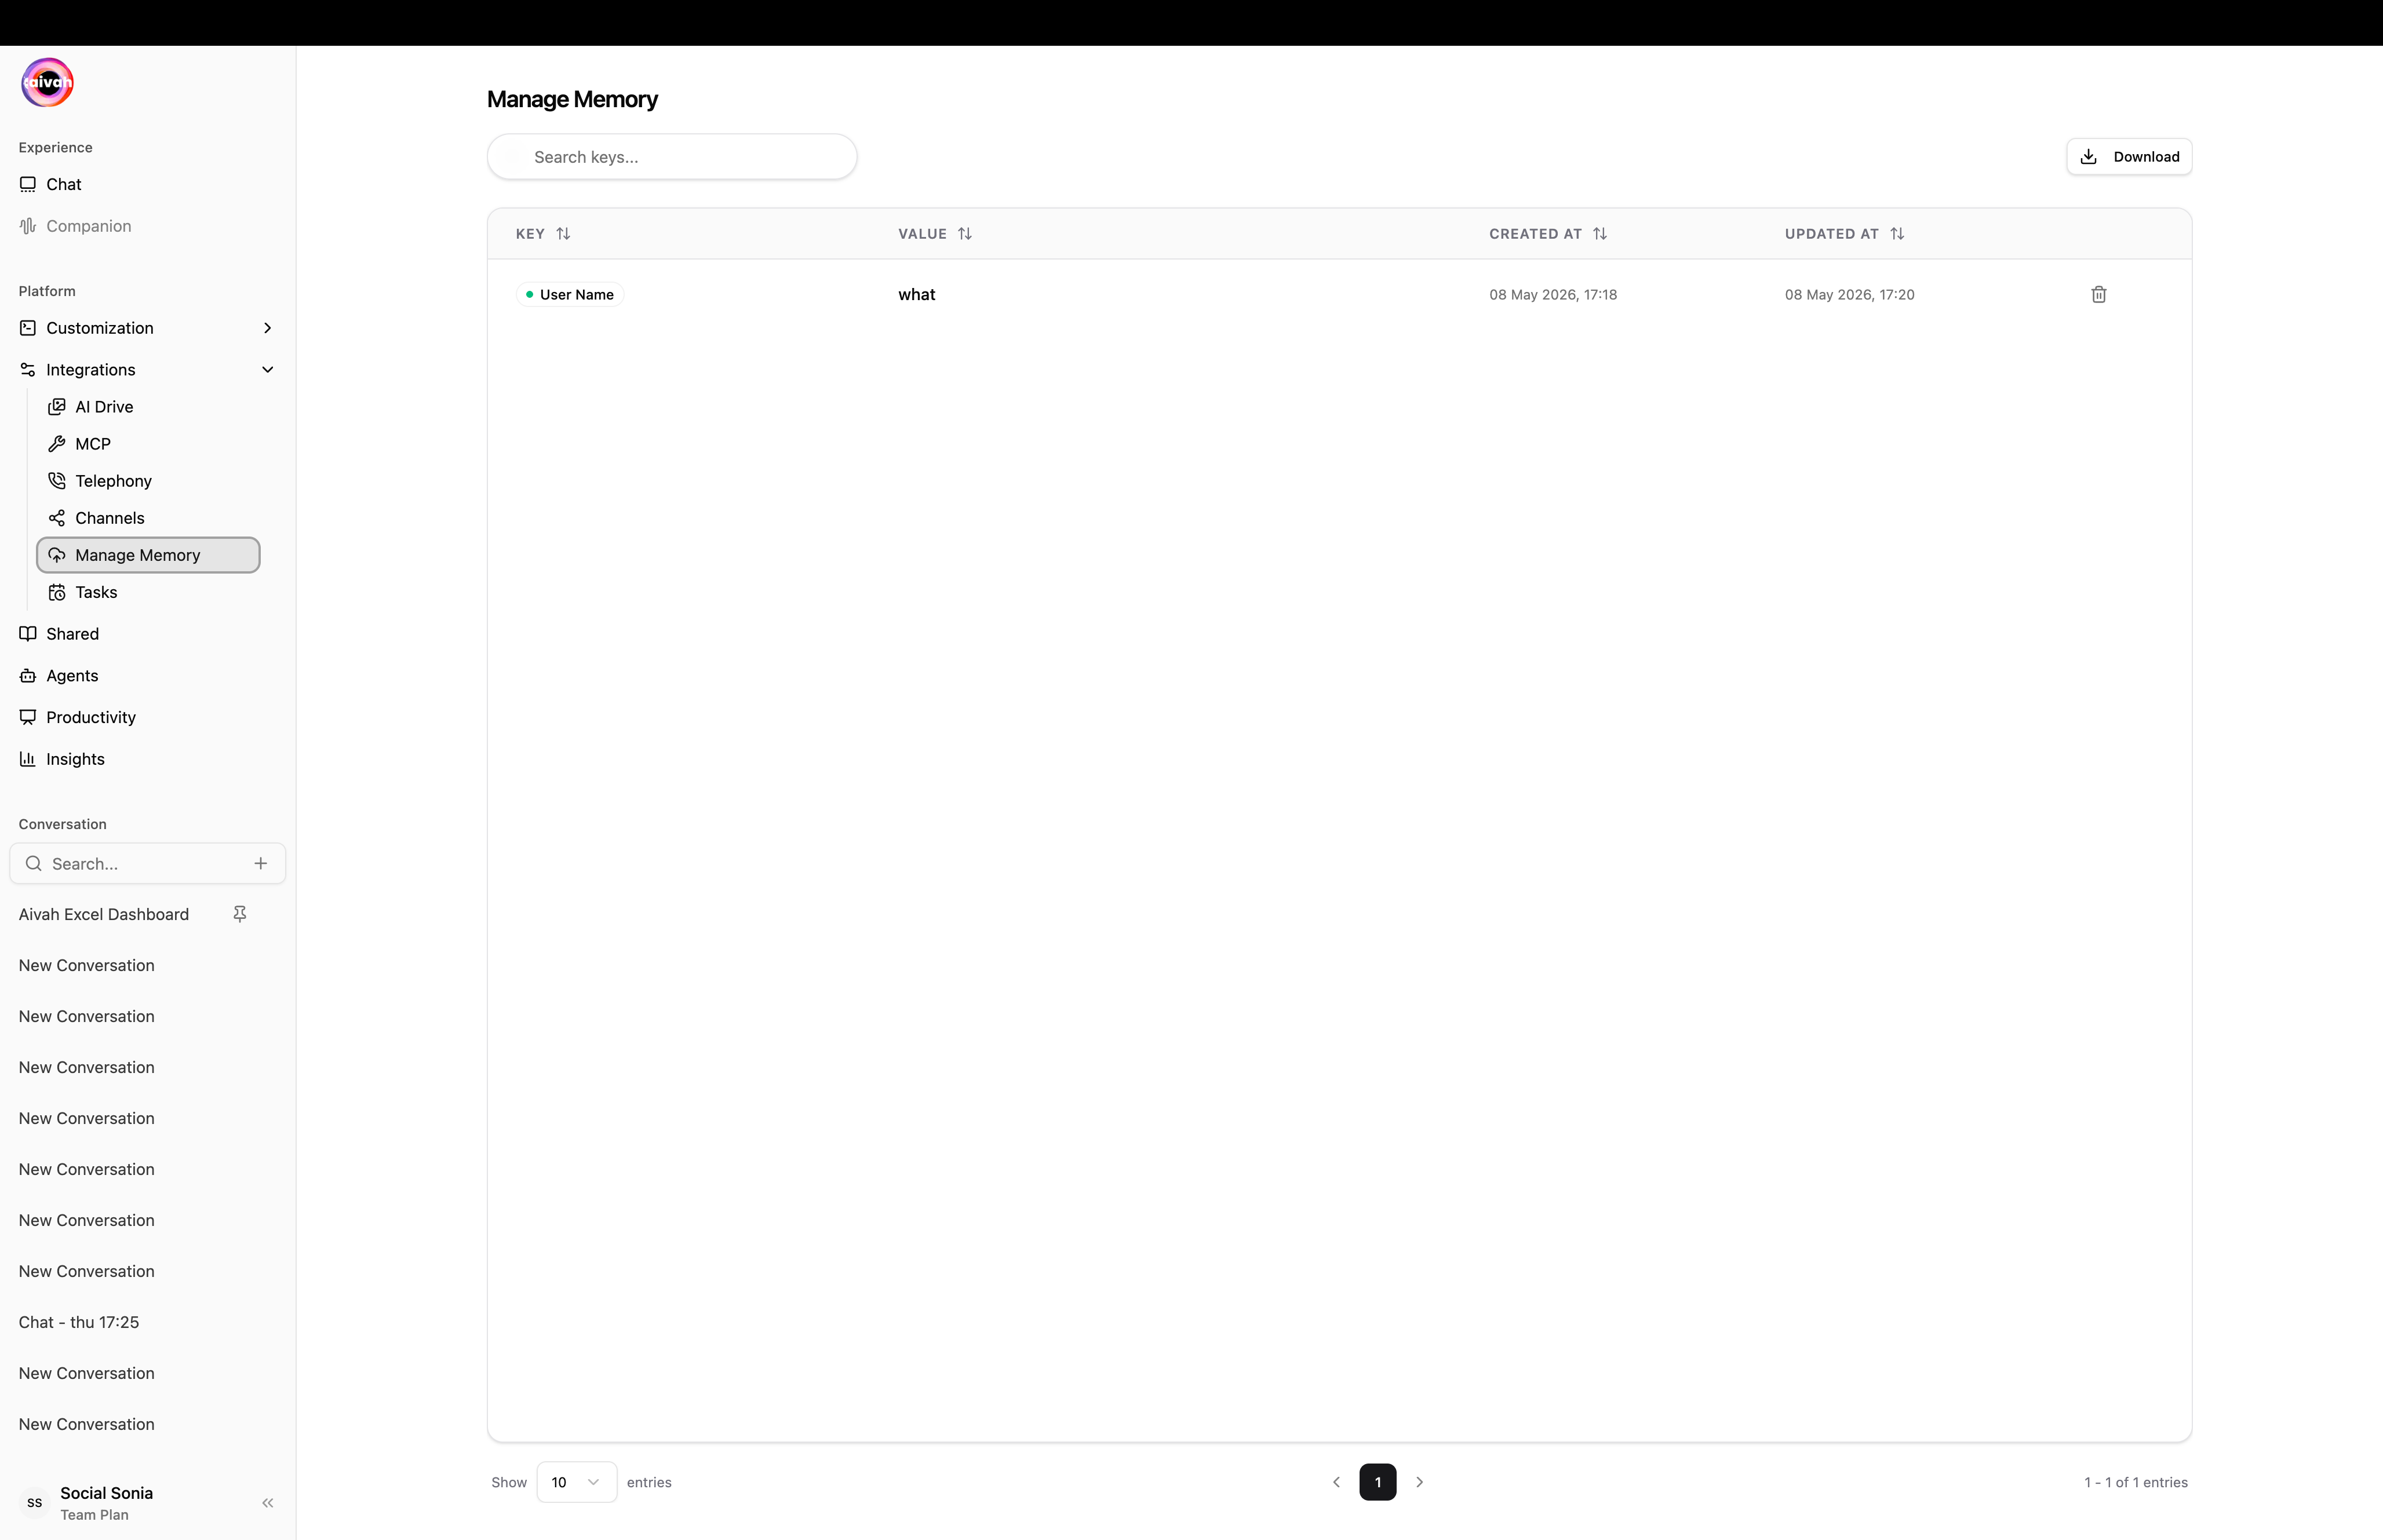
You’re Live
Your AIVAH agent is now:- Trained on your knowledge sources and showing as
completed - Given a face (Avatar or Character) and a voice
- Tested live in the Playground (text, avatar, and voice-only modes)
- Shared with a public link, optional iframe / chat-bubble, and a lead form
- Wired to MCP tools, Channels, Phone, Tasks, and Memory
What’s next
- Best Practices – patterns we’ve learned from hundreds of agents in production
- Productivity – generate slides, podcasts, mind maps – turn the same agent into ready-to-share assets
- Insights – track unique users, credits, chat logs, leads, and call logs
- Subscriptions and Credits – pick a plan, top up credits, and manage billing