Platform Setup Overview
The Platform Setup area houses everything you need to manage your Aivah workspace—from personal account details to billing, credits, and onboarding resources. Each section in the left-hand navigation maps directly to a settings card inside the product. Use the guide below to understand what lives where and when to visit each page.Sections at a Glance
| Section | Purpose |
|---|---|
| User Settings | Update your profile photo, cover image, display name, and password. |
| Credits | Check your remaining credits and purchase one-off packages (2K / 5K / 10K / 20K / 30K / 40K credits). |
| Subscriptions | Switch monthly vs yearly cycle, compare plans, and start Stripe checkout. |
| Billing | Launch the Stripe customer portal to manage payment methods, invoices, and cancellations. |
| Documentation | Launch an interactive Storylane tour that walks through key product features. |
| Support | Reach the Aivah team for help that isn’t covered by the self-service docs. |
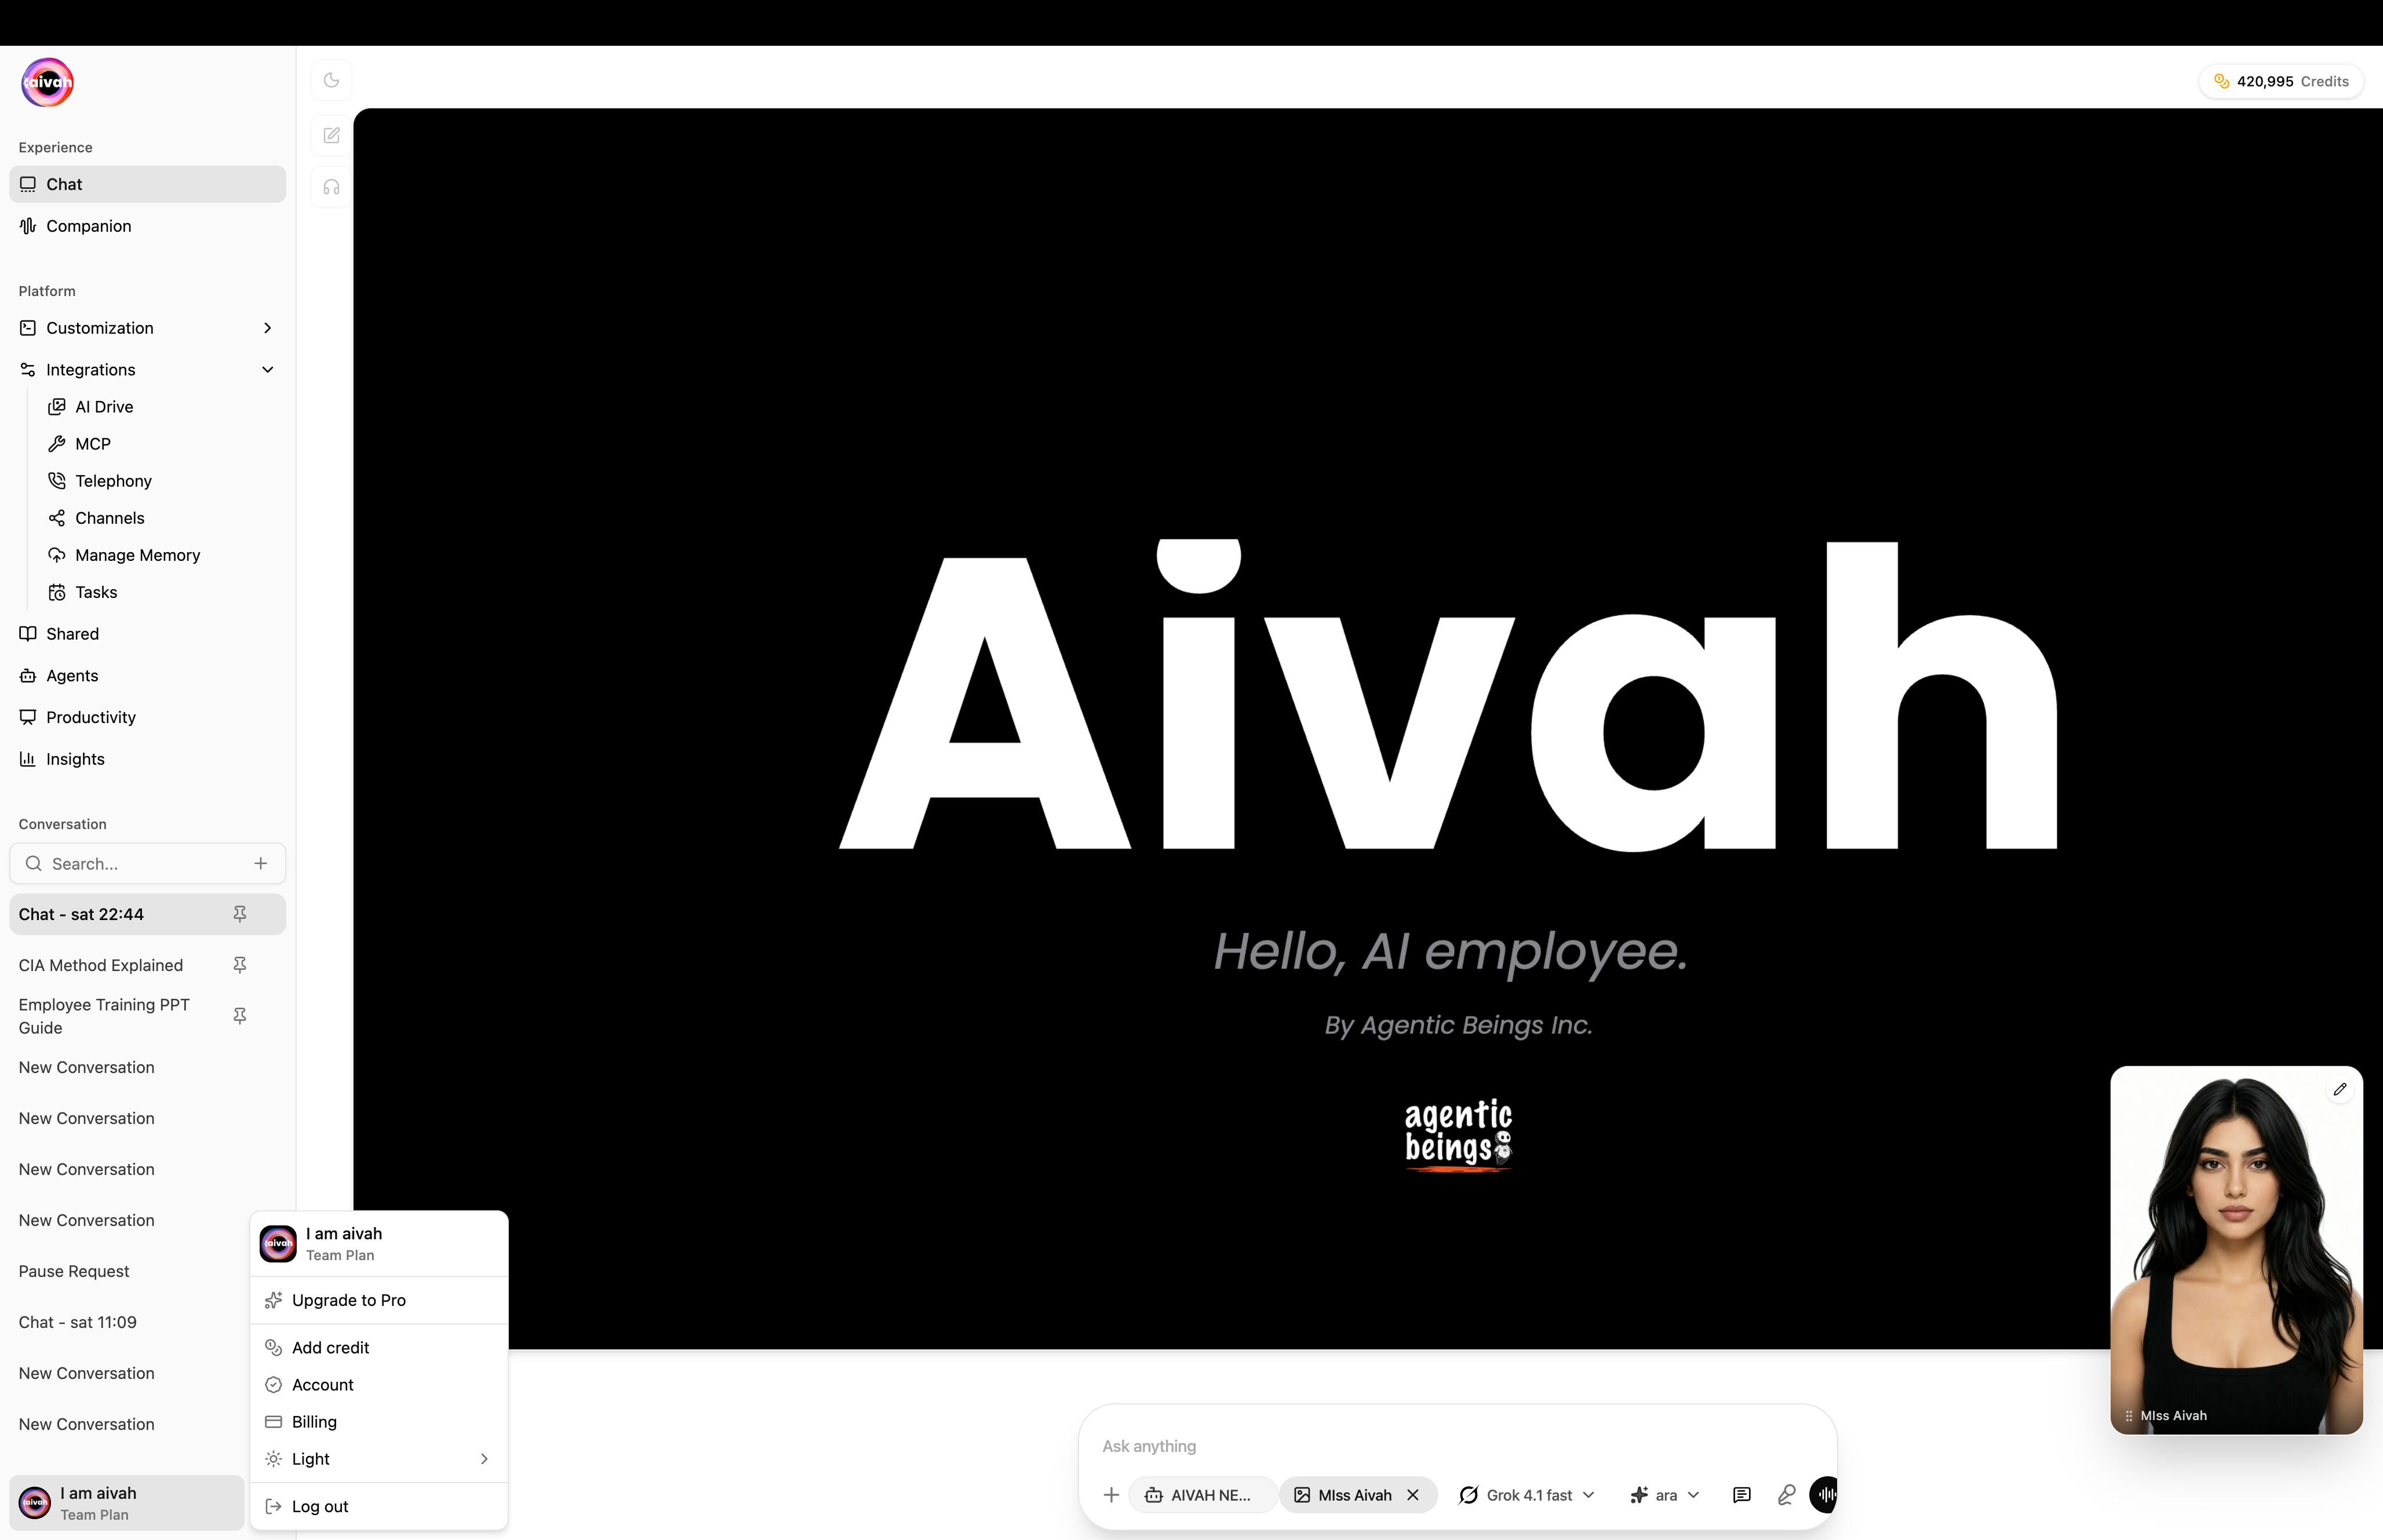
User menu shortcuts
The user menu at the bottom of the side navigation is the fastest way to access account and billing settings without leaving the page you’re on:- Upgrade to Pro – jumps to
/subscription. - Add credit – opens the Buy Credits dialog (see Credits).
- Account – profile shortcut.
- Billing – opens the Stripe billing dashboard in a new tab.
- Theme – switches between System, Light, and Dark.
- Log out – clears the session and returns to
/login.
The side navigation also exposes other workspaces (Avatars, Characters, Voices, Agents, Productivity, Shared, Integrations, Insights). Those areas are covered in their own guides.
Suggested Workflow
- Start with User Settings to ensure your profile and security details are current.
- Check Subscription and Credits so you understand your plan limits before inviting teammates.
- Configure Billing by opening the billing dashboard and verifying payment methods.
- Launch the Documentation tour if you or new teammates need an interactive walkthrough.
- Monitor credits regularly—return to the Credits page whenever you need to top up usage.
Quick Tips
- Keep profile images current; they appear in shared experiences and dashboards.
- Note your subscription renewal date so you can plan upgrades or pauses in advance.
- Download invoices monthly for your finance team; the billing portal retains history but proactive downloads simplify bookkeeping.
- Watch for the API Key section to go live if you plan to connect custom applications.