Creating Your First Agent
This guide walks you through the complete process of creating an agent in Aivah’s Agents workspace (/agents/create). Once your agent is created, Aivah automatically trains it on your added content, making it ready for use immediately.

Prerequisites
Before creating your agent, ensure you have:- An active Aivah account with Agents workspace access
- Your content ready (documents, URLs, text, audio, or video)
- A clear understanding of your agent’s purpose
Step-by-Step Creation Process
1. Access the Agents Workspace
2. Configure Basic Settings
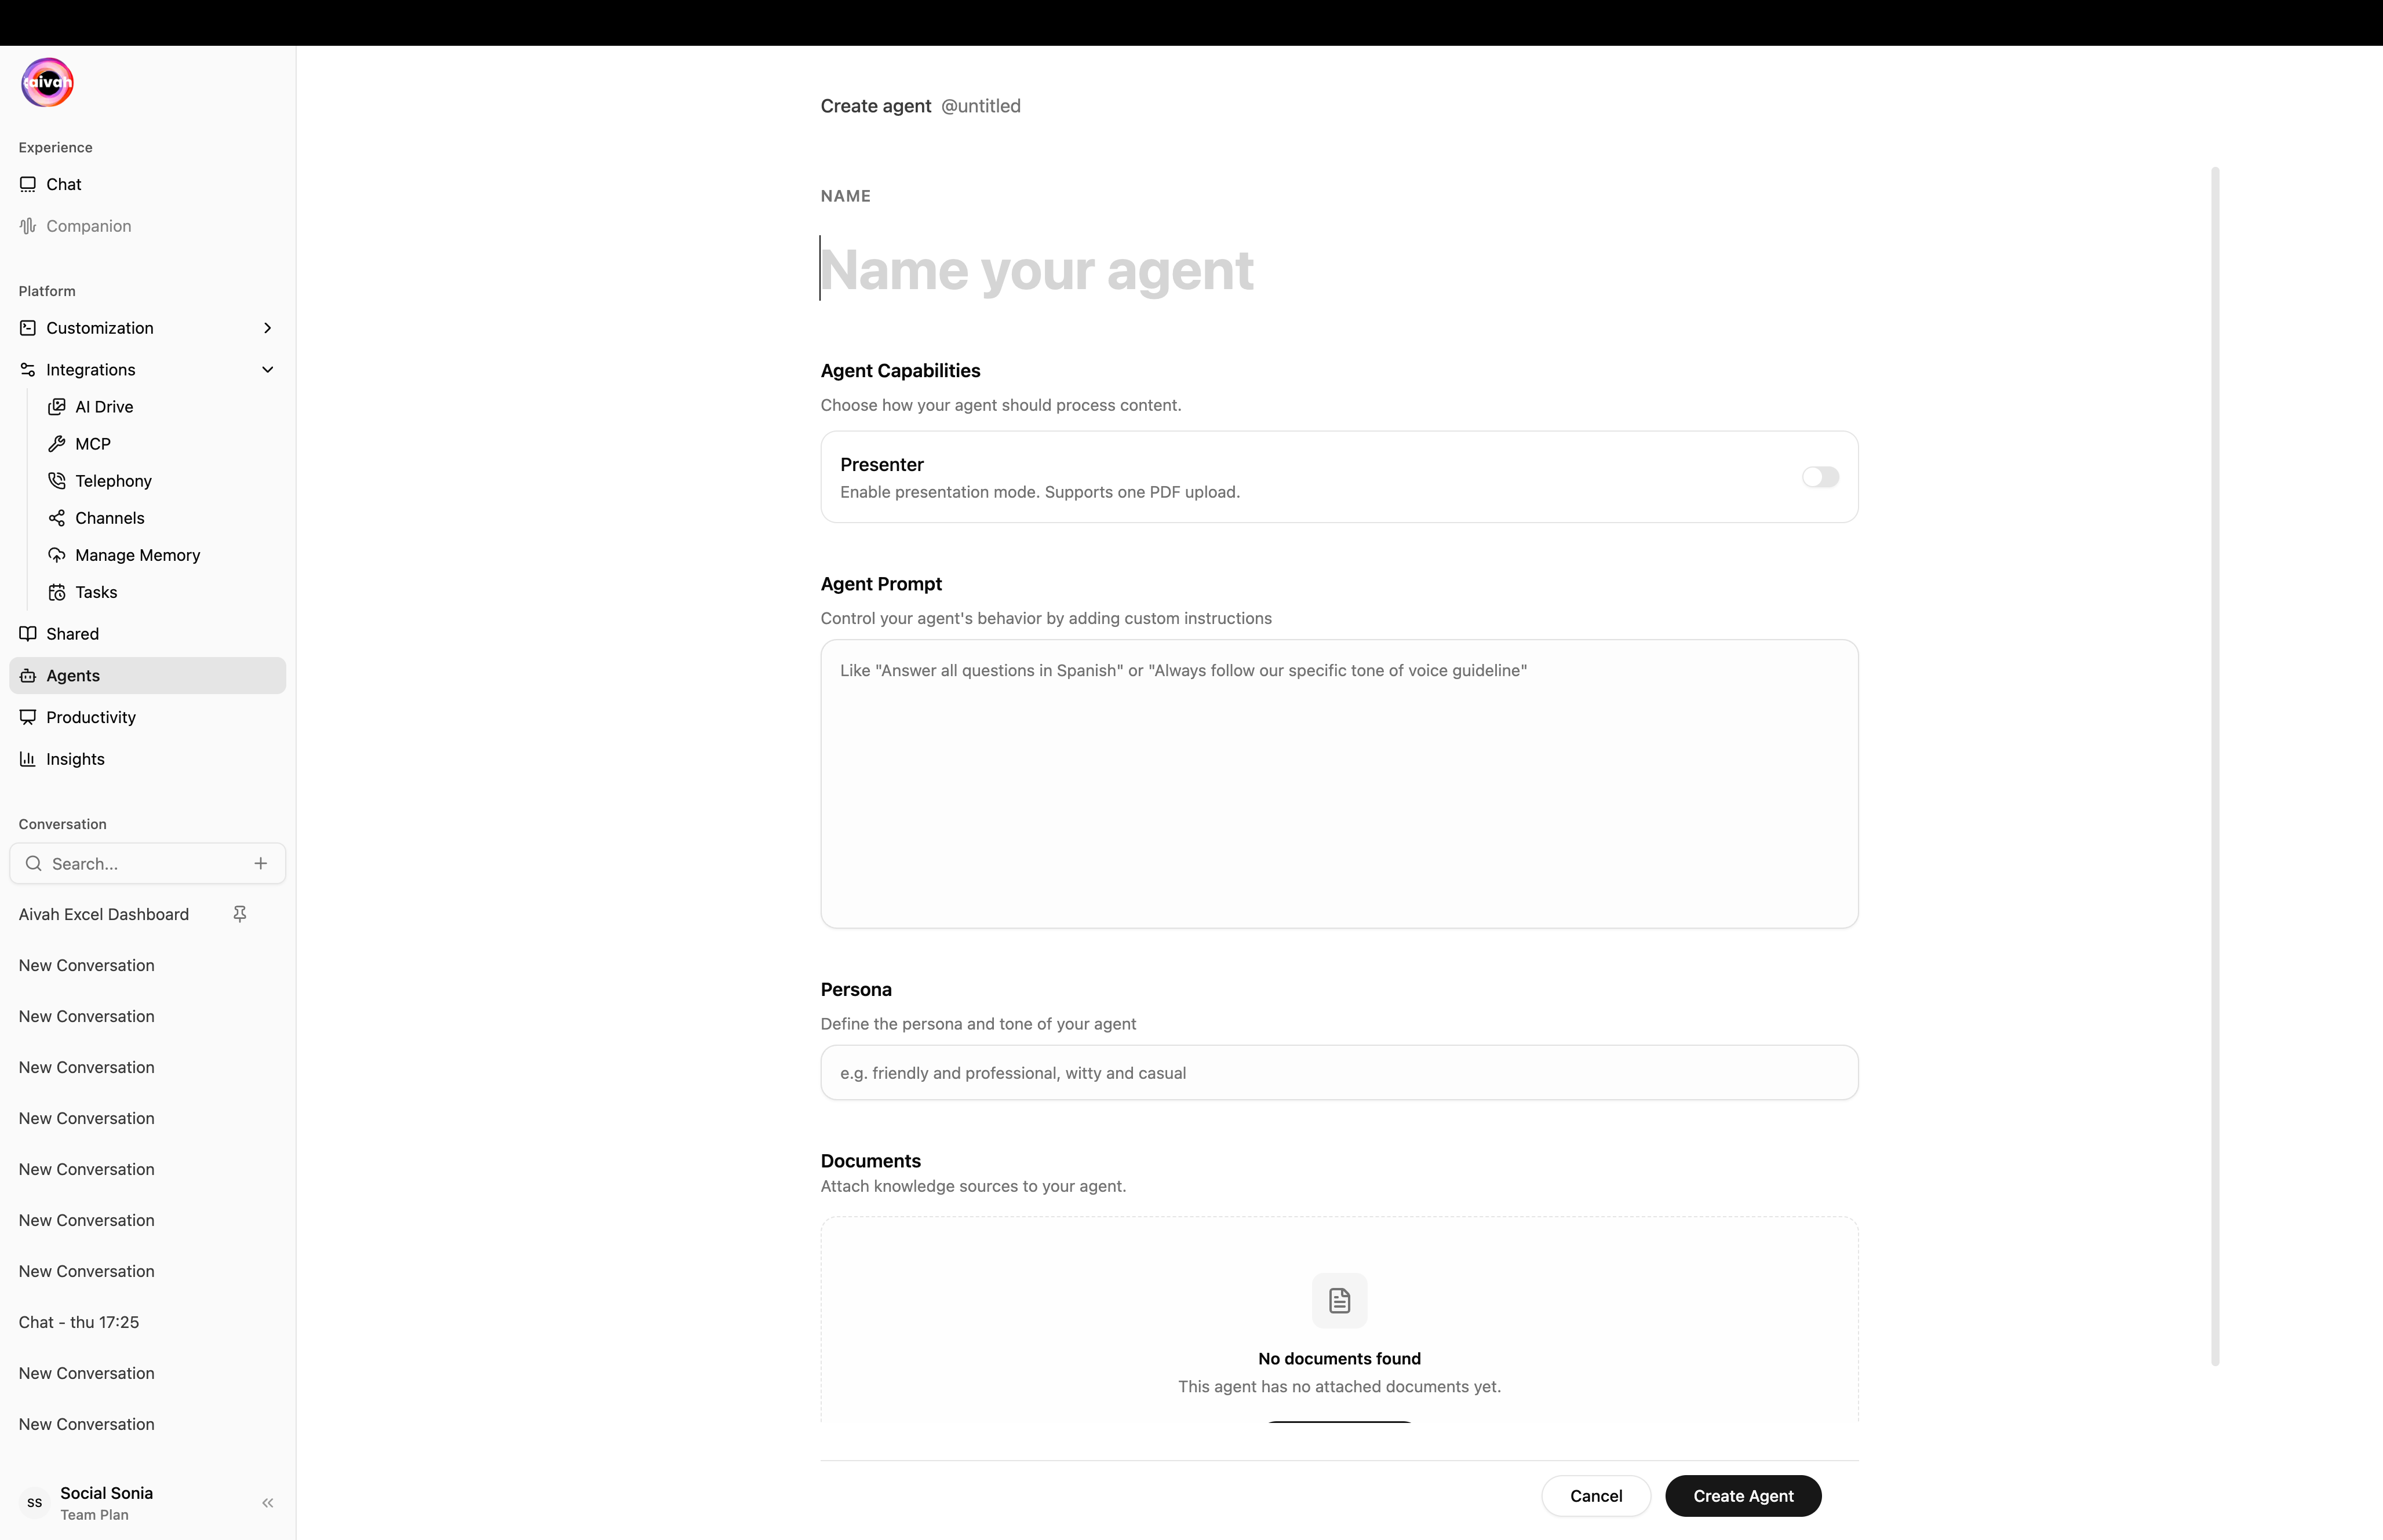
Name Your Agent
Enter a descriptive name in the Name field. The name becomes the slug shown next to the heading (for example
@customer-support).Pick the Capability Profile
Under Agent capabilities, decide whether the agent is a Knowledge base or a Presenter:
- Presenter toggle Off (default): a regular knowledge-base agent. Accepts URLs, documents, text, audio, video, and images.
- Presenter toggle On: a presentation agent. Accepts a single PDF or a single video, produces slide-aligned answers, and supports the in-chat Quiz overlay.
Write the Agent Prompt
Use Agent prompt to give free-form instructions that shape behaviour (for example “Always answer in Spanish” or “Use a friendly tone and short sentences”).
3. Add Initial Knowledge
Open the Add document dropdown to attach knowledge sources. Knowledge-base agents accept any combination of the methods below; Presenter agents accept only a single PDF or video.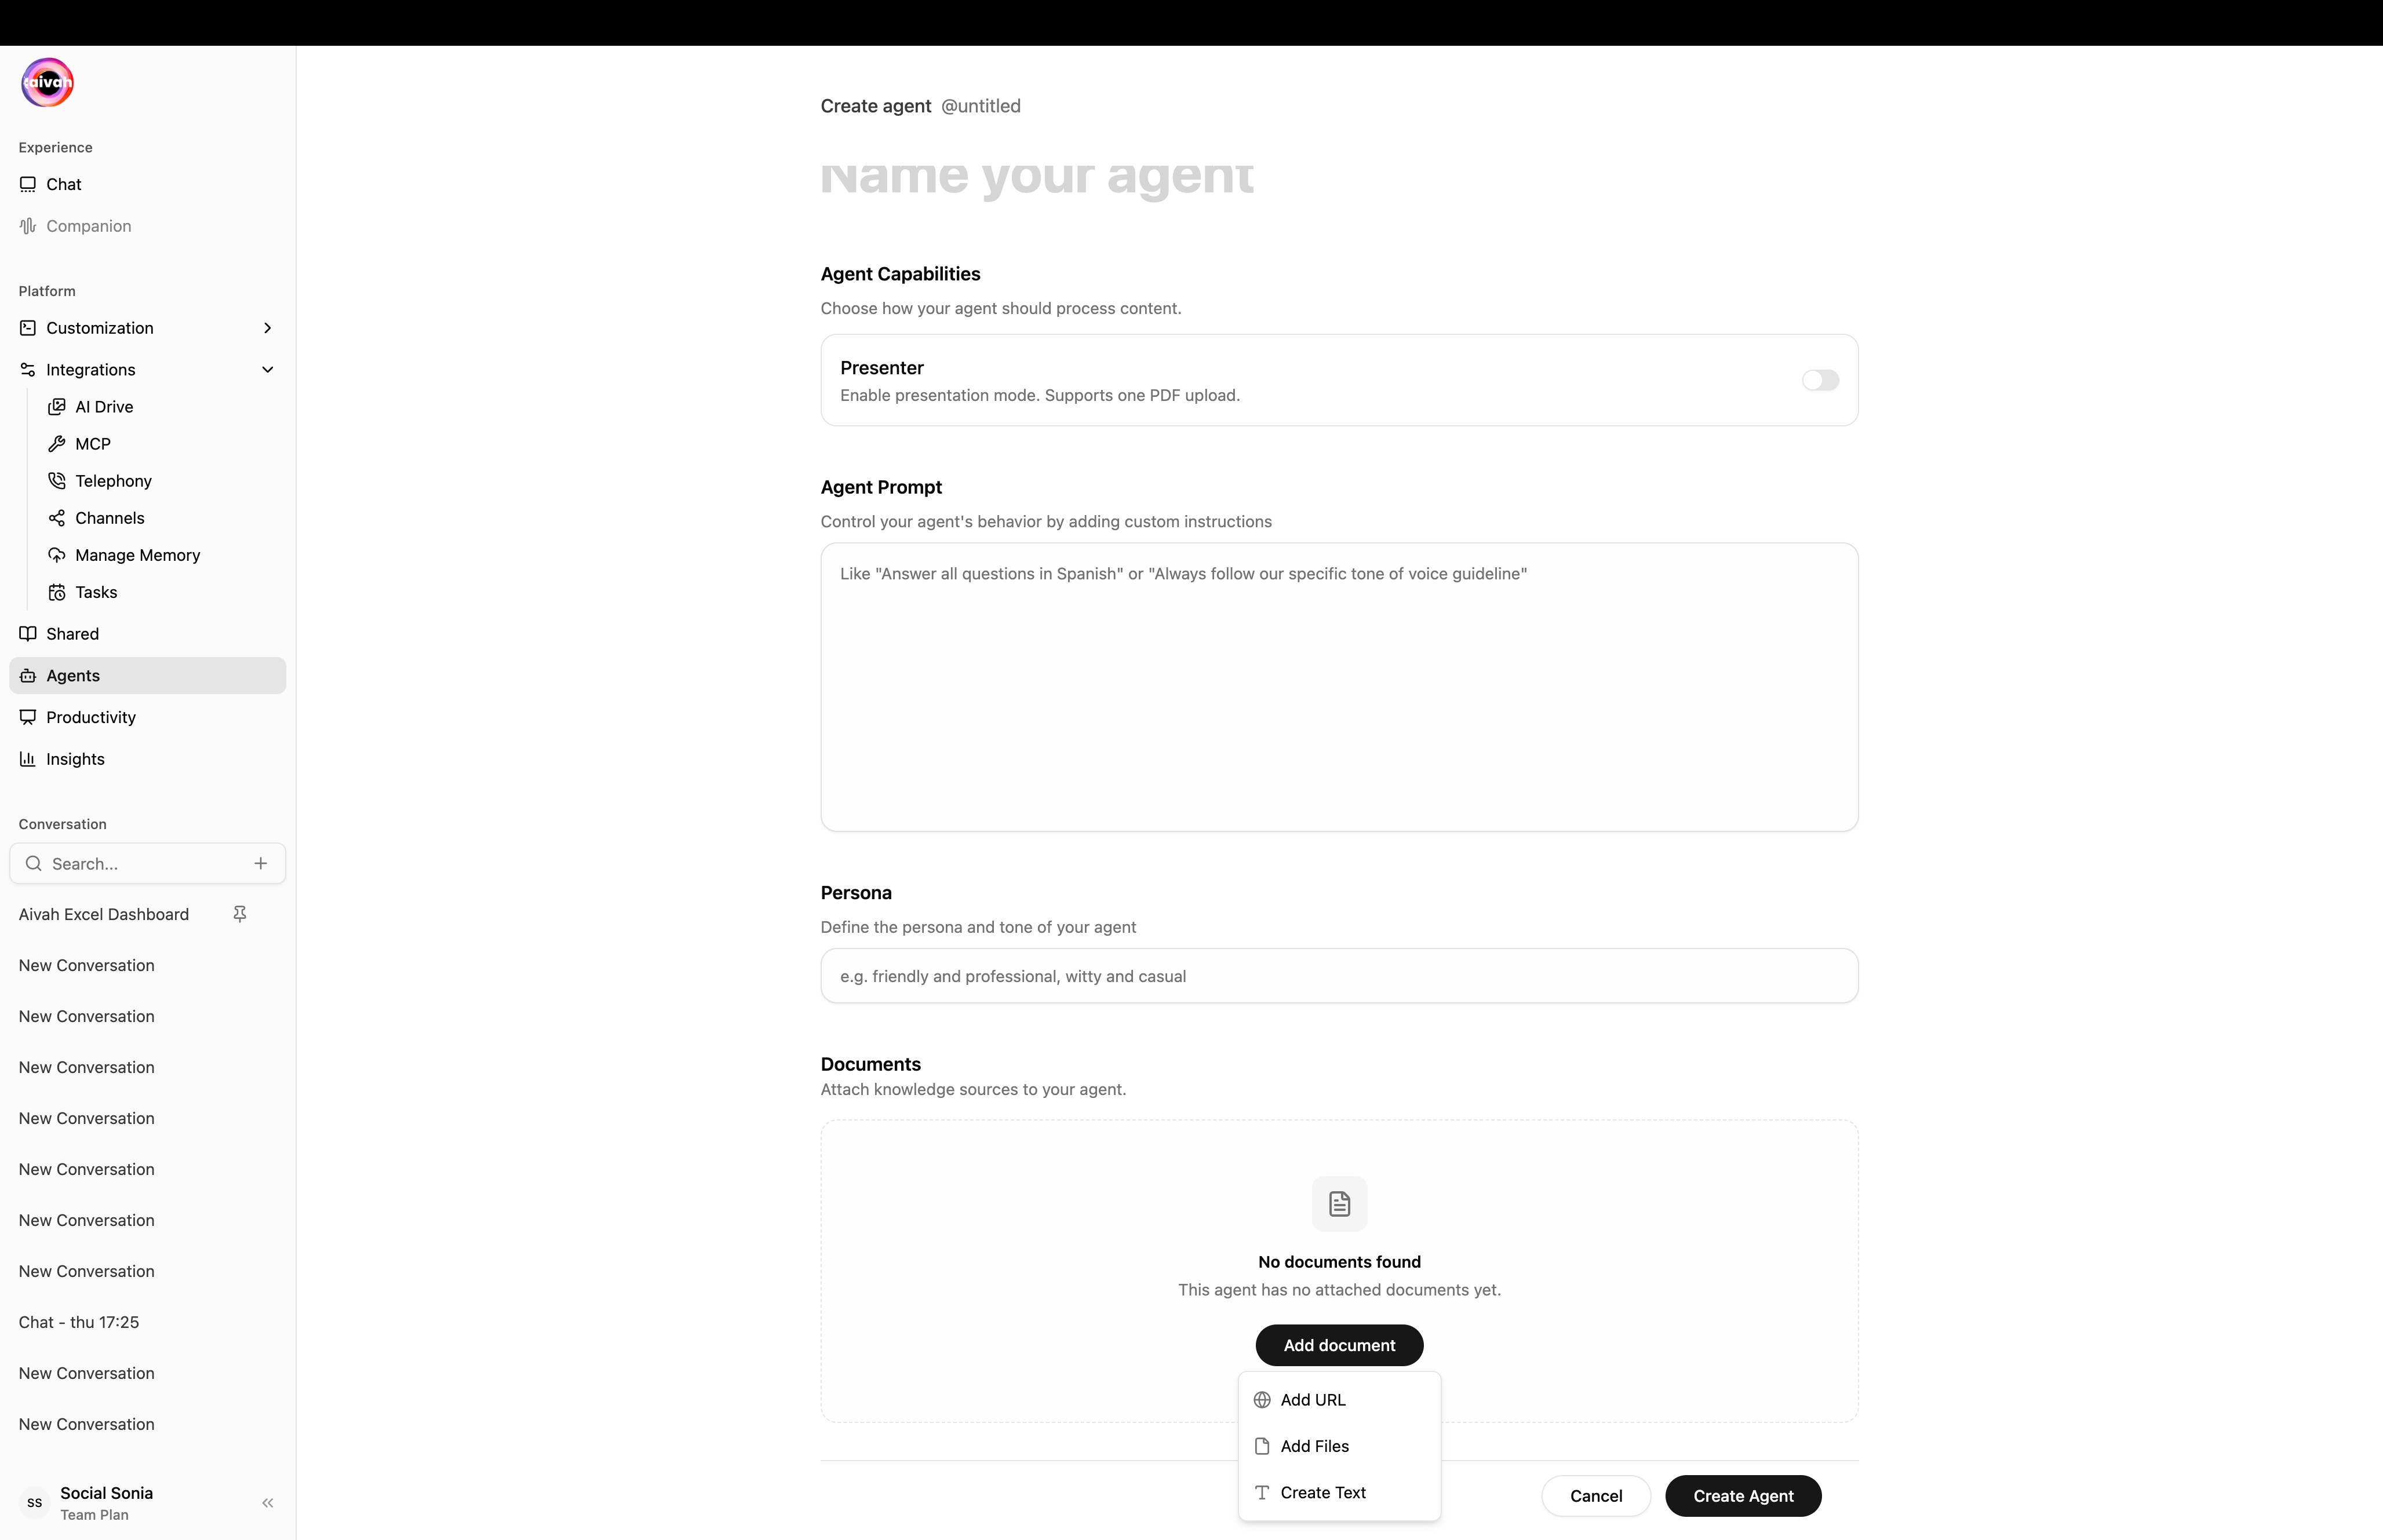
- Add URL
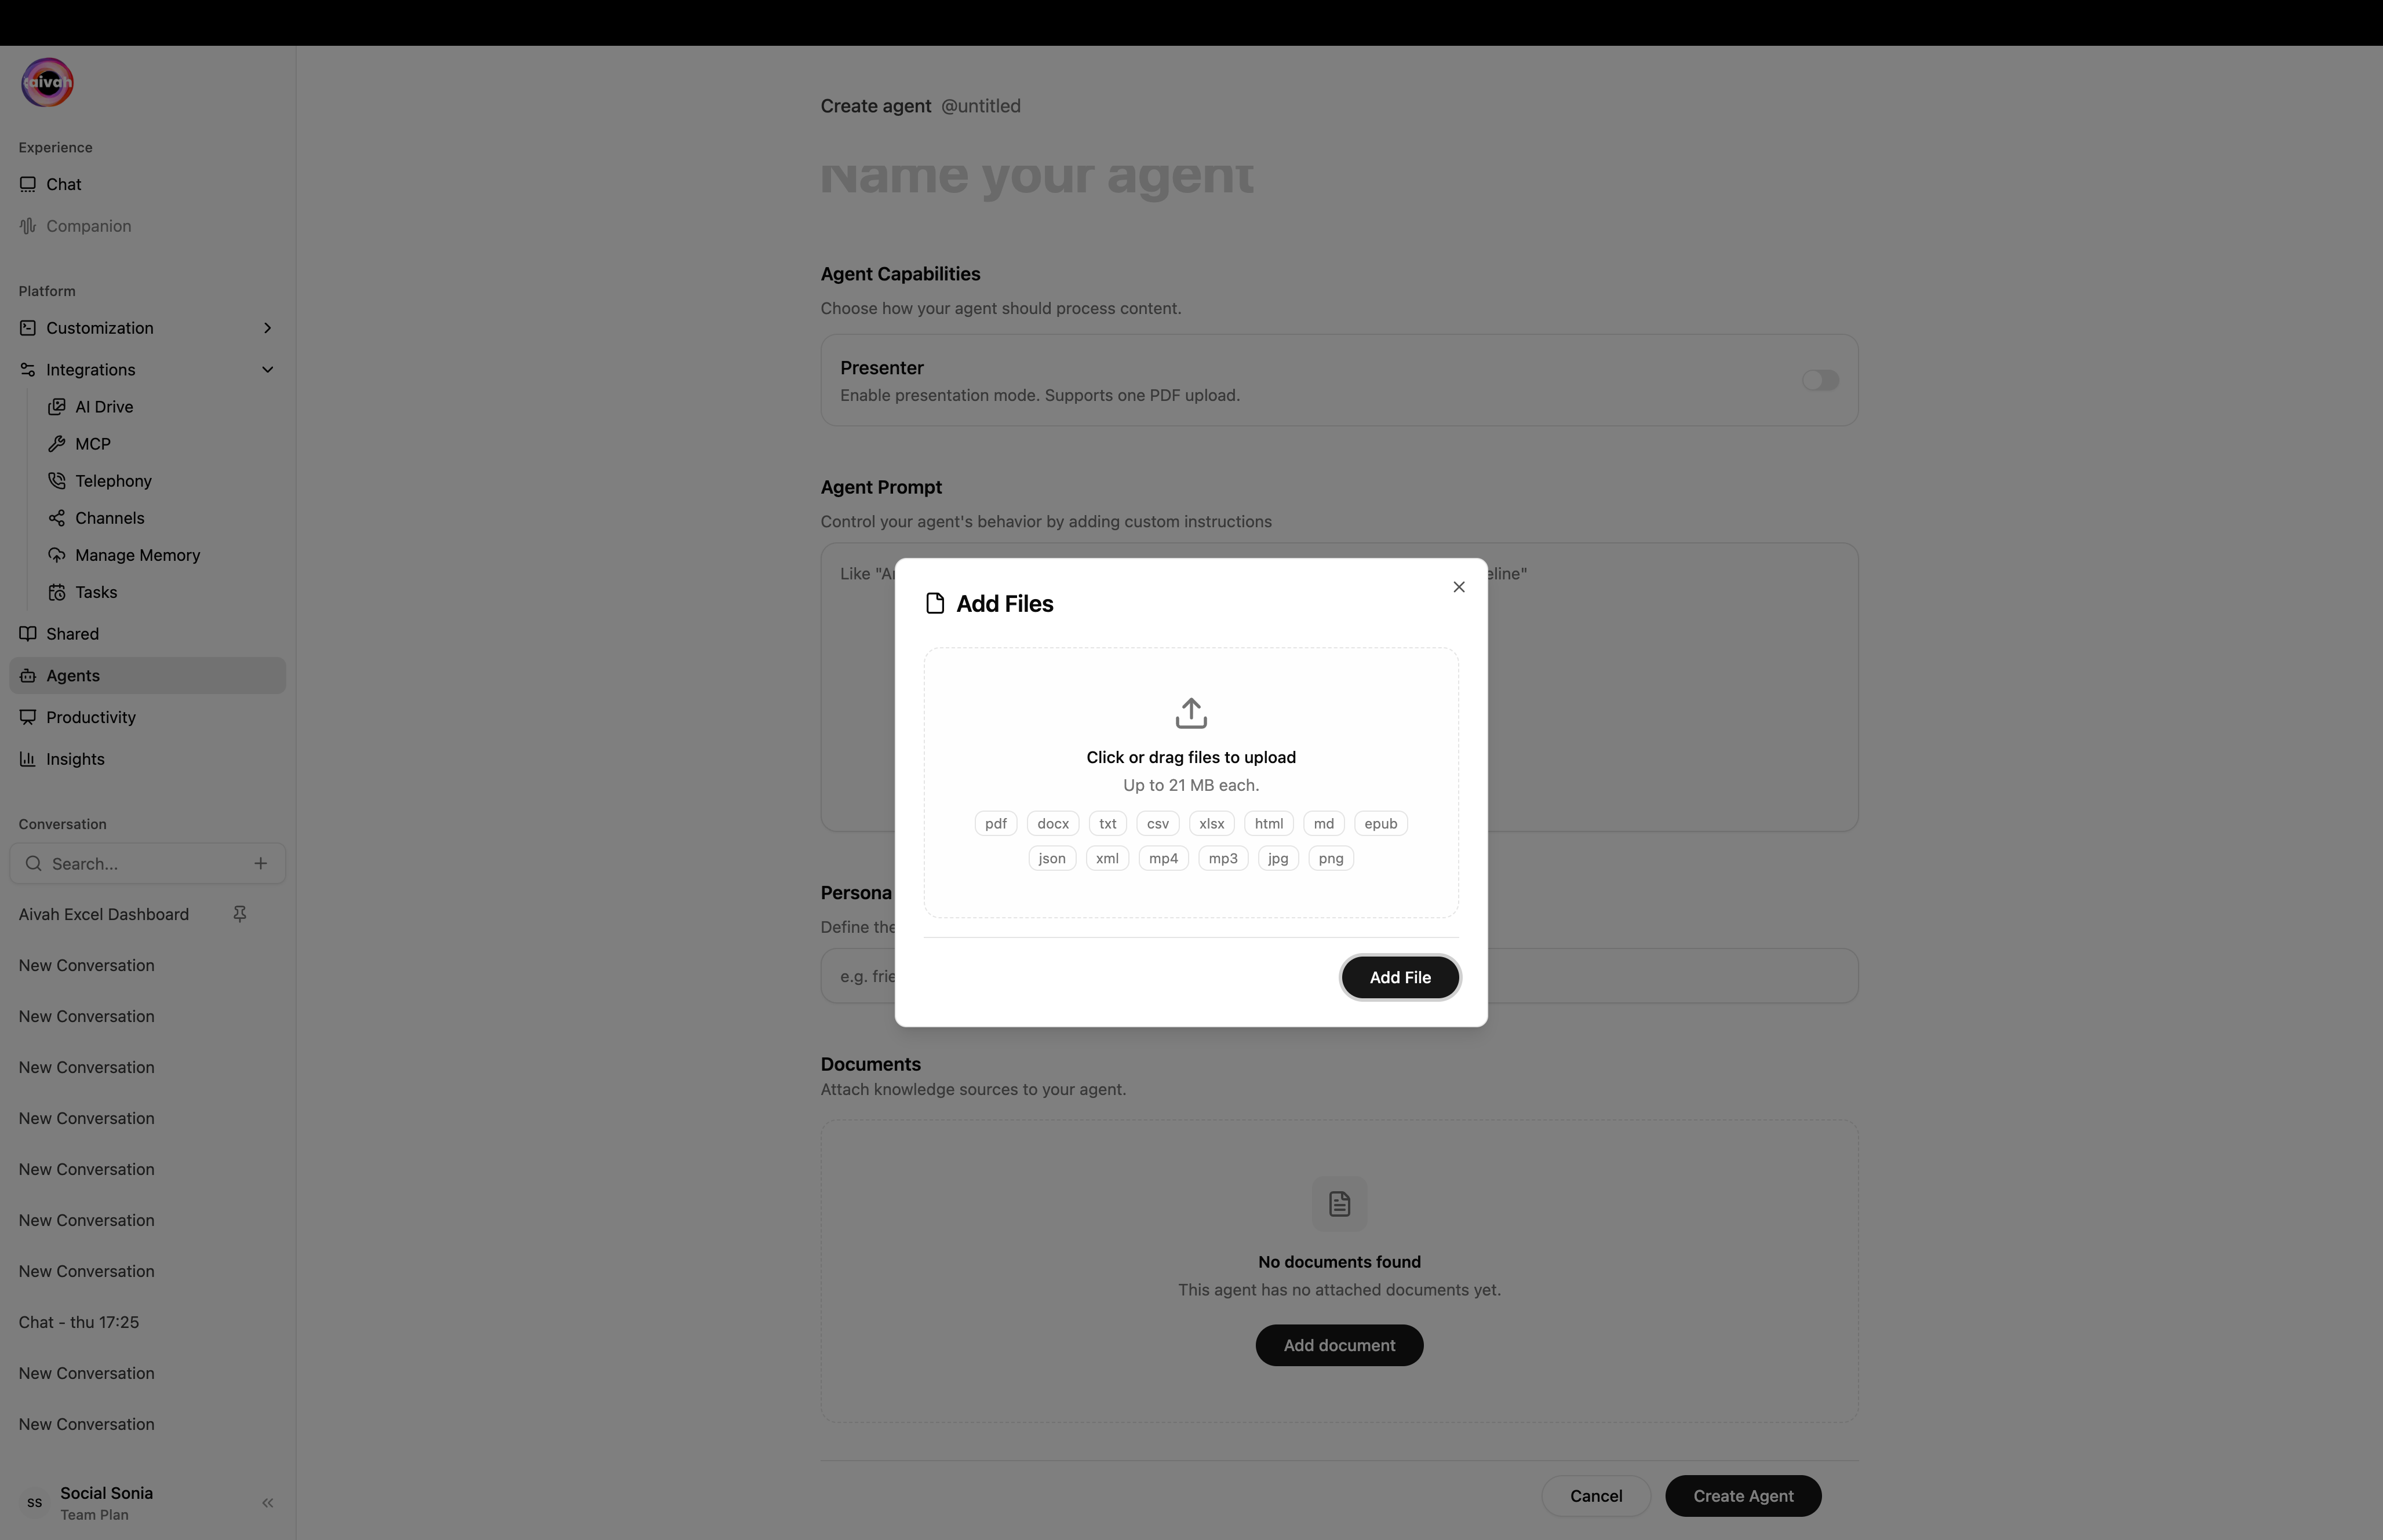
- Add Files
- Create Text
Web Content Integration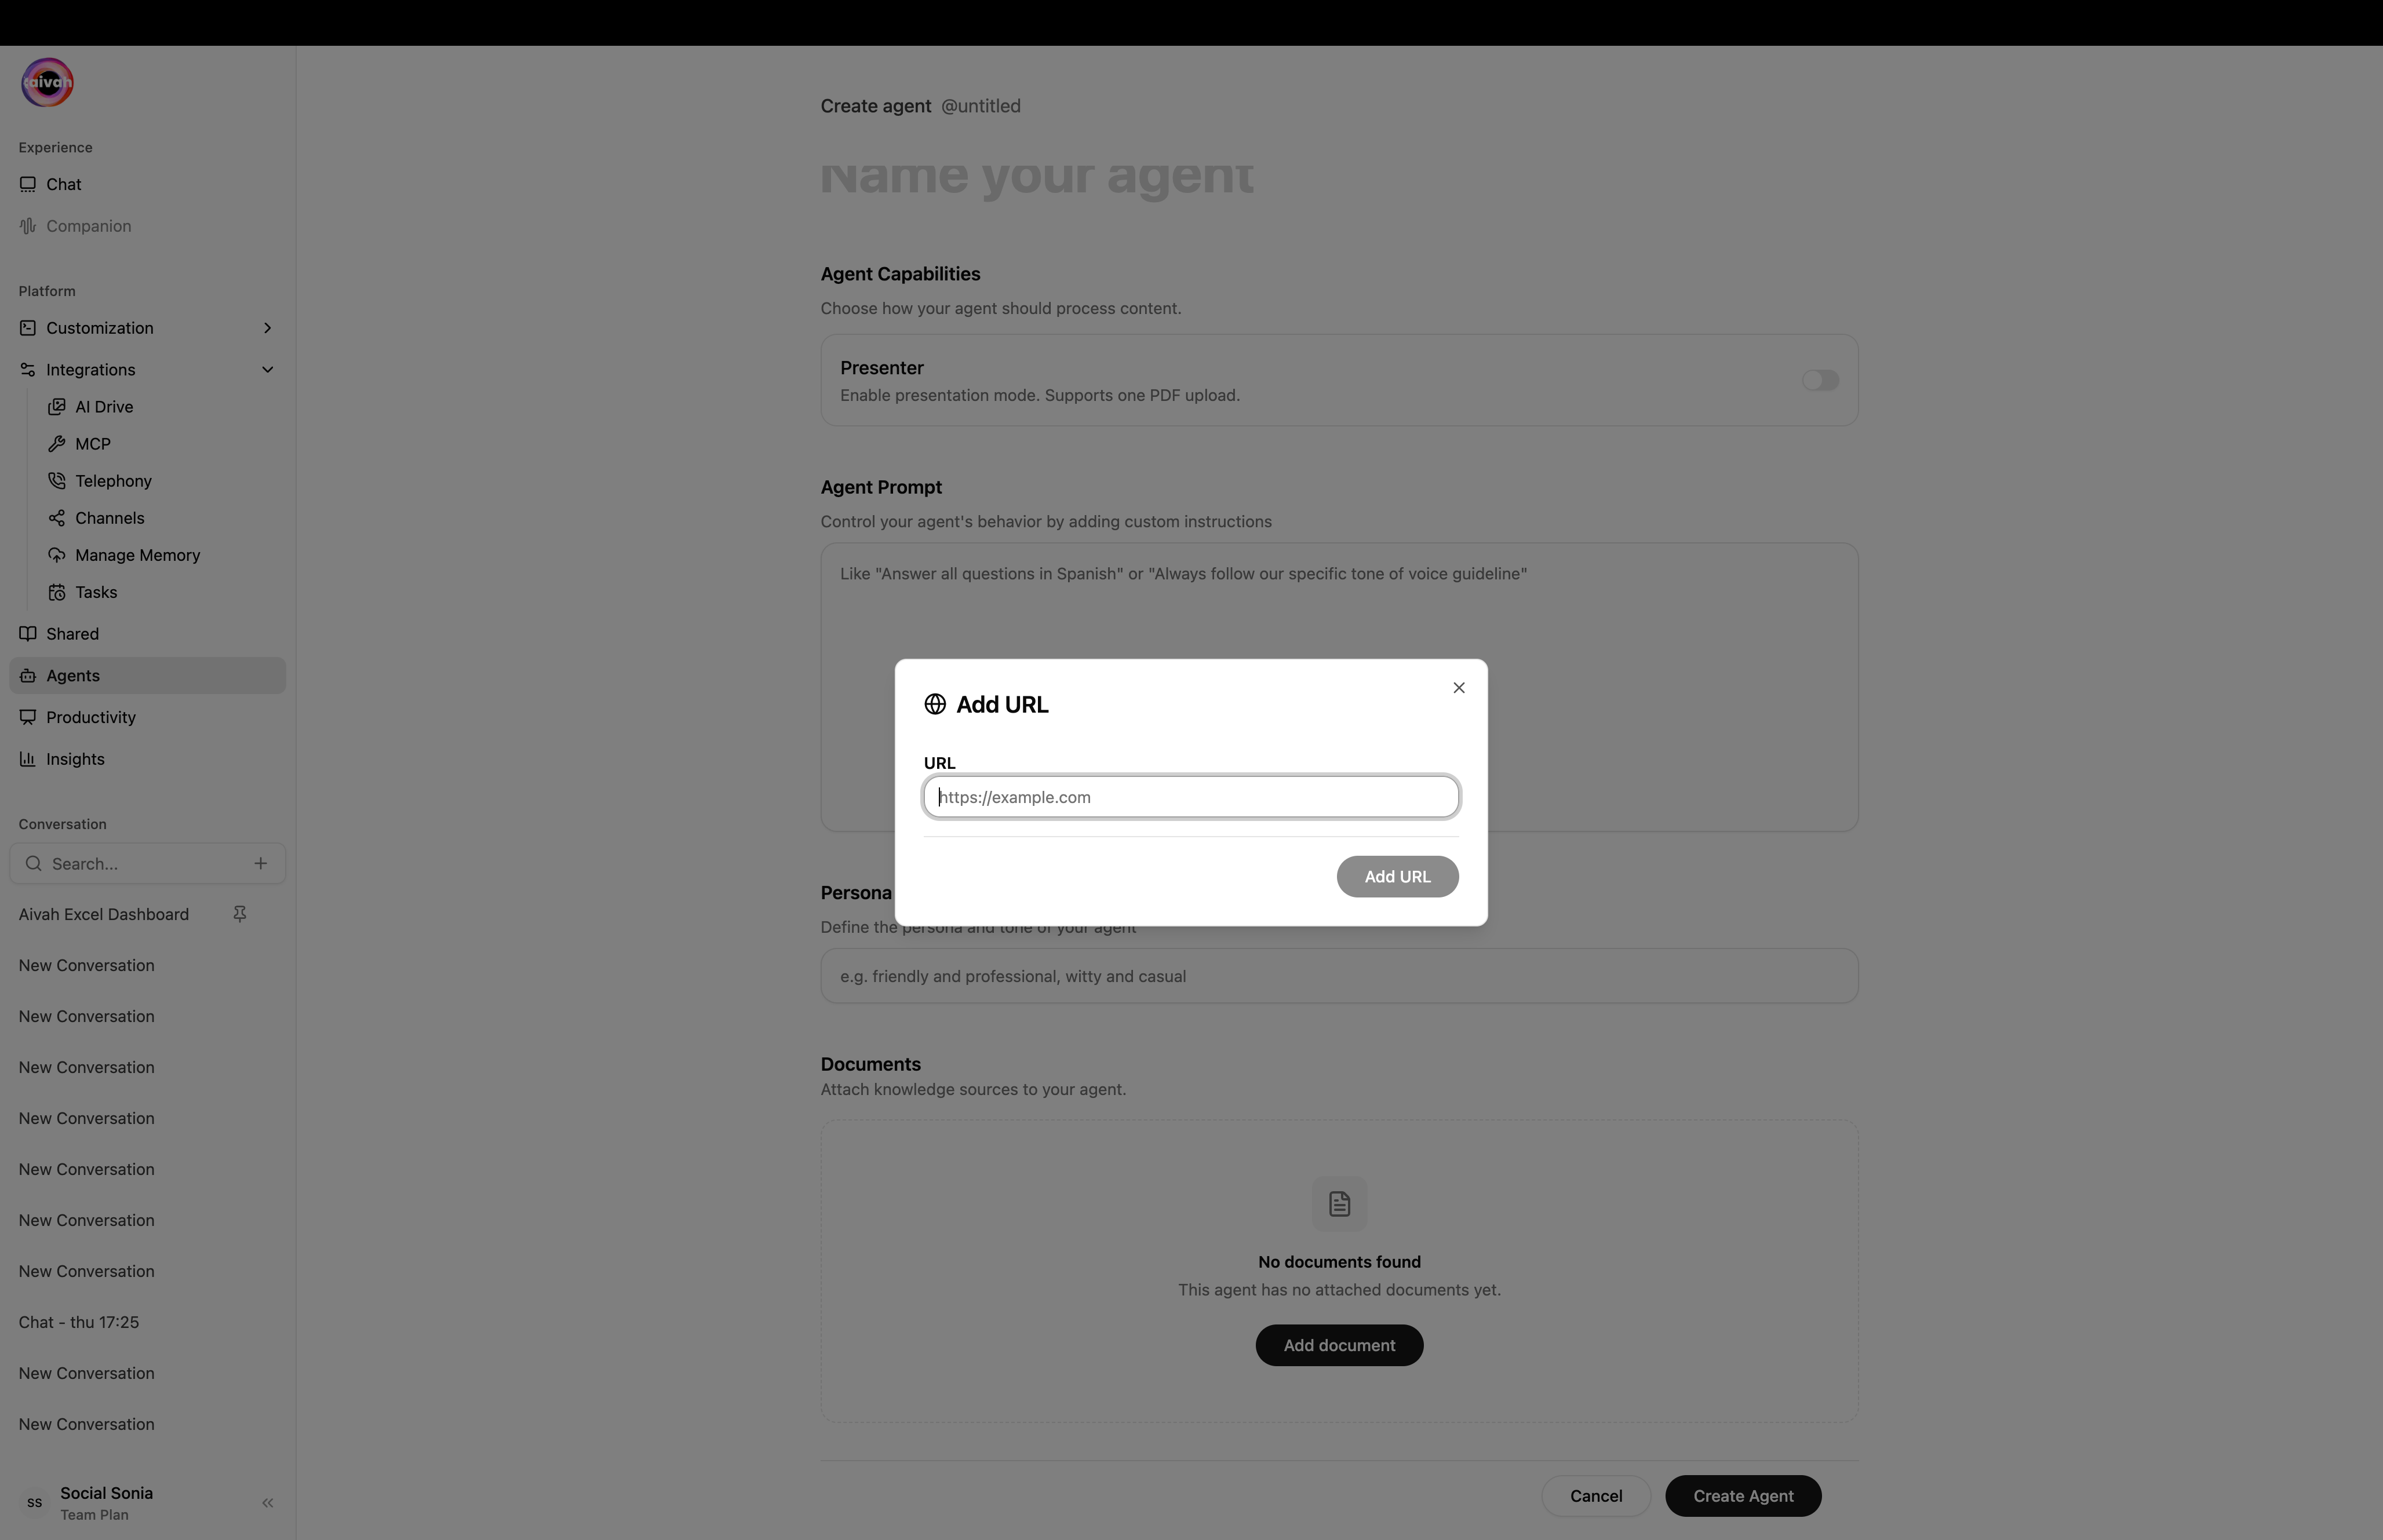
- Pick Add URL from the Add document dropdown.
- Paste a publicly accessible link – website pages, blog posts, YouTube/Vimeo videos, and public documentation all work.
- Aivah fetches and indexes the page automatically.

4. Create and Verify
Click Create agent
Press Create agent. The upload starts, the agent enters
processing, and the page redirects back to the agents list.Watch the live training status
The agents list polls every 10 seconds while any agent is in 
pending or processing and shows a Refresh icon automatically. The status flips to completed once training is done.Open the agent detail view
Click any row in the agents list to open 
/agents/{id}. From here you can:- View every URL, file, or text snippet with its ingestion status (
uploaded,processing,completed,failed). - Retry a single failing source with the inline refresh icon (no need to retrain the whole agent).
- Open the Edit button (top right) to change name, prompt, persona, and add or remove documents.
Post-Creation Configuration
Knowledge Management
Once created, you can manage your agent’s knowledge:- Add Content: Use the Add content button for additional sources
- Edit Sources: Click any source to modify or update it
- Remove Content: Use trash icons or Delete All for bulk removal
- Monitor Processing: Ensure all sources show character counts (indicates successful processing)

Next Steps
After creating your agent:- Test Interactions: Verify the agent responds accurately to test questions
- Configure Behavior: Set up response style and limitations in Share settings
- Deploy: Generate sharing links or embeds for your users
- Monitor Performance: Use Insights to track usage and effectiveness
Best Practices
Content Quality
Content Quality
- Use clear, well-structured documents
- Ensure information is current and accurate
- Remove outdated or contradictory content
Knowledge Organization
Knowledge Organization
- Group related content together
- Use descriptive titles for uploaded documents
- Regularly review and update your knowledge base
Testing
Testing
- Test with common user questions
- Verify accuracy of responses
- Check for knowledge gaps and fill them
Common Issues and Solutions
Upload Takes Too Long
Upload Takes Too Long
Large files and some websites require extended processing time. Keep your browser tab open until the upload banner shows completion.
URL Won't Process
URL Won't Process
Ensure the URL is:
- Publicly accessible (not behind login)
- Not geo-restricted
- Contains readable content (not just images)
Agent Gives Incorrect Answers
Agent Gives Incorrect Answers
- Review your source content for accuracy
- Remove conflicting information
- Add more specific examples or context